

DIY drop cloth curtains are a simple and inexpensive craft project for decorating a porch or patio, especially if you long for privacy and the cozy feeling of an indoor space. This guide shows how easy it is to make your own DIY drop cloth curtains with a twist: stencils.

1. Gather your supplies

- Drop cloth
- Adhesive towel hooks
- Curtain ring clips
- Stencil. This could be anything you like, from a simple geometric pattern to a more elaborate floral design
- Stencil roller
- Craft paints. I used Lumiere
- Fabric softener
- Painter’s tape (optional)
2. Prepare two drop cloth panels
Start by taking a drop cloth and cutting it in the middle to create two panels. Then you can freshen up the panels by lightly spraying fabric softener and tossing them in the dryer. It’s a neat trick for improving the texture of the cloth, making it softer and more pleasant to the touch, and giving the curtains a fresh scent.
3. Prepare the workspace and stencil
Put a piece of plastic or another form of protective layer underneath the drop cloth to prevent staining caused by bleed-through. Then, place the stencil at the bottom of a drop cloth panel and secure it with painter’s tape if necessary to prevent the stencil from moving around.
4. Apply the stencil


Next, use a stencil roller to carefully apply craft paint evenly. Repeat this step for the other drop cloth panel. By only stenciling the bottom of the drop cloth panels, you’re creating a bit of color and pattern while keeping the overall look simple and minimalistic.
5. Attach your new drop cloth curtain

After the paint dries, it’s time to hang up your curtains. Begin by positioning the adhesive towel hooks where you want the top of the curtain to be. Then attach the curtain ring clips to the top of the drop cloth curtain. Finally, hang your new drop cloth curtain on the hooks.

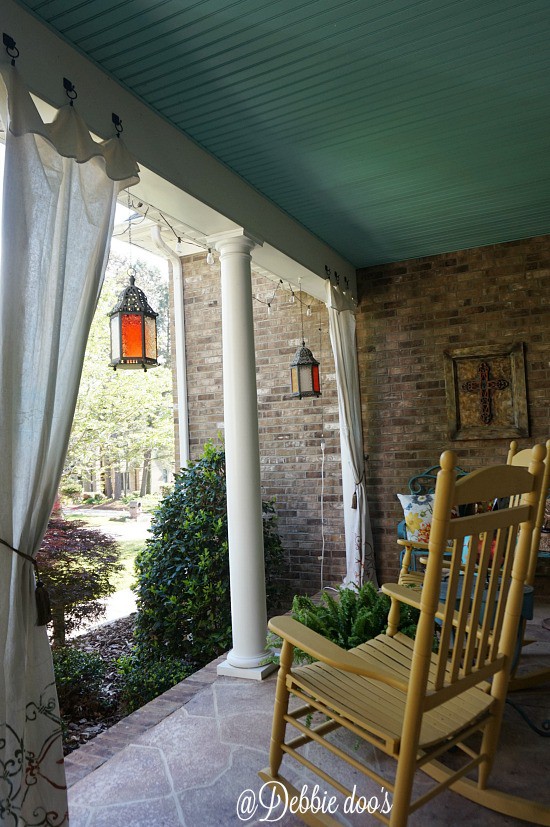
If you loved this project, check out more exciting drop cloth curtain ideas.


Leave a Reply