
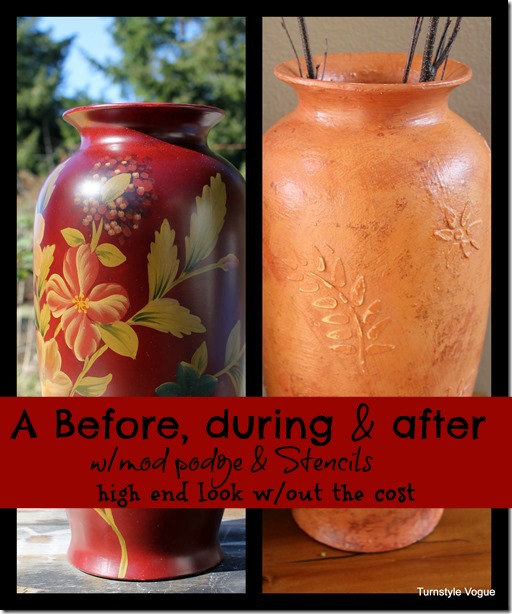
Guest vase project and photographs credited to Turnstyle Vogue. Most of the original step photographs are no longer present in this article; the before-and-after collage, finished vase, and written directions remain.
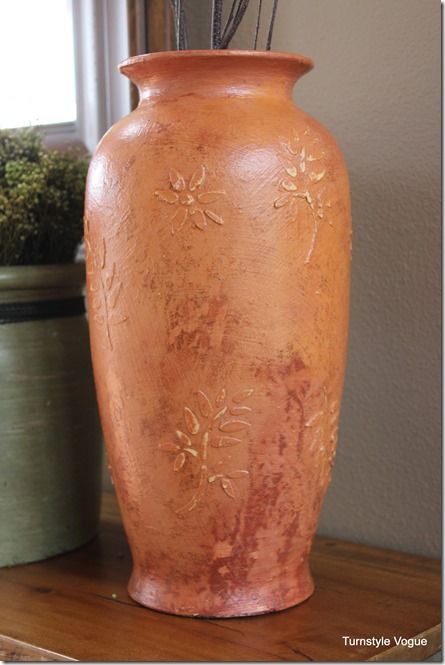
This painted finish gives an existing vase the look of aged pottery. Crackle medium, layered colors, and wood filler applied through a stencil create the texture without making a new clay vessel.
Materials used
- A vase or other decorative vessel with a shape you like
- Primer or a base color; the original project used buttercream spray paint
- Two paint colors; the guest used Georgia Clay and Mesa Sunset by CeCe Caldwell and recommended mineral paint
- Crackle medium
- Elmer’s Wood Filler, chosen for its creamy texture
- A stencil and popsicle sticks
- Matte Mod Podge; gloss was suggested as an alternative
- A 60- or 80-grit sanding block or sandpaper
1. Prime the vase
Start with a vessel whose shape suits the look you want, rather than choosing it for its existing pattern. Apply a basic primer or base color. Buttercream spray paint was used here.
2. Brush on crackle medium
The guest brushed crackle medium over most areas without aiming for complete coverage, to produce an irregular result.
3. Apply the first paint color before the medium dries
In this project, the first color went on about ten minutes after the crackle medium, while the medium was still wet. Brushing the paint moved the medium around, leaving heavier texture in some areas and less in others. Some paint chipped as the first coat dried. Check the application directions for the crackle product you use.
4. Add a partial second coat of the first color
After the first coat was completely dry, the guest brushed and blotted on more of the same color. Leave some of the crackling and chipped areas visible rather than covering the whole vase.
5. Prepare the stencil and filler
Have the stencil, a popsicle stick, and the wood filler ready for the raised design.
6. Spread filler through the stencil
Use a small amount of filler on the end of the stick and spread it through the stencil openings in a thin layer. This creates a raised pattern instead of a flat painted design.
7. Let the filler dry, then coat with Mod Podge
When the stenciled filler is completely dry, brush Mod Podge over the piece with full coverage and a slightly thicker coat over the raised design. The guest used this layer to seal the crackled paint and filler before continuing.
8. Add the second color
Apply the second color in scattered areas to build depth rather than an even overall coat. At this stage, cover the raised stencil design completely with paint. Mesa Sunset was the second color used here.
9. Sand the raised design lightly
Once the second color has dried, sand lightly over the stencil to remove some of the paint and give the design an aged appearance.
10. Finish with another coat of Mod Podge
The guest finished with one more coat of Mod Podge and suggested additional coats for more texture. Allow the layers to dry between stages; waiting for them was the longest part of this project.
Another raised-stencil project
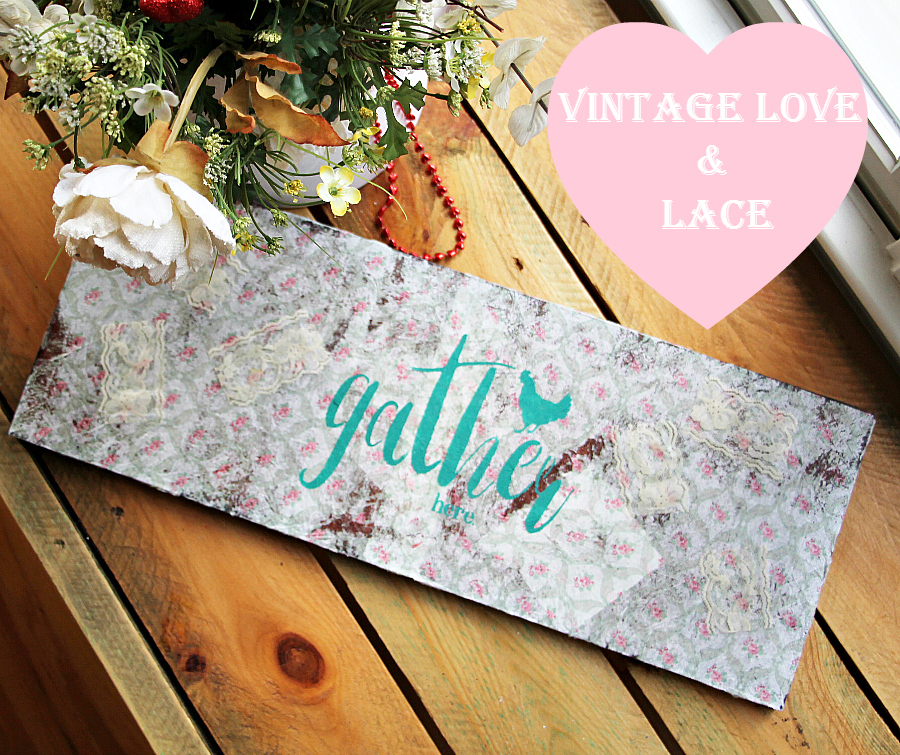
For a different material and surface, Debbie’s separate plaster of Paris stencil sign tutorial shows the textured lettering below.


Leave a Reply