

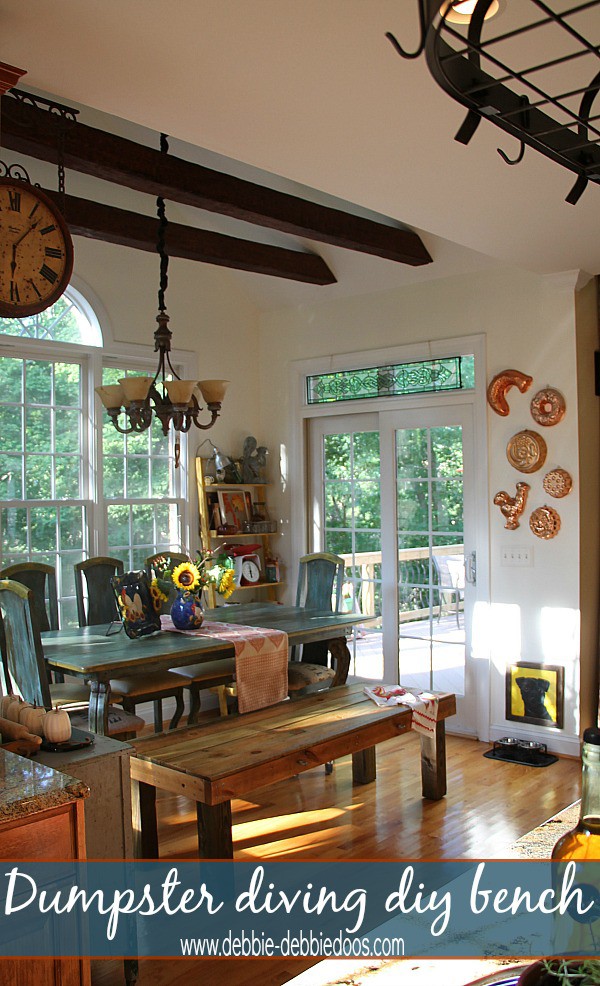
A DIY farmhouse bench is practical since you can add more seats to your kitchen or outdoor table for family meals or special occasions without pulling up extra chairs and without breaking the bank. Keep reading to learn how to craft a DIY farmhouse bench by spending around $50, even if you aren’t experienced in woodworking.
1. Gather your supplies
- Lumber
- Varnish (satin finish)
- Screws
- Gliders
- Electric sander
2. Measurements and planning
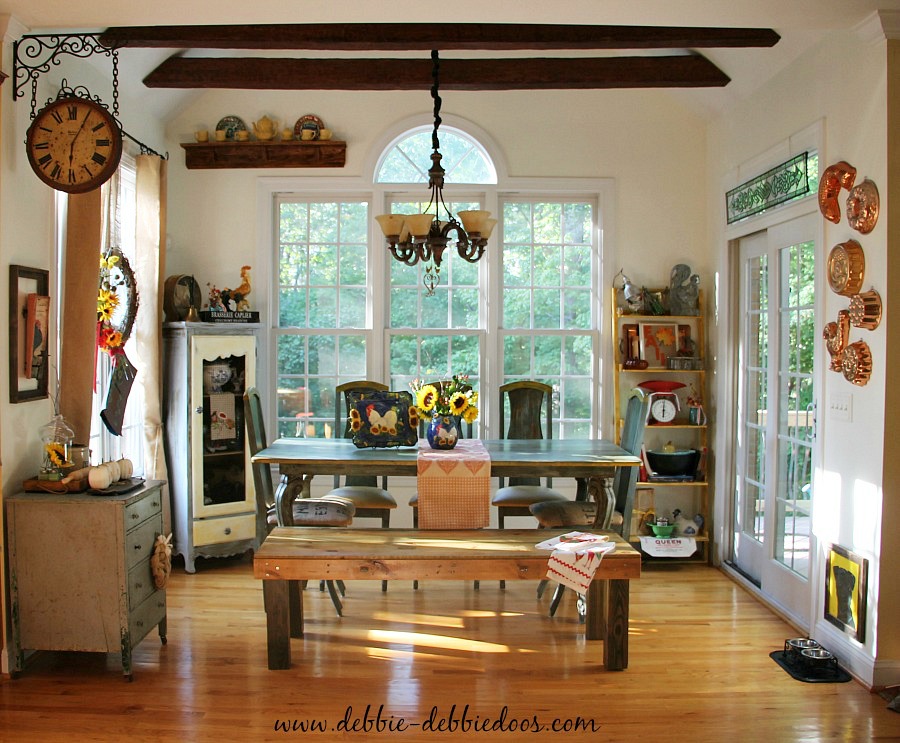
Determine the right size for your bench by settling on where to place the bench and how to use it – you don’t want to crowd the space. For instance, if you’re building a kitchen bench, measure the length of the table or the wall it will sit against while considering the walking space around the bench.
For a bench with more seats around the table, the height should be roughly the same as a regular chair – about 18 inches (46 cm). On the other hand, the height varies for a freestanding or garden bench, depending on your comfort preference.
The seat depth (how far the bench goes back) should be deep enough to sit comfortably but not so deep that it’s hard to rise. A standard seat depth is 15-18 inches (38-46 cm).
If your DIY farmhouse bench is meant to accommodate multiple people, consider how much space each person would need to sit comfortably without feeling squished. Typically, a seating width of about 20-24 inches (50-60 cm) per person is a good rule of thumb.
We determined our bench height by the height of our current chairs. You’ll need to measure the lumber accordingly for the bench seat and legs, then have the warehouse make precise cuts.
3. Assemble the bench
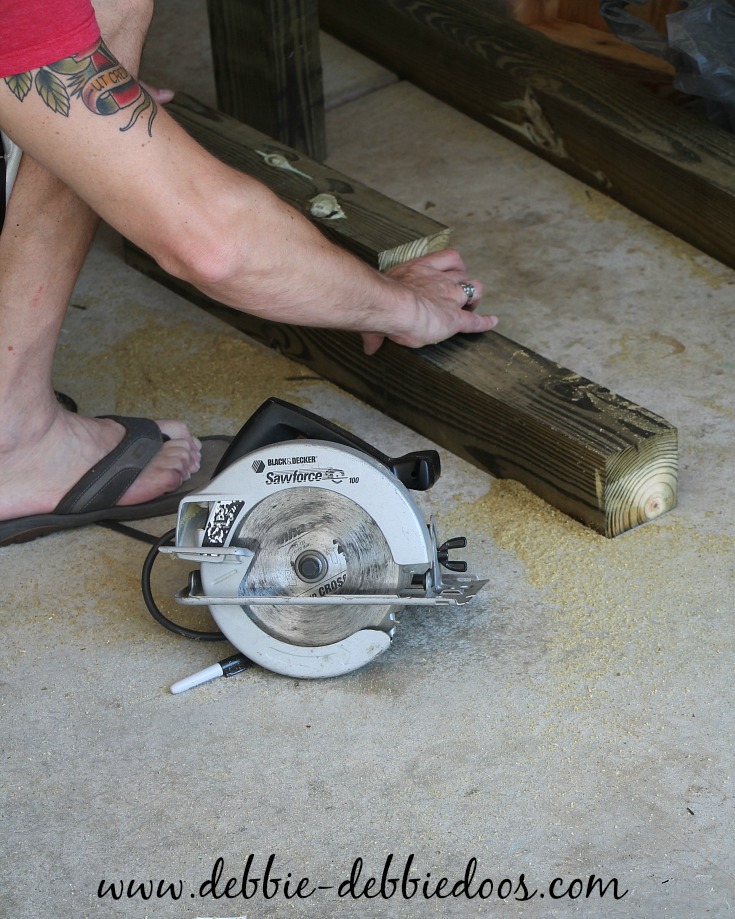
Start by placing the cut pieces of lumber into the shape of your bench, and then secure them with the screws. Double-check all joints so they are sturdy and able to hold the weight.
4. Make the finishing touches
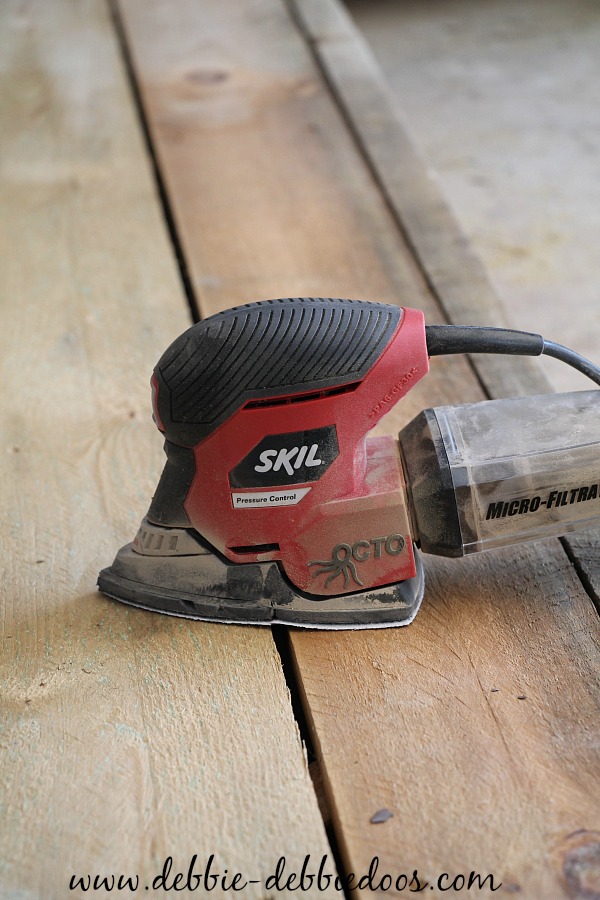
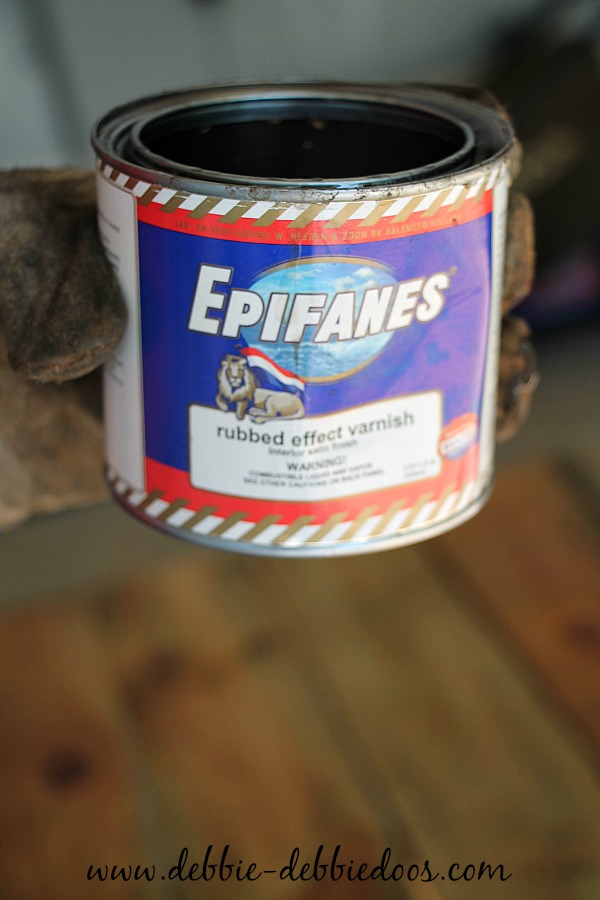
Sand the entire bench until it is smooth and free from splinters. Then, apply a finish varnish to protect the wood, making it durable and easy to clean. Finally, if you’re building the DIY farmhouse bench for interior use, attach the gliders to the bottom of each bench leg to protect your floor from any scratches when the bench is moved.
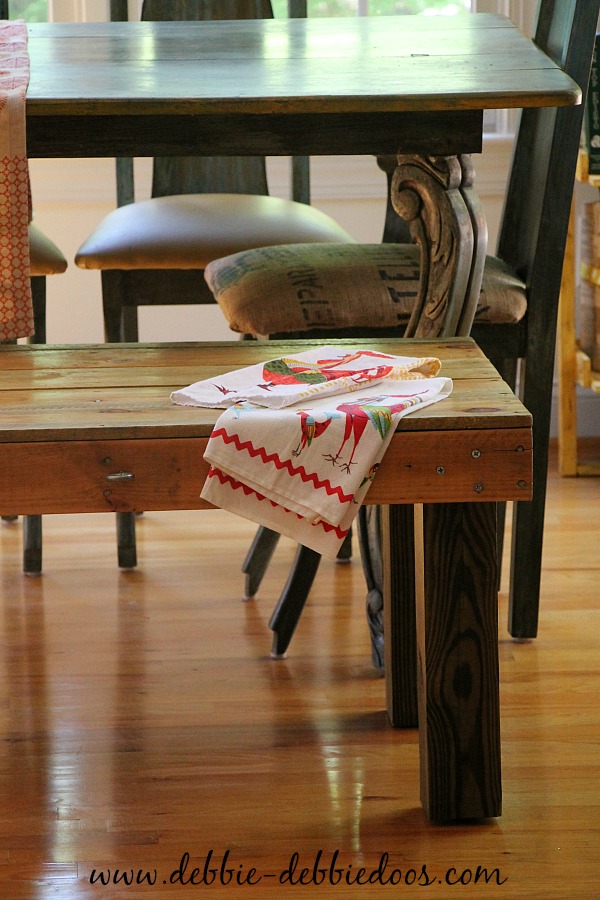
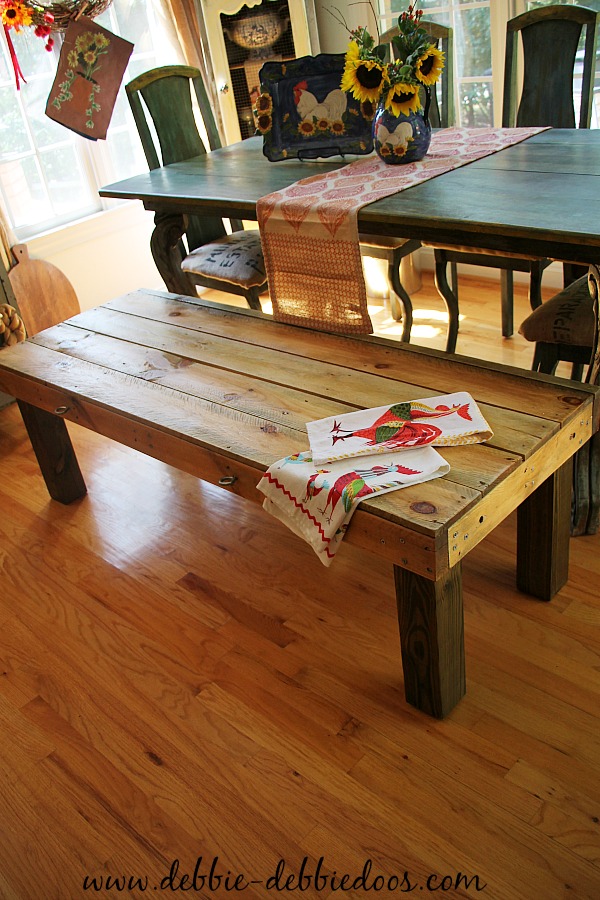
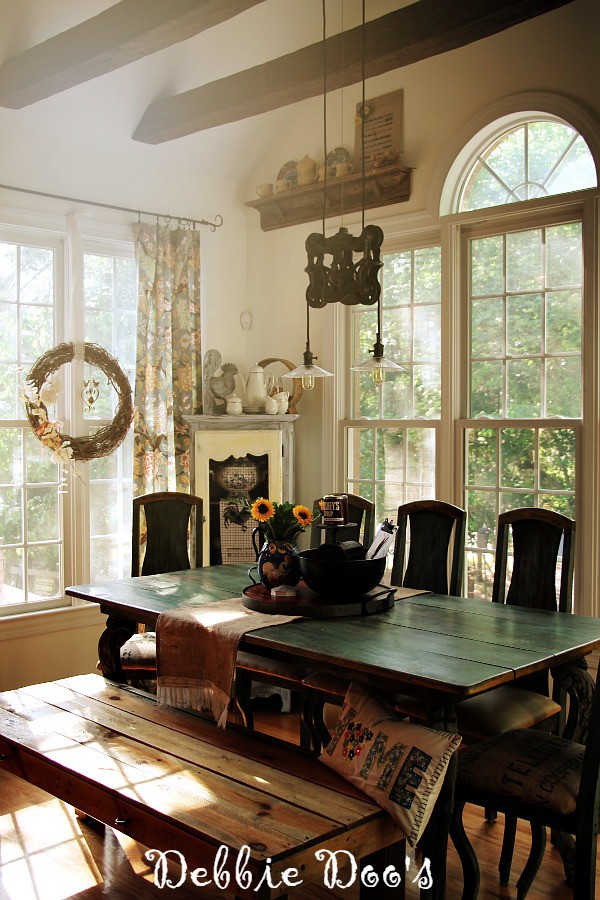
If you loved this project, find out how to craft a rustic bench.
Leave a Reply