
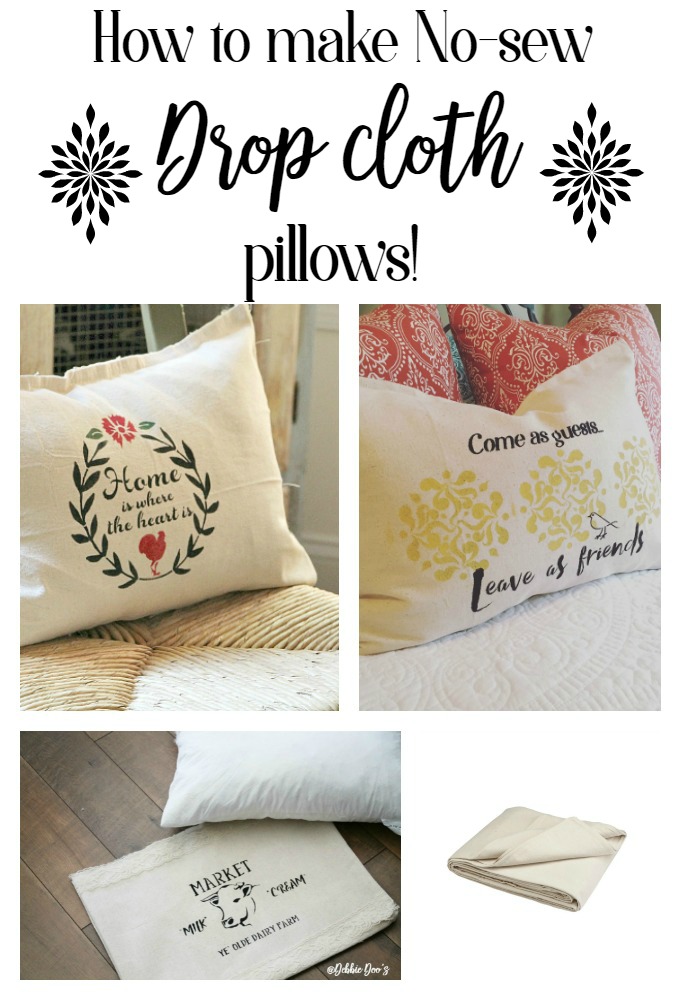
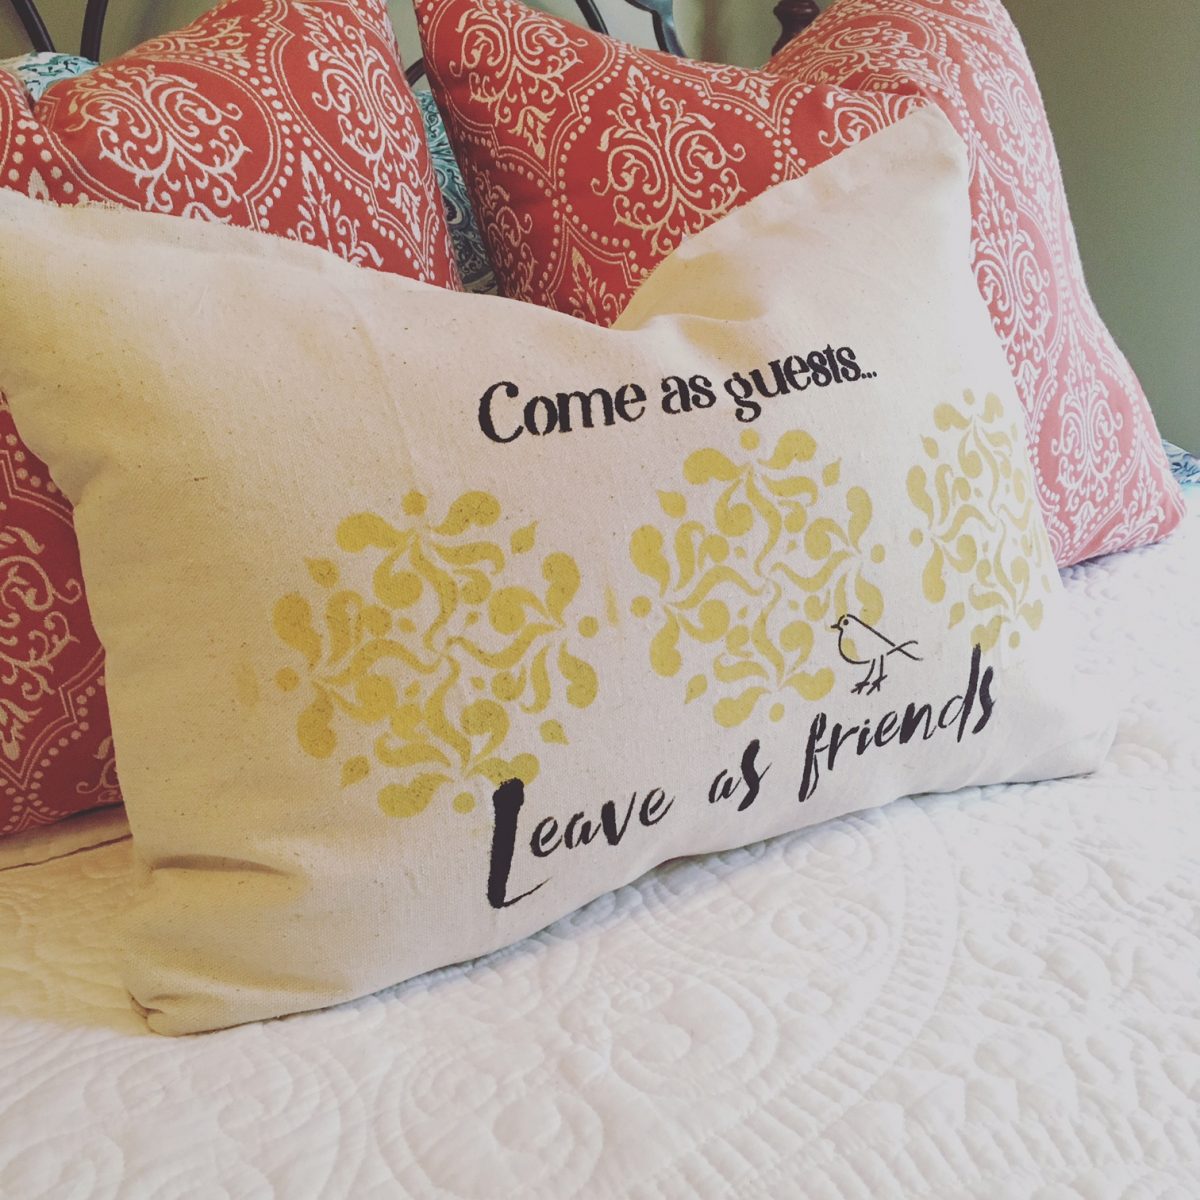
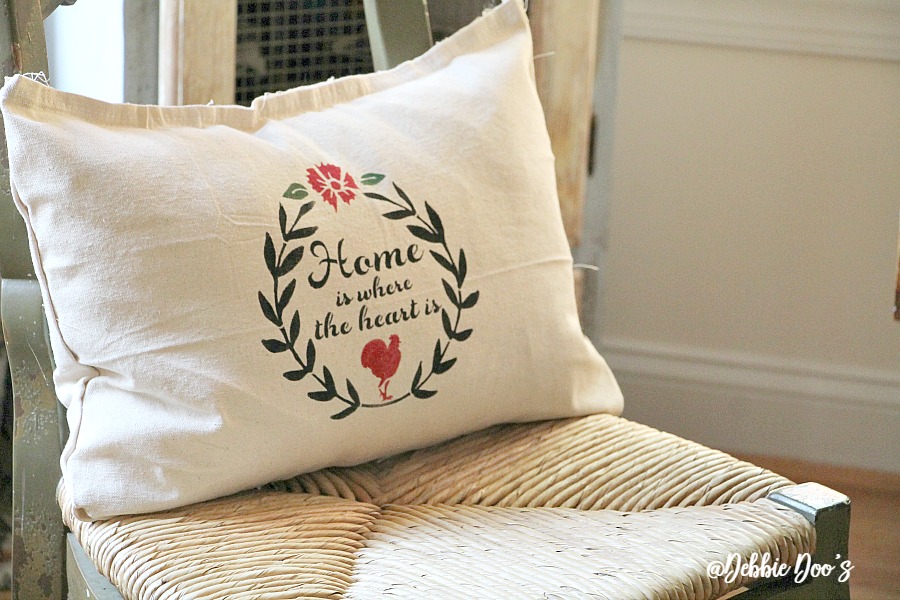
If you need a new pillow cover, you don’t have to worry about going to the store since you can easily make it home without using a sewing machine, thread, or needle. This guide shows you how to create and personalize a no-sew pillow cover with stencils, in order to add character to your living space.
1. Gather your supplies
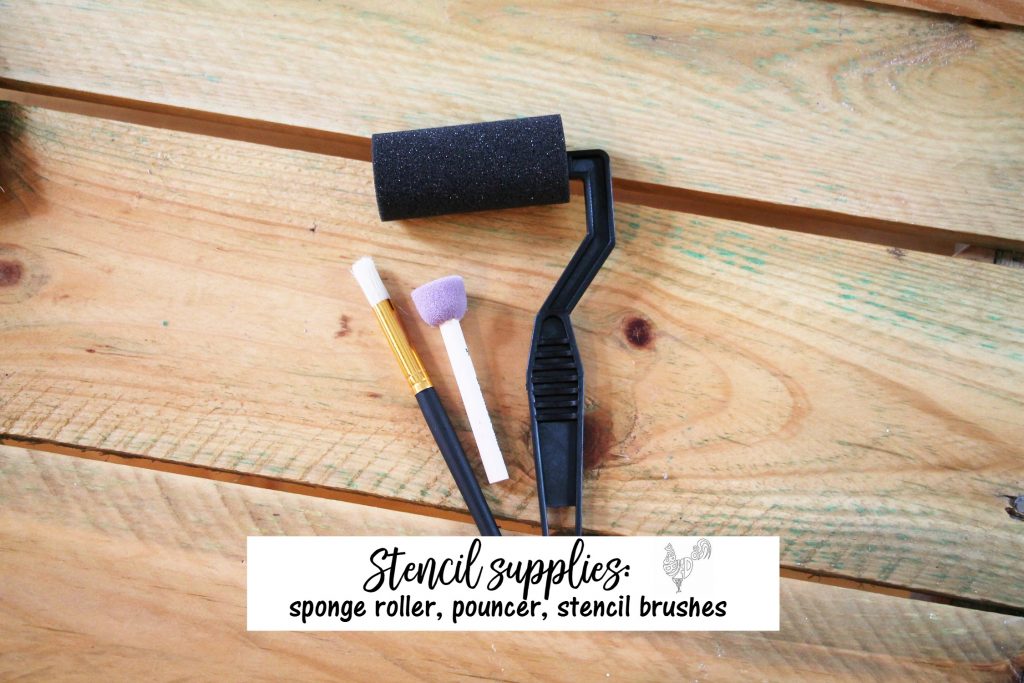
- Stencil sponge rollers
- Pouncer
- Stencil brushes
- Craft paint
- Drop cloths. Choose an unlined, canvas drop cloth
- Pillow or placemat
- Sharpie
2. Prepare the pillow cover template
Use an existing pillow or placemat as the template for your no-sew pillow. Lay it on your drop cloth and trace the outline with a sharpie. Remember to leave a little extra room around the edges for error or overlap.
3. Apply the stencil
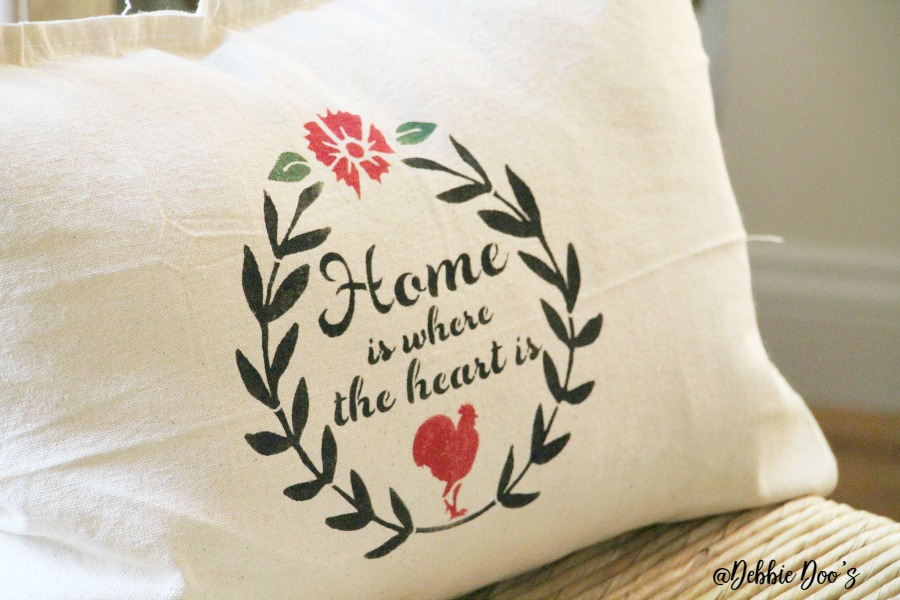
If you’re using a solid color, roll your foam roller brush evenly over the stencil. For multiple colors, use your bristle brushes to fill in different areas. Be careful not to overload your brush with paint, as this can lead to bleeding under the stencil.
4. Enhance your design
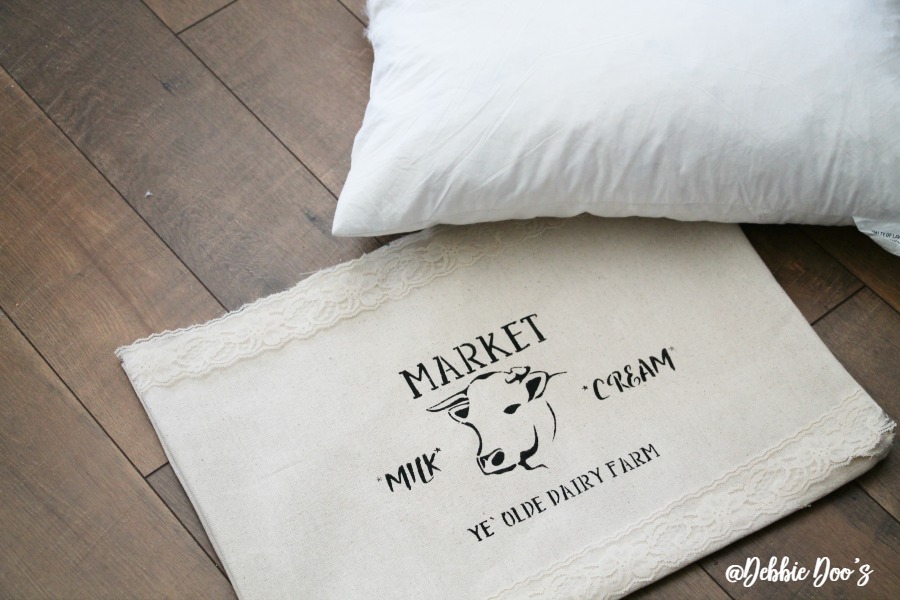
For a touch of charm, consider adding trim around your no-sew pillow. For example, you can attach lace or ribbon using a hot glue gun, peel n-stick, or liquid stitch. Remember to have your iron ready when using peel n-stick or liquid stitch products.
5. Assemble your pillow cover
Align the two pieces of drop cloth with your design on the outside. Using your chosen no-sew method, attach three sides of the pillow cover. Apply the adhesive along the edges and press the two pieces of cloth together.
6. Make the finishing touches
Once the glue is dry, gently turn the no-sew pillow cover right side out. Now it’s time to insert your pillow. With the pillow inside, glue the last side closed. After it dries, tidy up the edges by trimming any loose threads or frayed fabric.
Video guide
Check out this video tutorial to get a better understanding of how to make a no-sew pillow cover from drop cloths:
Find out how to make no-sew pillow covers from painters tarp.
The pillows are so pretty ♥
Gorgeous and your stencils are all so pretty.
Those pillows are so cute and I love that they are no sew! Aren’t husbands funny sometimes? Mine does things like that too LOL!
Love it!
Dropcloths make an inexpensive fabric for projects…your pillows are charming!
Awesome!!
Debbie, fun post! Enjoyed reading about your goofs b/c good grief, we can’t be perfect all the time! I know I couldn’t “talk, stencil, and hot glue at the same time”! Your pillows are beautiful! Drop cloth material is already so homespun-y looking that it’s perfect with the farmhouse look that is so popular. You nailed it! Your apron is adorable too.
I love your pillows and thank you for the info