
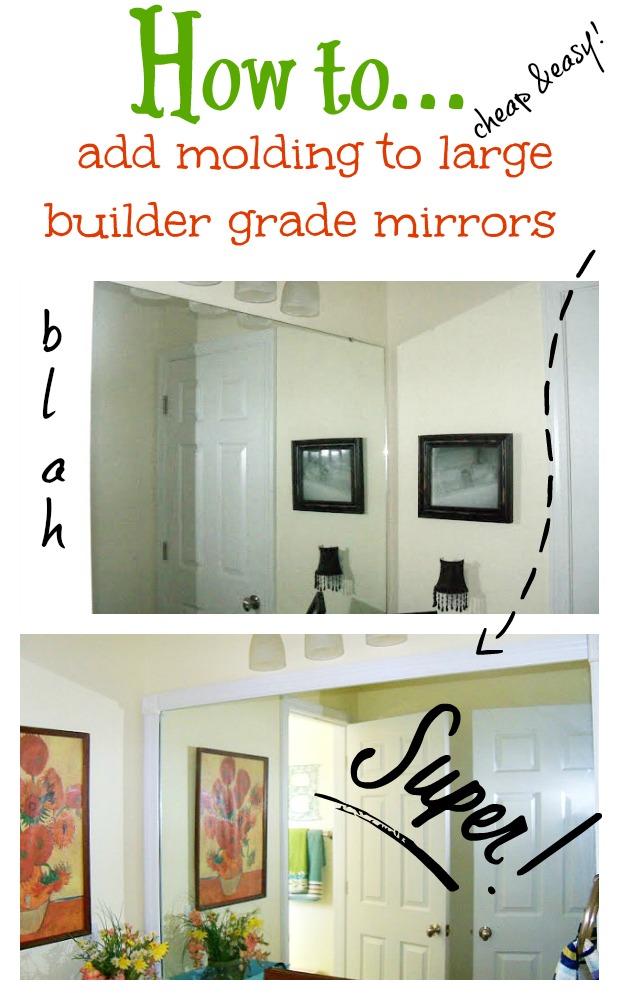
We kept the large mirrors in the boys' bathroom and added white molding around them. Decorative corner blocks let us use straight cuts instead of mitered corners. Our recorded cost for both mirrors was $50 at the time of the project.
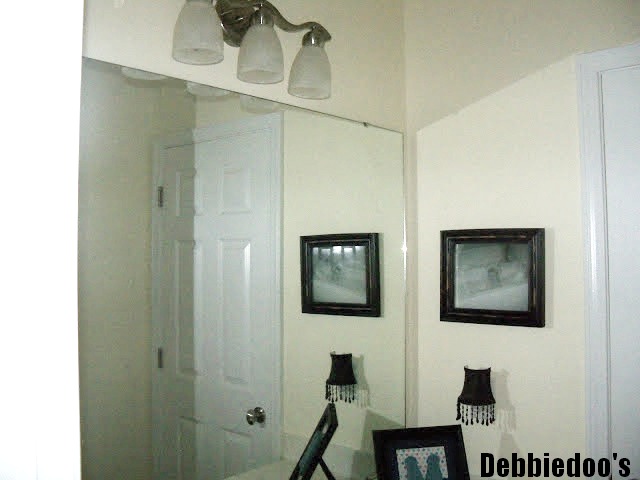
Materials we used
- Already-primed molding
- Decorative wood corner blocks or appliques
- White spray paint
- Industrial-type double-sided tape
We also needed to measure the mirrors and cut the molding to fit. The original account does not record molding dimensions, tape brand, or quantities, so this list describes our project rather than a complete shopping specification.
1. Measure the mirrors and plan the corners
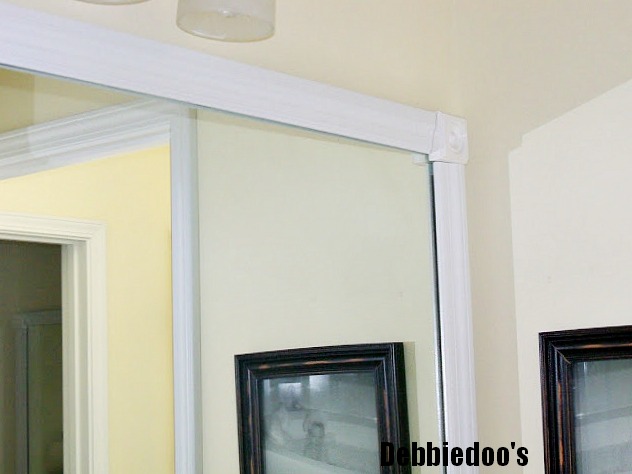
We measured the mirrors before buying the primed molding at Home Depot. The wood blocks occupy each corner, allowing the straight lengths of molding to meet them without angled cuts. Allow for the size of your corner blocks when working out the lengths.
2. Cut and paint the pieces
We cut the molding to fit and gave the pieces a coat of white spray paint. The photograph shows the lengths and corner blocks laid out for painting. Follow the paint's application, ventilation, and drying instructions before handling or attaching the pieces.

3. Attach the decorative molding
We used industrial-type double-sided tape to attach the molding around the mirrors. In earlier projects, we had found waiting for glue to grip awkward, so we chose tape for this installation.
The original post does not identify the tape. If using this method, choose a product specified for the surfaces, trim weight, and bathroom conditions, and follow its preparation and bonding instructions. This trim is decorative; it does not replace the mirror's own secure mounting.
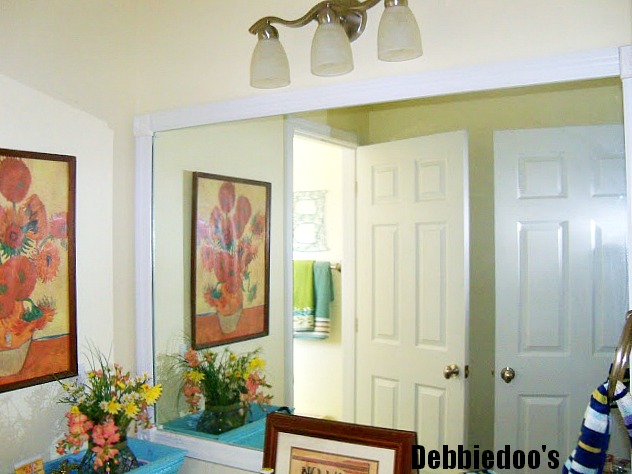
The finished mirrors
The white molding gives the existing mirrors a framed appearance while leaving them in place. That avoided removing the glass and the possible wall repairs that could have followed.
In a later note on the original post, I said the project was still holding up. That was an observation about our installation, rather than a stated service life for every tape-and-molding combination. The $50 figure was our historical cost for both mirrors, not a current price estimate.
For another bathroom update that kept an existing surface, see our painted bathroom vanity countertop project.
Leave a Reply