• Skip to main content
  • Skip to primary sidebar
Debbiedoos
menu icon
go to homepage
  • DIY
  • Dollar Tree Crafts
  • Stenciling
  • Mod Podge Project
  • Household Dimensions
search icon
Homepage link
  • DIY
  • Dollar Tree Crafts
  • Stenciling
  • Mod Podge Project
  • Household Dimensions
×

Home » DIY

Stamped concrete, phase I of the dream

By Debbiedoo's Team Published: Aug 15, 2011 · Modified: Nov 12, 2015

Coming along here, coming along!
Stamped concrete is an interesting process.
It is a lot cheaper than pavers or real stone, so we opted for that route.
Glad we did. It will give us room for a few other things we have been
dreaming of in the future.
If you recall this is was our outdoor area a few weeks ago…
 
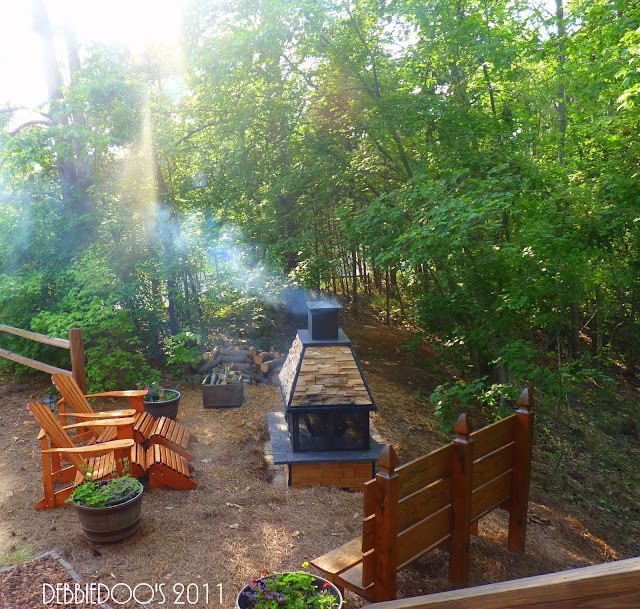
I sure will not miss all that pinestraw…
 
 
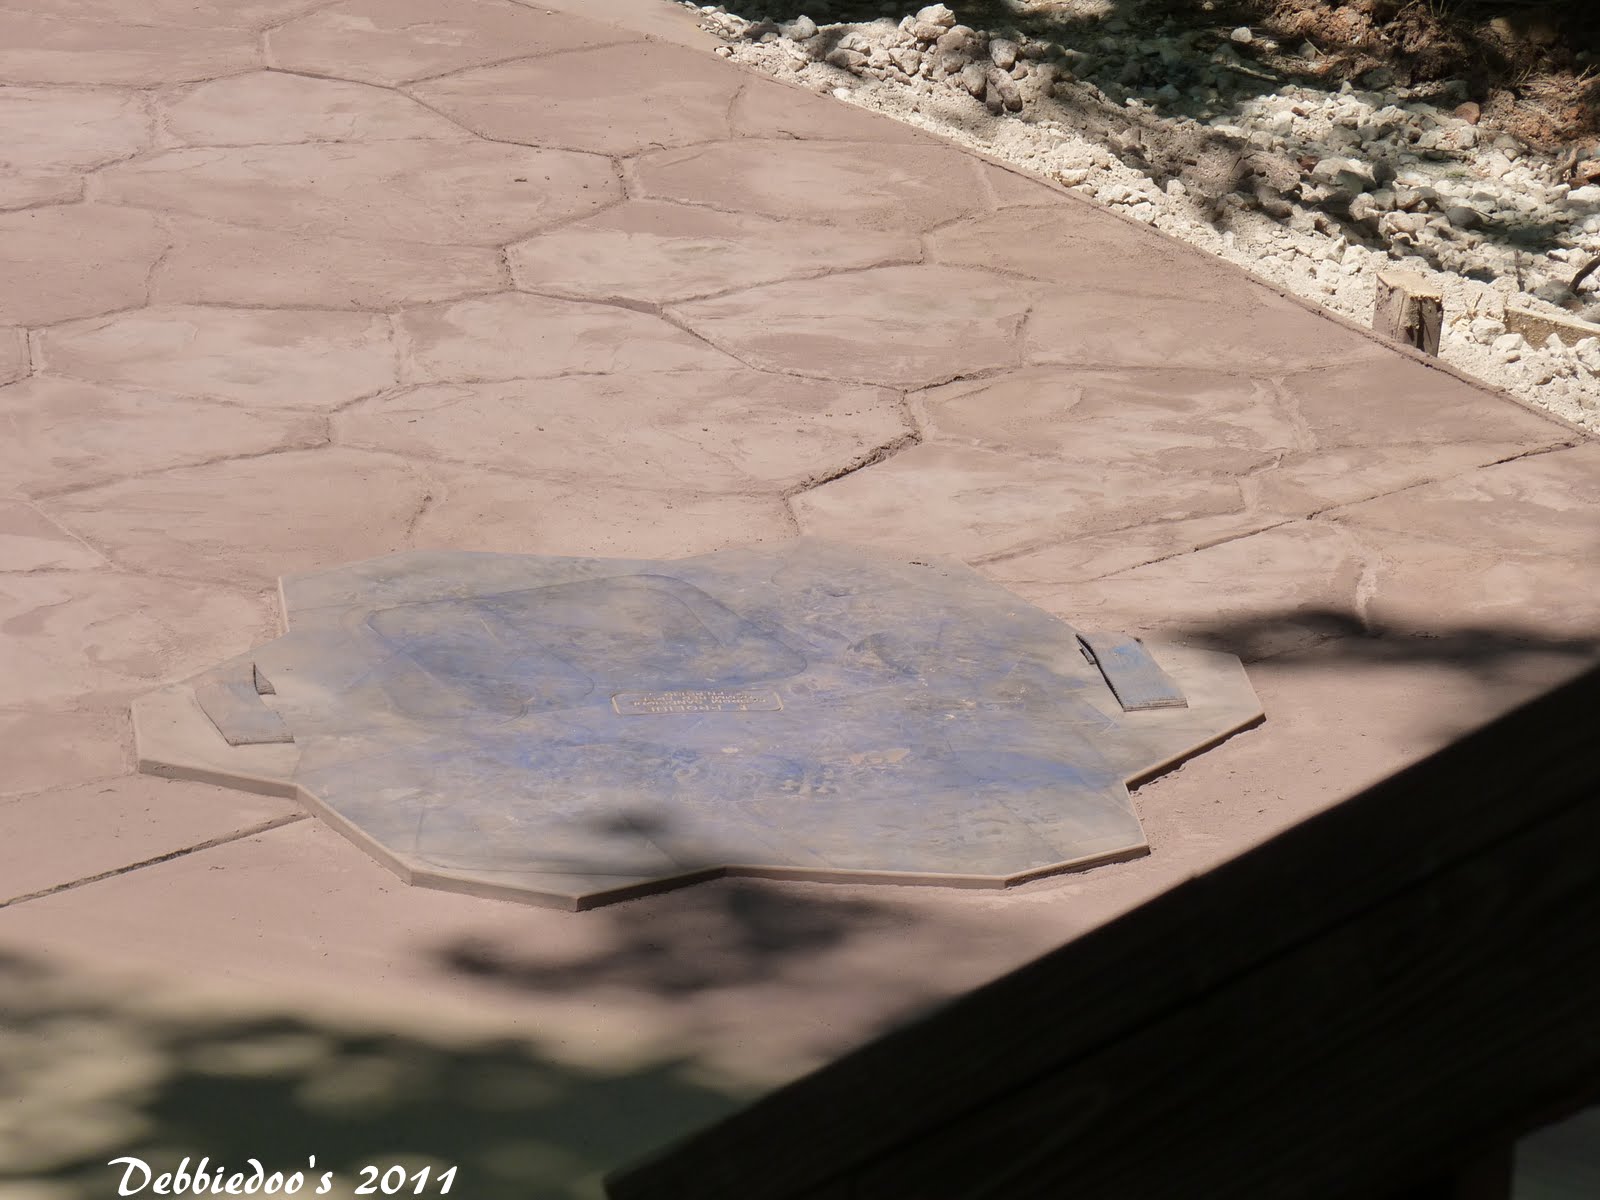
 This was the first step after the poured concrete. 
 They then throw this powder coating on, that oxidized the color.  They take these rubber stamps and literally stamp them into the concrete. It is like a puzzle…
 
We love the color, the texture and the pattern!
 
 
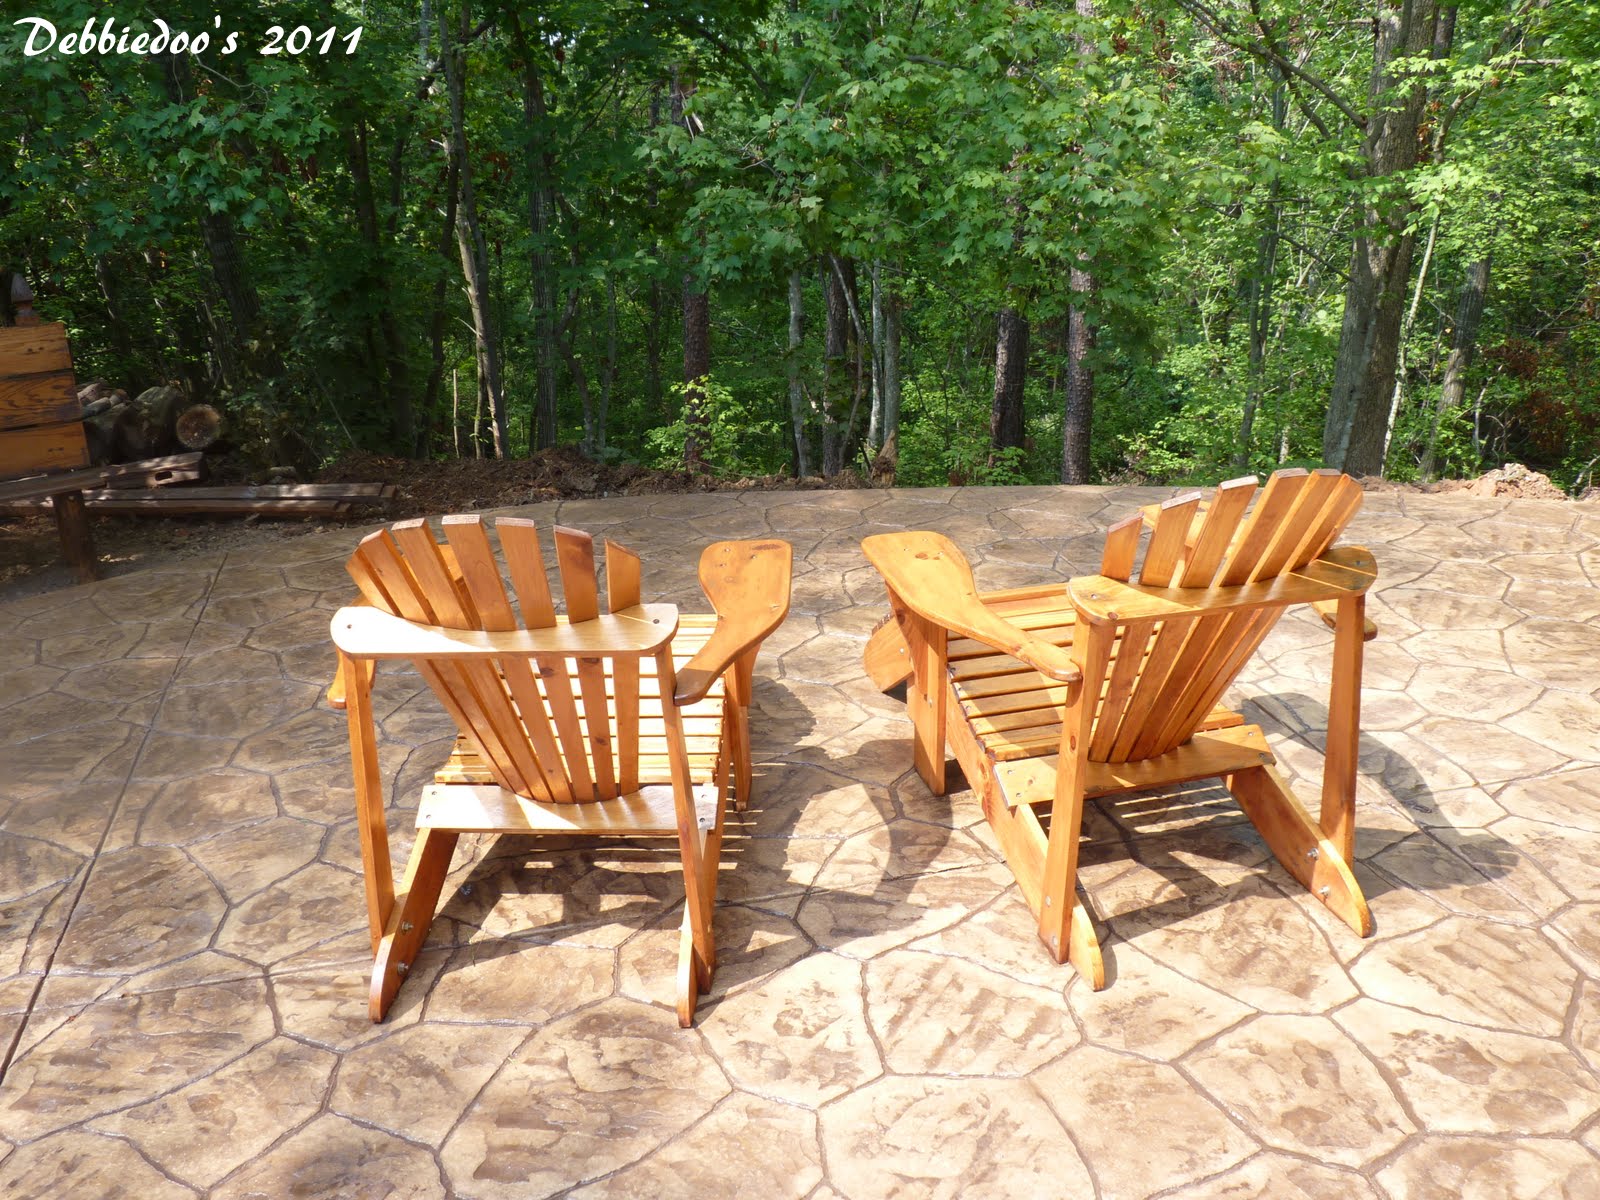
 Soon our fireplace will go on the surface, along with some other fun outdoor goodies,
 furniture and decor..
I plan on bringing lots of color from the indoors out.
 
 
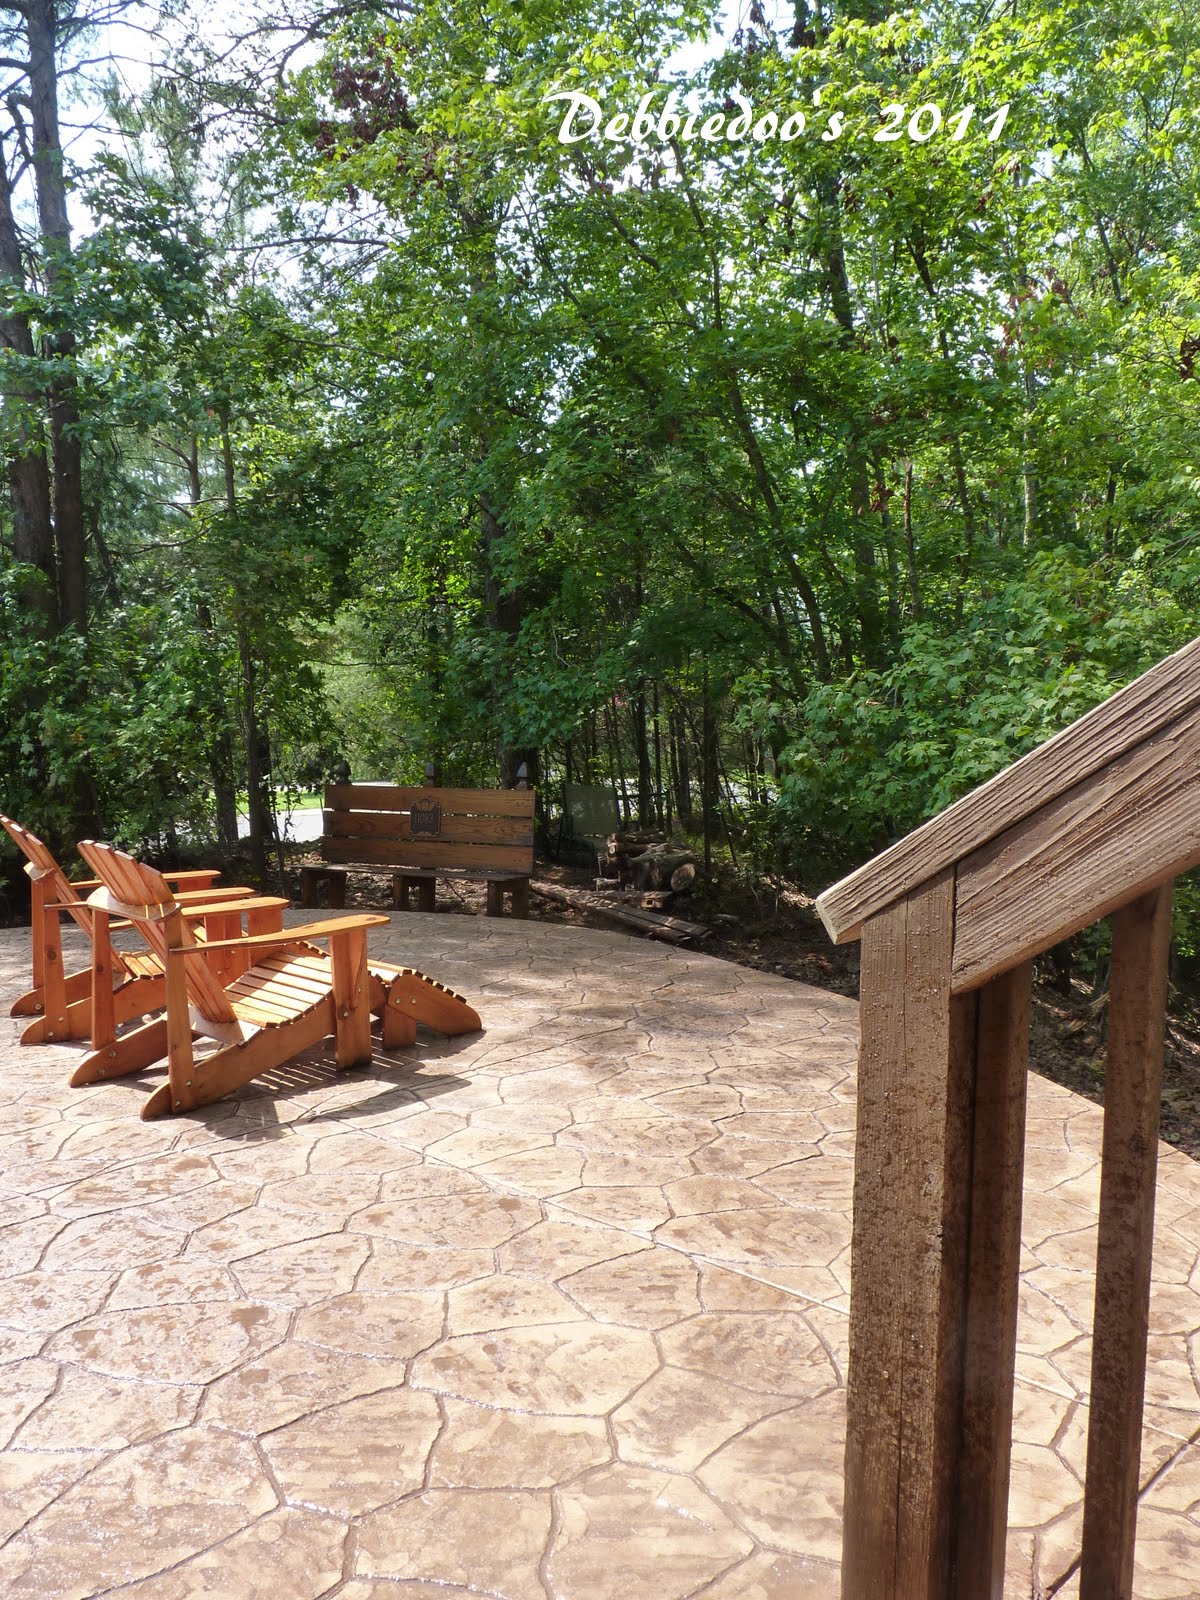
The total extra square footage is around 450 sq. ft.  Certainly wonderful for outdoor entertaining.
I can’t wait to show you phase II, soon.
 
NEWBIE party guidelines:
Blogging 6 months or less, and or LESS than 100 followers.
Please follow along my blog as well.
Add my link or button to your post so that others may find out about the party.
If you have word verification on, please consider NOT!
Thank you….
 
Joining:
Metamorphosis Monday
Amaze me Monday

Diy, thrifty home decor. Painting furniture, crafts, stenciling, burlap projects.

Reader Interactions

Leave a Reply Cancel reply

Your email address will not be published. Required fields are marked *

Recipe Rating


This site uses Akismet to reduce spam. Learn how your comment data is processed.

Primary Sidebar

farmhouse signs

Farmhouse Signs: Rustic Charm Meets DIY Elegance in This 3-Step Project

burlap door hanger

How to Craft a Burlap Door Hanger for Rustic Charm in 6 Easy Steps

christmas placemats

How to Make Beautiful Christmas Placemats in 5 Simple Steps

shelf liner wreath

How to Craft a Shelf Liner Wreath in 5 Easy Steps

How to Personalize Burlap Mason Jars in 4 Simple Steps

Looking for something?

Recent Posts

  • Farmhouse Signs: Rustic Charm Meets DIY Elegance in This 3-Step Project
  • How to Craft a Burlap Door Hanger for Rustic Charm in 6 Easy Steps
  • How to Make Beautiful Christmas Placemats in 5 Simple Steps
  • How to Craft a Shelf Liner Wreath in 5 Easy Steps
  • How to Personalize Burlap Mason Jars in 4 Simple Steps

Footer

↑ back to top

About

  • About
  • Privacy Policy

As an Amazon Associate I earn from qualifying purchases.

Copyright © 2023 Debbie-Debbiedoos.com