
A mason jar pumpkin is a clever way to upcycle salt and pepper shakers by turning them into Halloween or fall decor. These charming shakers can be customized to fit any kitchen style, or they can be gifted as unique and personalized hostess gifts. Read on to discover the complete steps for making your own mason jar pumpkin.
1. Gather your supplies
- Small mason jars, such as salt and pepper shakers
- A pumpkin face design
- Small scissors
- Mod Podge
- Spray paint, chalky paint, or craft paint
- Light grit sandpaper
- Decorative elements, such as glitter, ribbon, or burlap (optional)
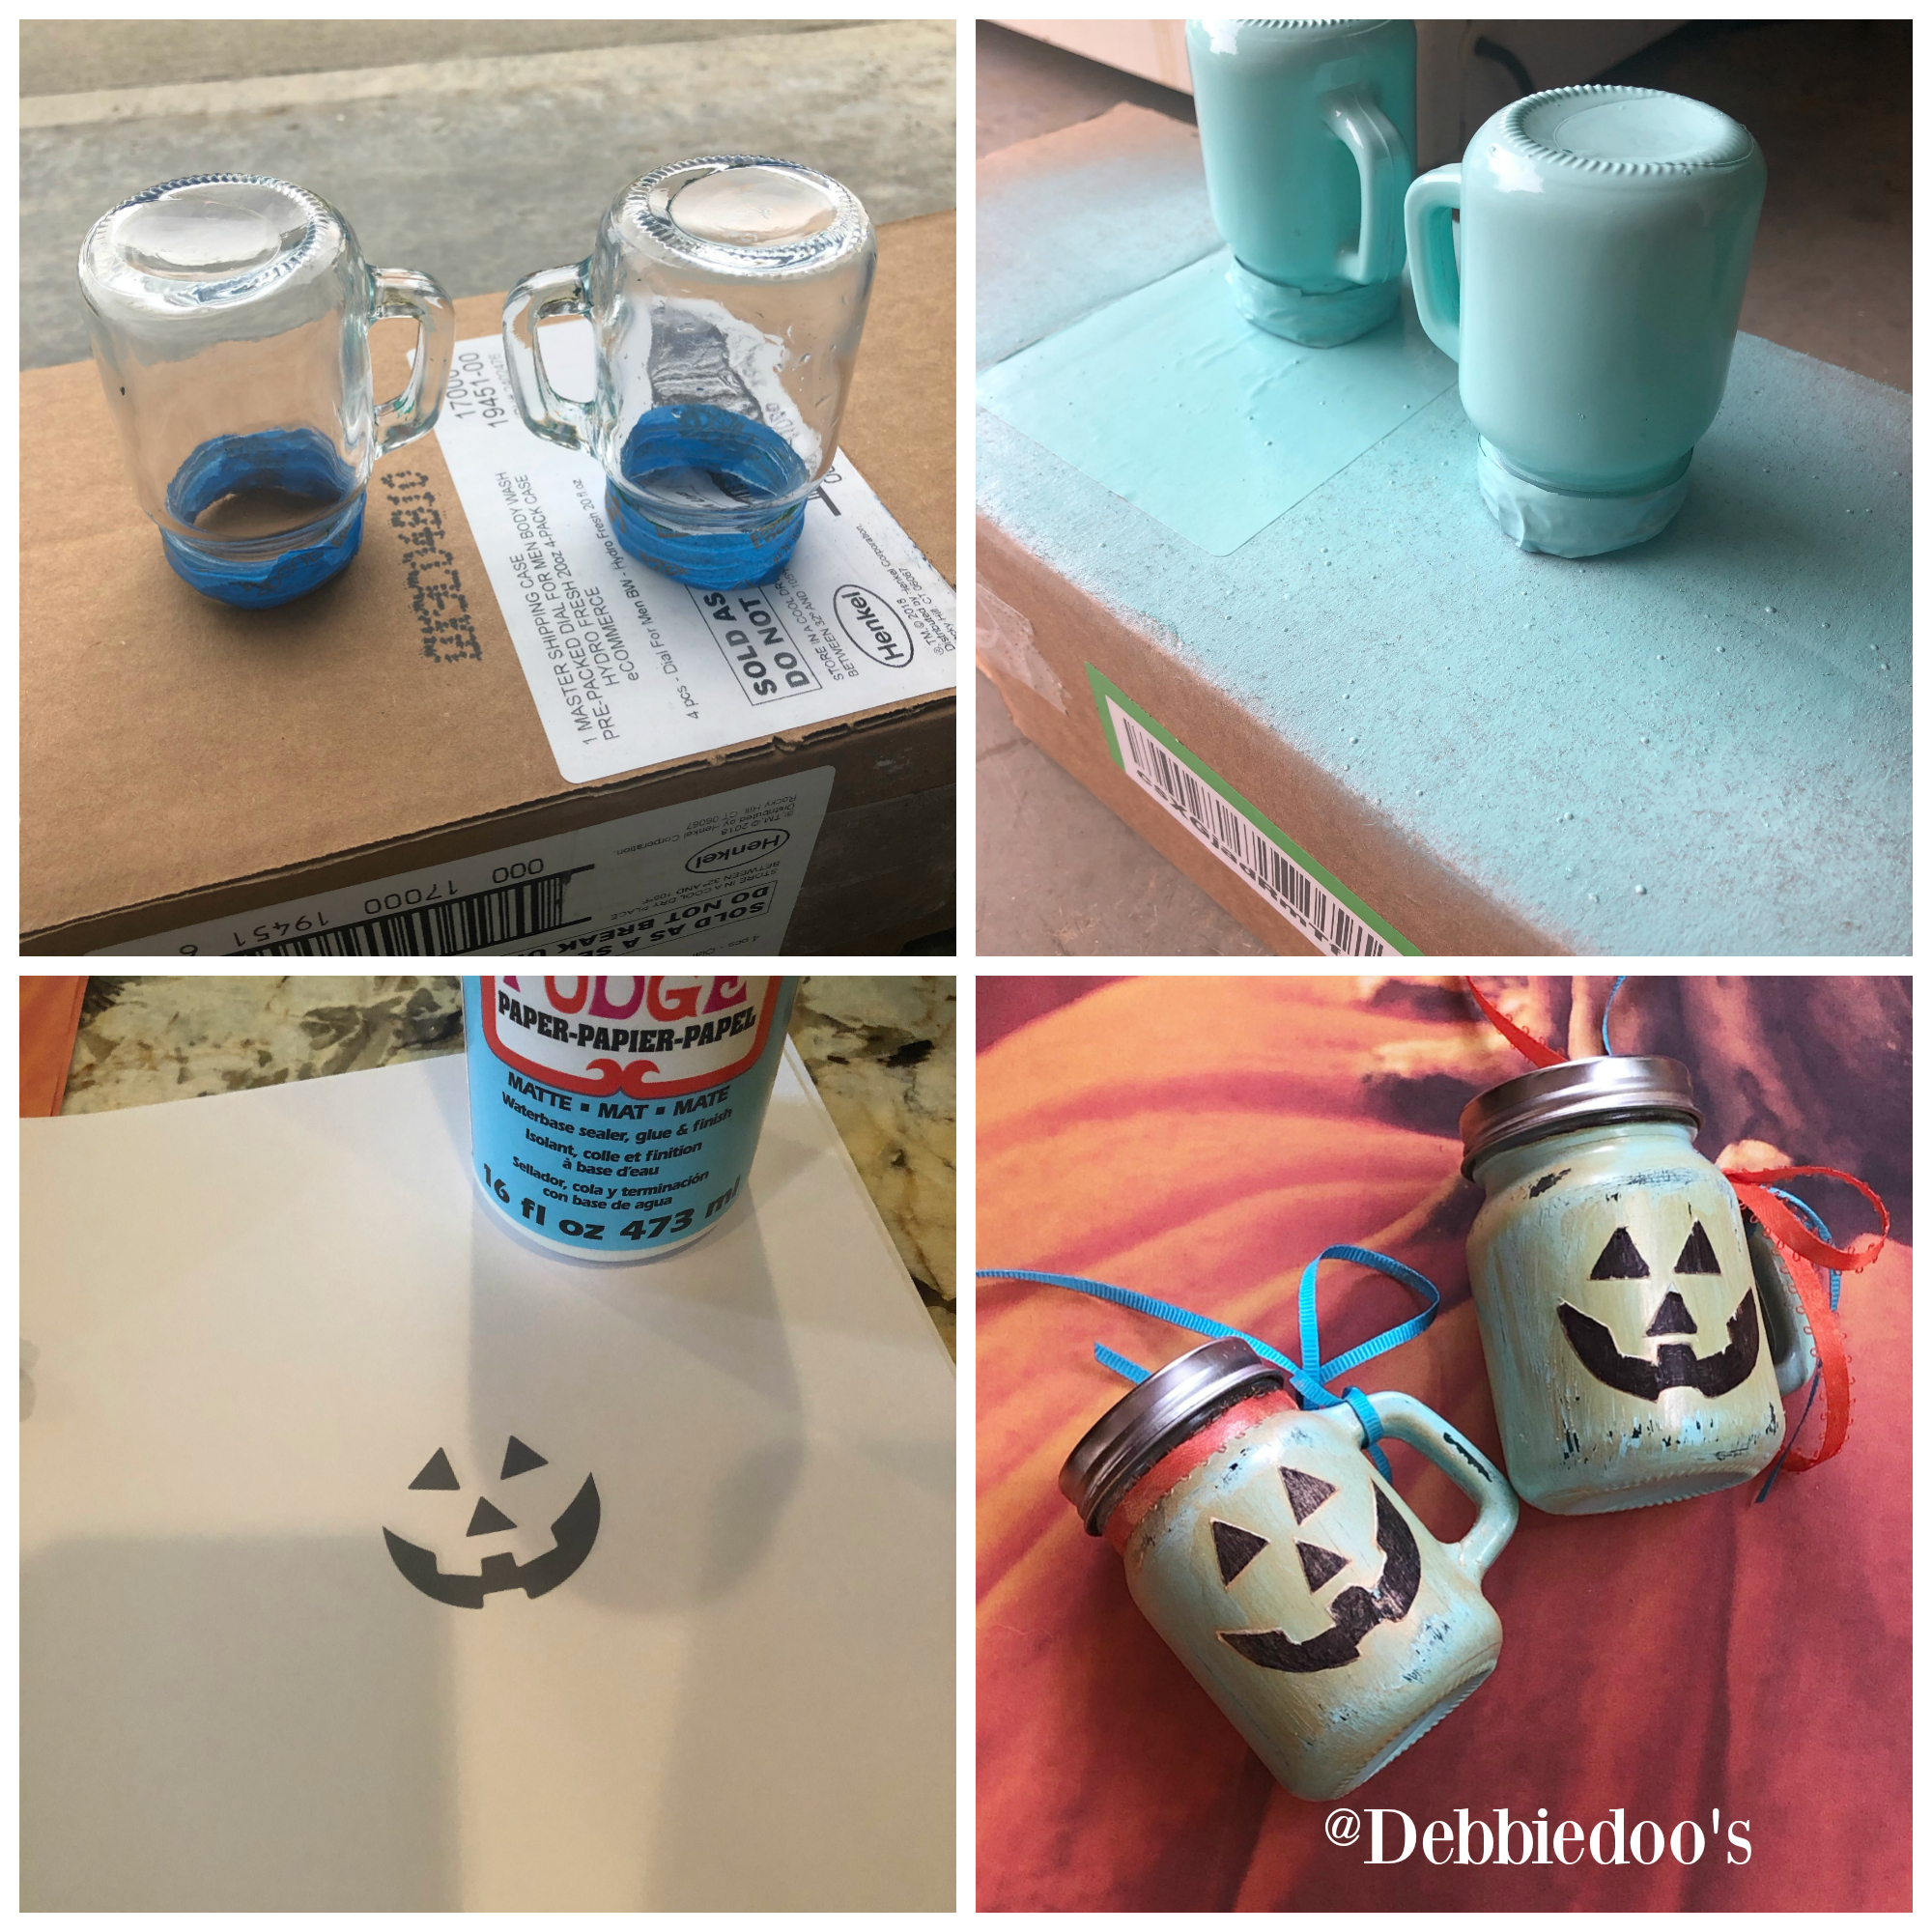
2. Prepare the mason jars
Start your crafting journey by spray-painting your mason jars. It’s essential to tape off the edge where the cap goes, ensuring no paint or chemicals come into contact with your future seasonings.
After painting, let your jars dry completely. Feel free to add your flair, whether it’s with glitter, ribbons, burlap, or a personal touch of your choice.
3. Design the pumpkin face
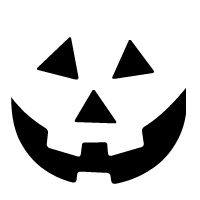
Once your jars are dry, it’s time to create the pumpkin faces. Save and print your free pumpkin face design.
Using small scissors, carefully cut out the design and use Mod Podge to apply it onto the glass jar. Let this dry completely before moving to the next step.
4. Create a rustic look (optional)
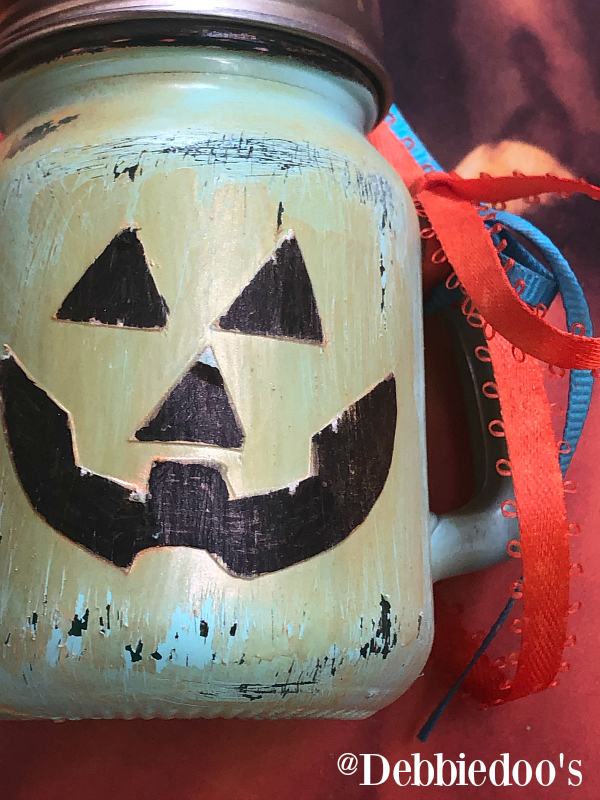
To give our jars a rustic look, lightly rub orange craft paint on the jars and let this layer dry. Following that, gently use the light grit sandpaper to create a subtle distressed effect.
If rustic isn’t your style, don’t worry. You might spray paint your jars gold or silver for a shiny, modern aesthetic that would perfectly complement a contemporary kitchen decor.
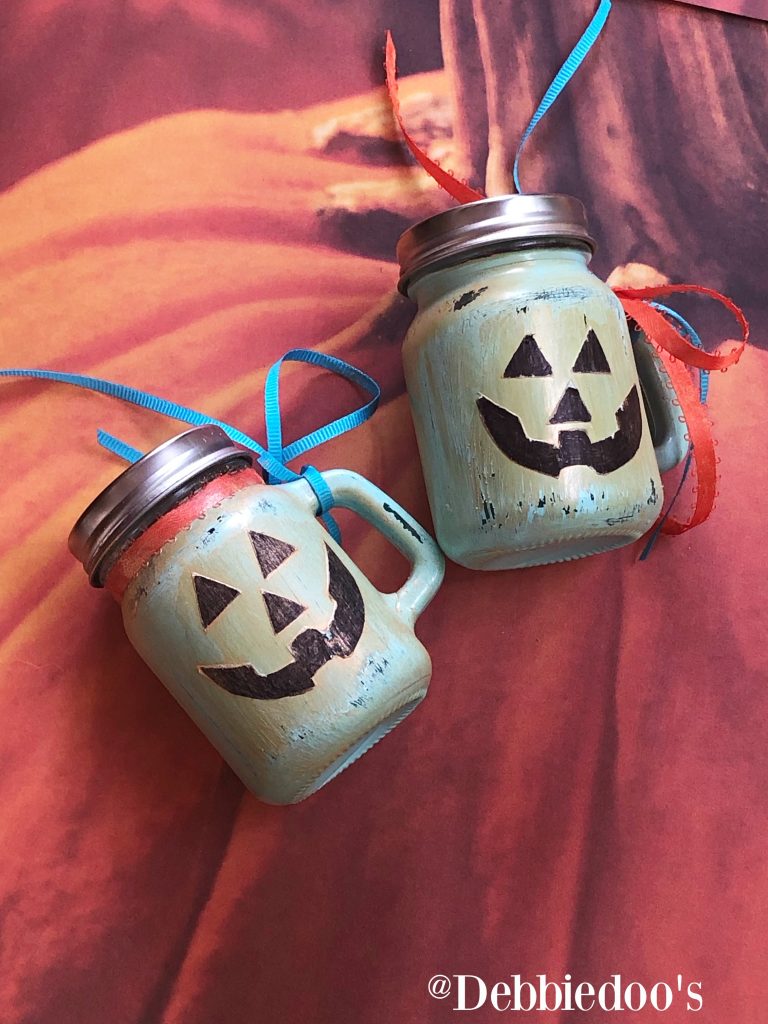
5. Add the final touches
As the final step, consider adding extra decorations to make your jars truly stand out. For example, tie a ribbon around the handles or add a sprinkle of glitter for a festive touch. The important thing here is to make it your own, creating a piece that reflects your personal style or that of the person you’re gifting it to.
Check out more mason jar crafts to welcome fall.
Adorable!!
I love these, Debbie! Nice to see you crafting again.
Really cute,
Cute idea!! ?
Super cute, would make a nice hostess gift!