
How to make your own custom rustic signs or trays
Happy Saturday y’all! Today, I want to share with you how to make your own custom signs or trays. The best part, you too can make these signs for just a few bucks a piece. Considering, I see these wood signs in stores, and on Etsy, for a heck of a lot more, I thought I would share with you the secret to making them yourself.
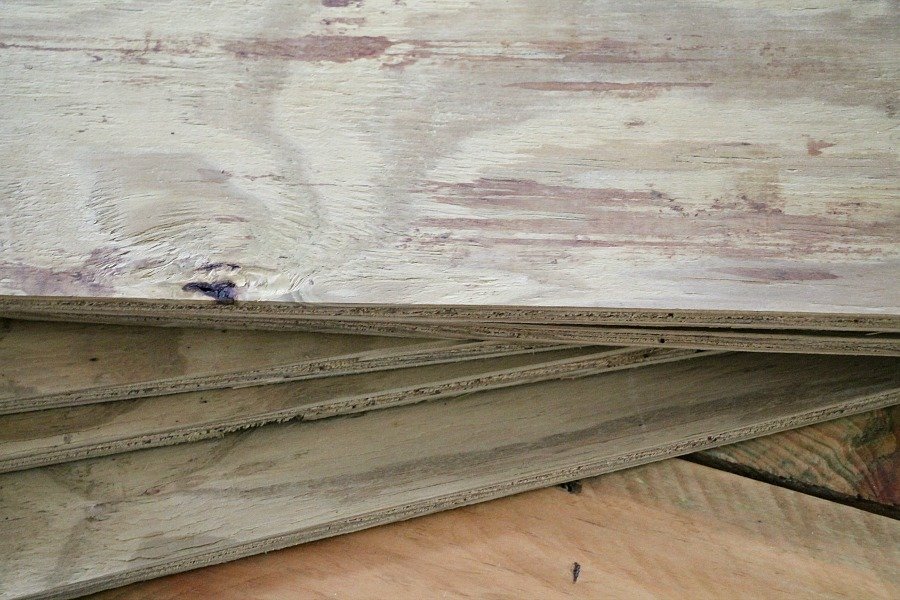
Let’s start with the wood. Lowes and Home depot of course have an entire aisle of wood in all shapes and sizes needed for any project.We used this very same wood when my husband made my industrial kitchen shelf. I then later used the pieces left over for my kitchen country sign, and what I never did show you was a vanity bathroom tray I made for the guest bath upstairs.
I made one for my friend as well, because she loved it so much when she spied it in our bathroom.
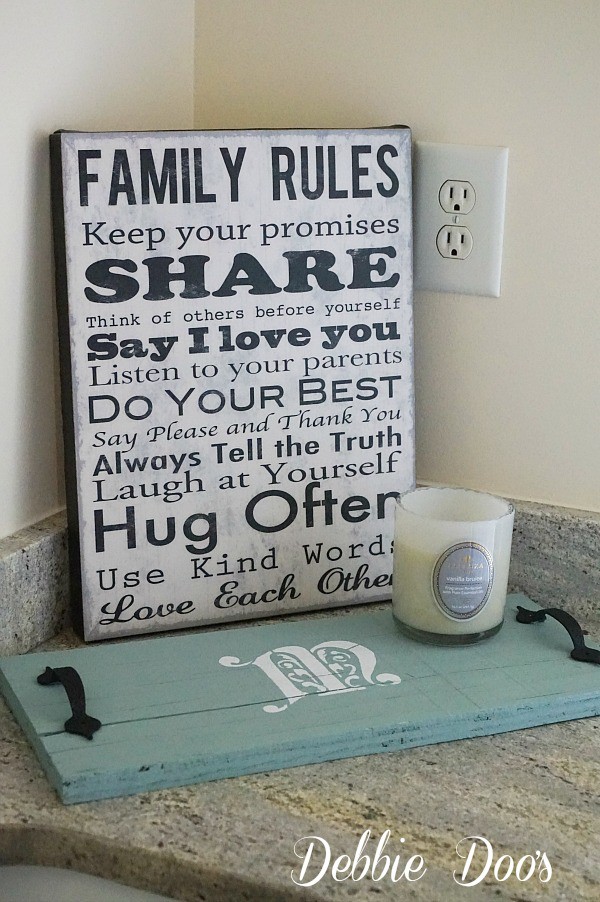
The monogram M I used when I painted my sons toy box last year. Toy box makeover here.
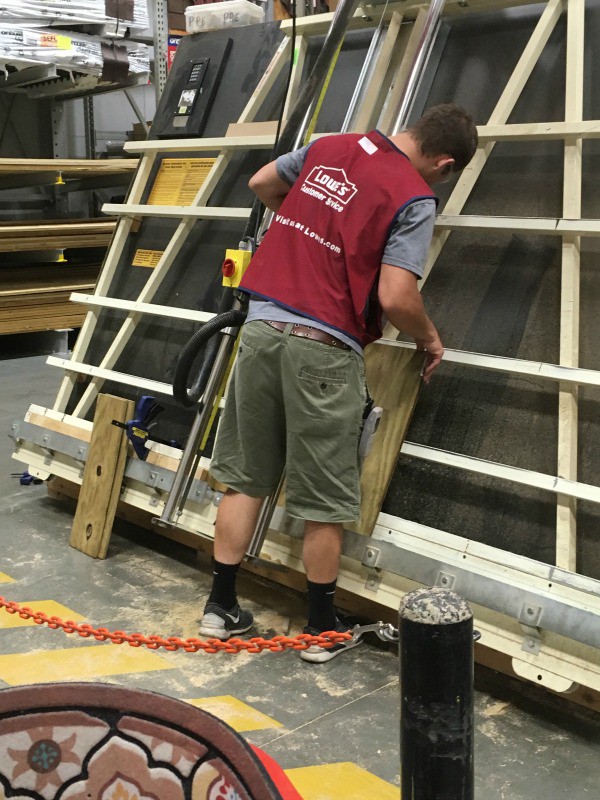
Lowe’s will even cut it for you to size if you don’t want to bother or your husband to do it for you. Or simply, if you don’t have the saws at home needed to do it yourself. I bought one piece of pretty plywood and had it cut into 6 pieces. That equals 6 signs. Now you can probably get more out of the one piece of plywood depending on what size you would like for your projects. Oh, and the one piece of plywood only cost me $10.00!! That’s quite a bargoon.First, I painted my wood in my color choice of yellow. I actually used Chalky paint by Waverly that I picked up from Walmart.
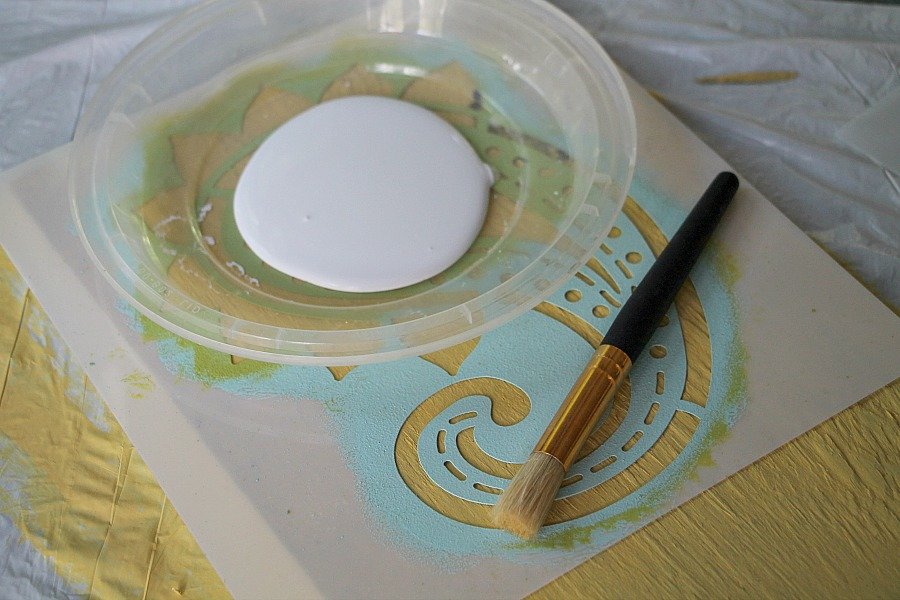
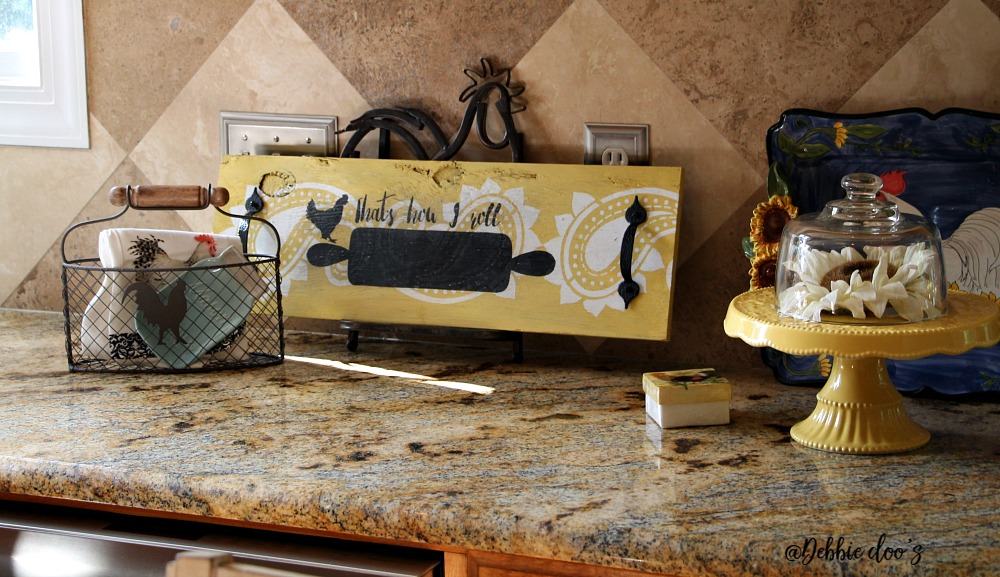
I decided for this kitchen tray I would do my layering of stencils technique. First I used a paisley stencil. The same stencil I used for my DIY burlap canvas art. I used my small stencil brush as shown above. DIP DOP DAB. Very simple technique and something to always keep in mind when stenciling. Less is more, you can always go in and fill in the blanks. If you over saturate your stencil tool you will get a messy bleed through.
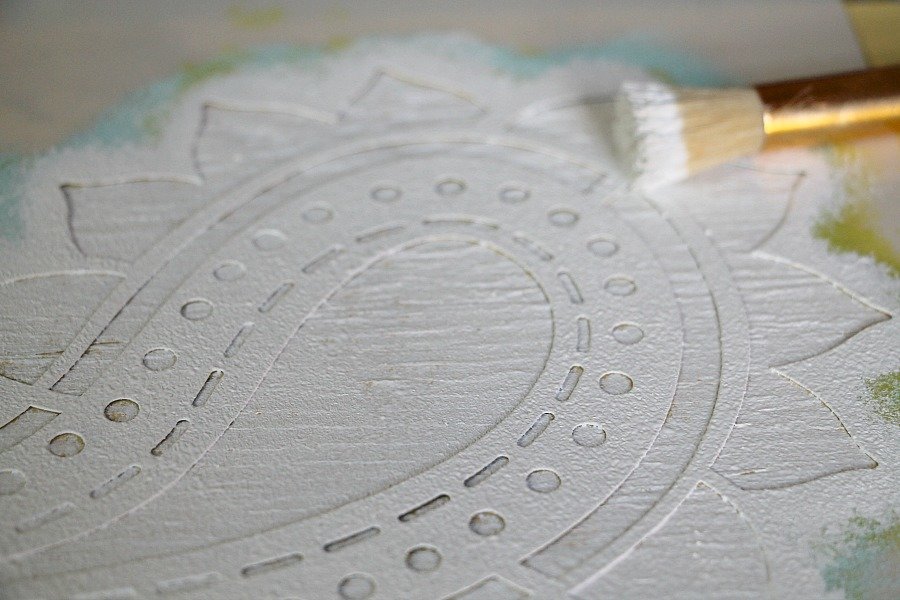
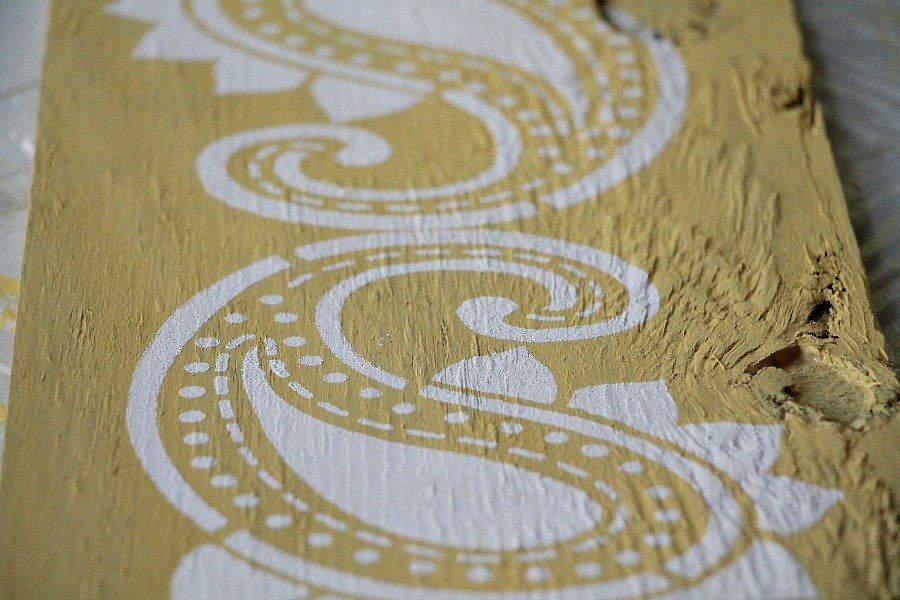
Looking good! Nice clean lines and pretty paisley pattern.
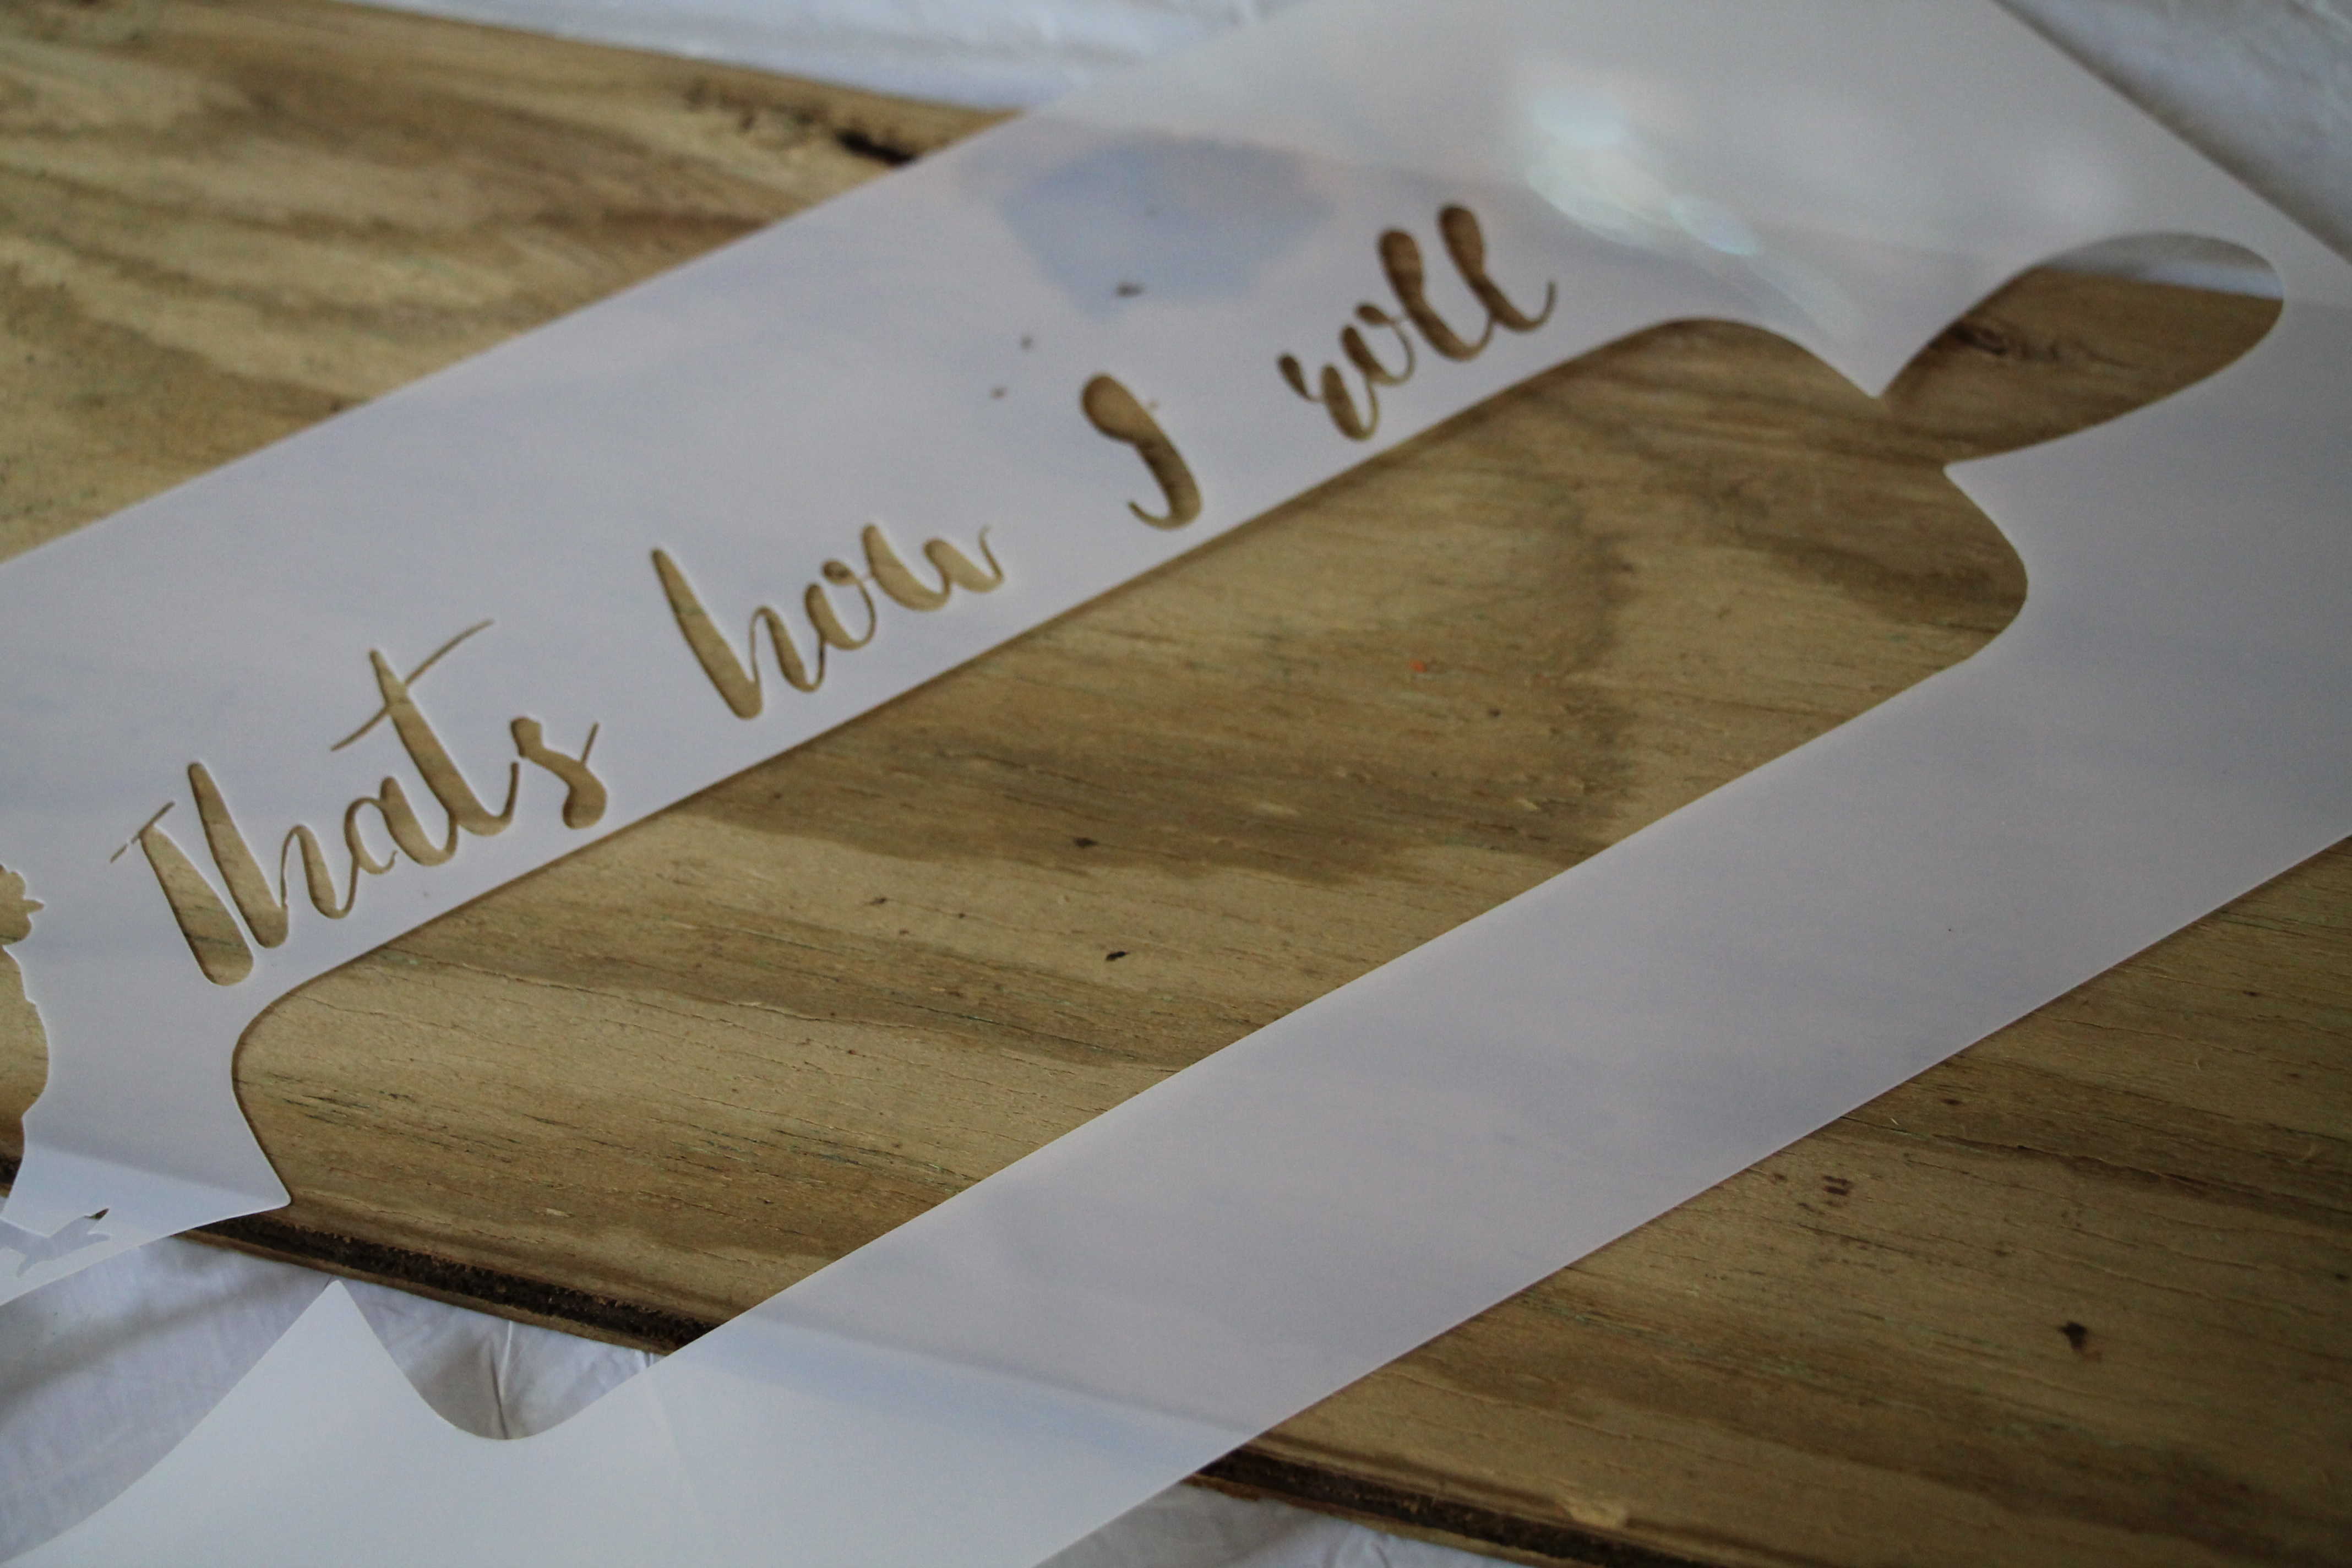
I then placed my custom made stencil (sample) centered on my wood sign, and used simple black craft paint and my stencil roller to apply and roll gently. You can use the stencil brushes as well, just takes a bit more time and effort. But if you are apprehensive on using a stencil roller the brushes work just as well in the end. The apostrophe is missing on the sample, however the final product will have it on the stencil when made. Hence, this is why you need to get samples first.
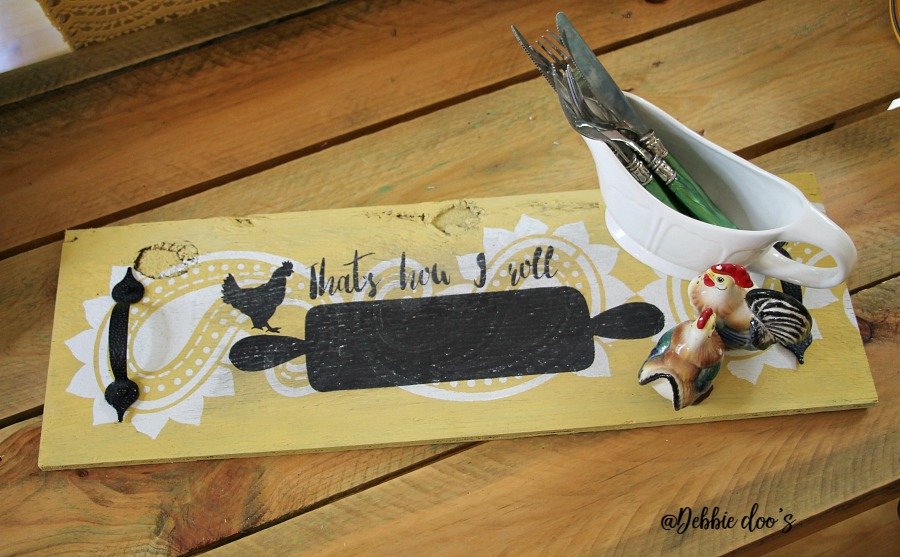
And that is how I roll!
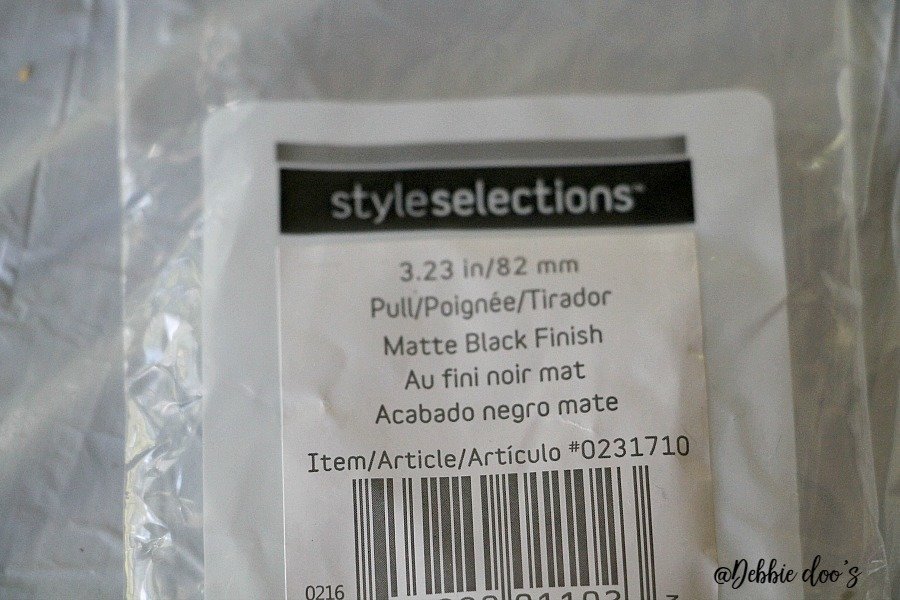
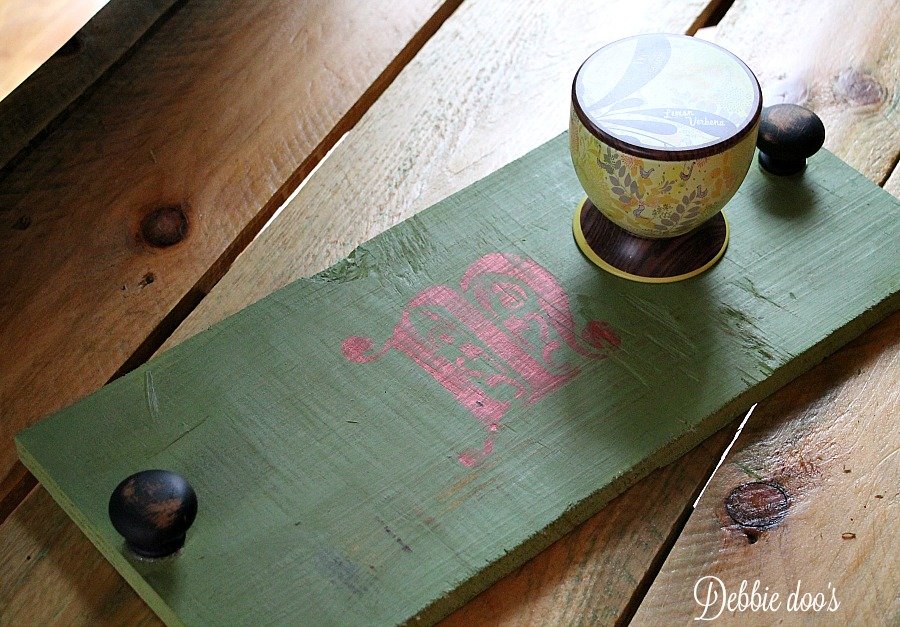
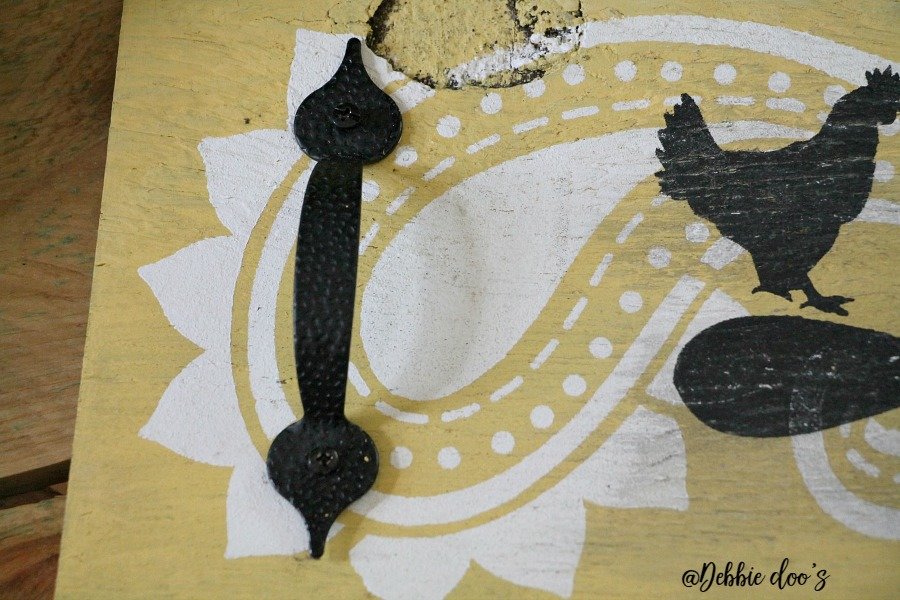
I used the black hardware pulls that cost around a $1.50 a piece.
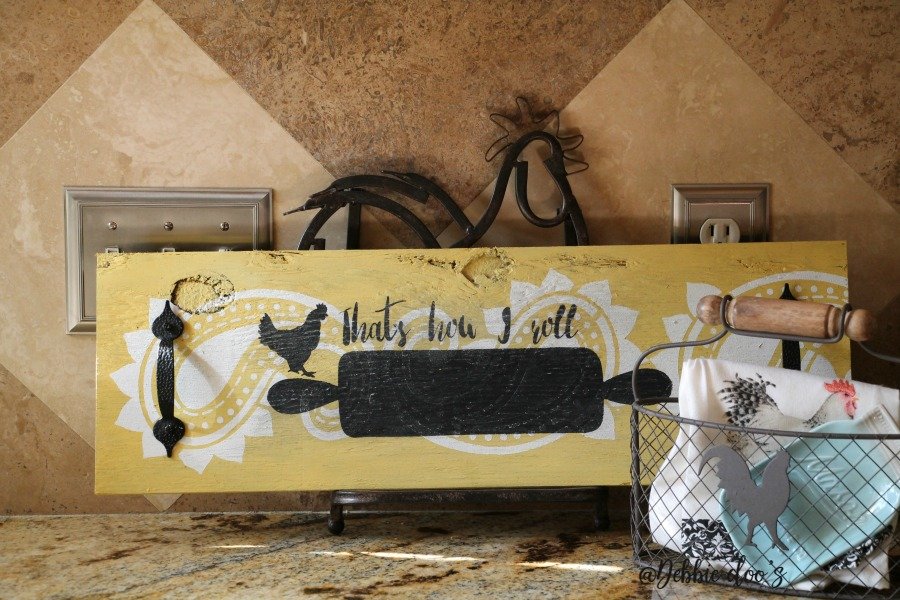
You can use the tray when entertaining, placing your utensils, napkins, dishes etc on top. Or simply display as shown above.
Clearly not enough roosters in this house HAHAHAHAHA!!~ Pin it, make it, my stencils will be available very soon folks. Wrapping it up Monday with the company. YAY. You are probably sick and tired of me talking about it already. Sorry:(
How to make your own custom rustic signs or trays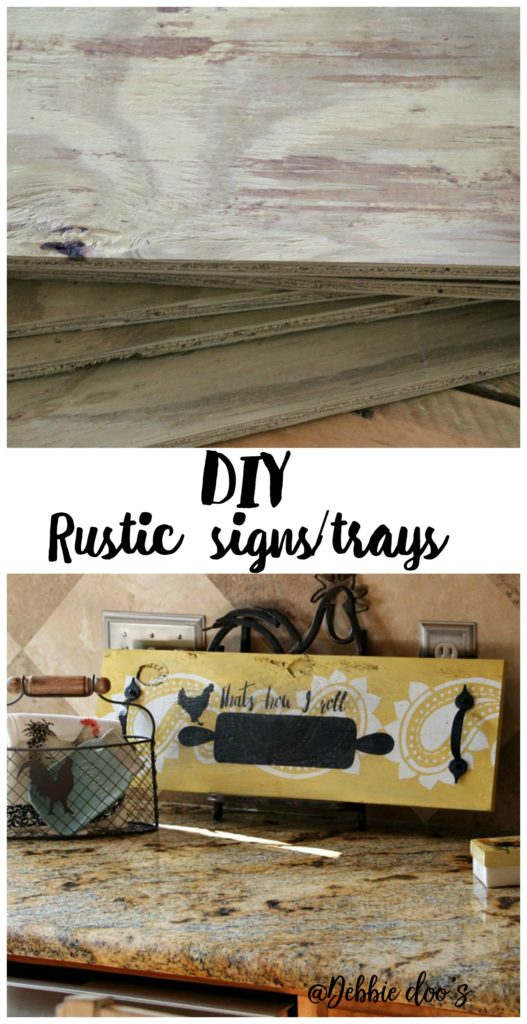
Thank you for your visit today! I share all things, thrifty home decor, crafts and a recipe or two on occasion.
Find over 100 stencils and DIY’s you can create your own rustic signs HERE
If you would like to commit to becoming a subscriber to my blog, I would love for you to join me.
Fall is right around the corner. I have plenty of budget friendly ideas.
And stencil ideas for that matter! You too can be the stencil queen:)

How to stencil live video I shared on facebook a while back.
LOVE it!
I LOVE the tray!
This has given me lots of inspiration which is why I subscribe to Blogs!
Thank you, Marci
When painting raw wood, it’s okay to just use regular paint? No primer or sealant needed? Oh so cute!
Sure! You may have to do several coats, but in the end it should look just fine.
Very clever–and useful! My only question is: how do you keep things from falling off the edges of the tray? I guess you could glue some sides on it, huh?
I am anxious to try some stenciling. Will be interested to see yours when ready.
Thanks for the tutorial, Debbie!
Not sure what you mean Naomi. If it is used as a tray it will be flat on the counter and only for decorative. You can have your utensils, plates, etc displayed on top.
Are your stencils available for purchase?? If so where??
They will be Mary very soon. Be sure you are subscribed to my email list and you will get the details when they are available for purchase. Thank you.
I LOVE LOW’S THE FIRST 3 CUTS ARE FREE THEN IT’S 25 CENTS A CUT!!! ALSO RIGHT BEHIND WHERE THEY CUT THE WOOD YOU WILL SEE LEFT OVER WOOD THAT NO ONE WANTED I HAVE GOT THAT FOR FREE AND THAT IS GREAT!!!!!
My Lowes did not charge me a dime for the extra. I suppose they may all be different. Good tip on the unwanted wood! Thanks for sharing that.
Oh, that turned out great, Debbie, and talk about the stencils all you want, as far as I’m concerned! I’m excited for you and you should be very proud of having the gumption to get your own stencil line going. That’s huge! That’s brave!!! Good for you!!!
Hugs,
Kris
Thank you Kris! No risk in life no reward is how I look at it:) I appreciate all the support.
I love love this DYI! Thank you for sharing, Vicki
You are welcome Vicki!
I love the idea of your stencils. However I am not a farm house look person. So any chance of some things beachy or nautical? Add that to how I roll would be cute. Just an idea for next brainstorming you have. Look forward to your line and I will buy one I have friends and family that will like them.
Absolutely Judi! I am just getting started and can only start with 4. Once I get going I have lots of ideas swirling that will appeal to all. Keep ideas coming:) Thank you.
That yellow sign/tray with the black handles is so cute. Thanks so much!!
Debbie, I love how you layered the 2 stencils. Makes it very interesting!!!
Oh my goodness, Debbie! I love these. I agree with Jane, the layered stencil look is awesome.
Loved that yellow tray!!