
Hey there everyone!
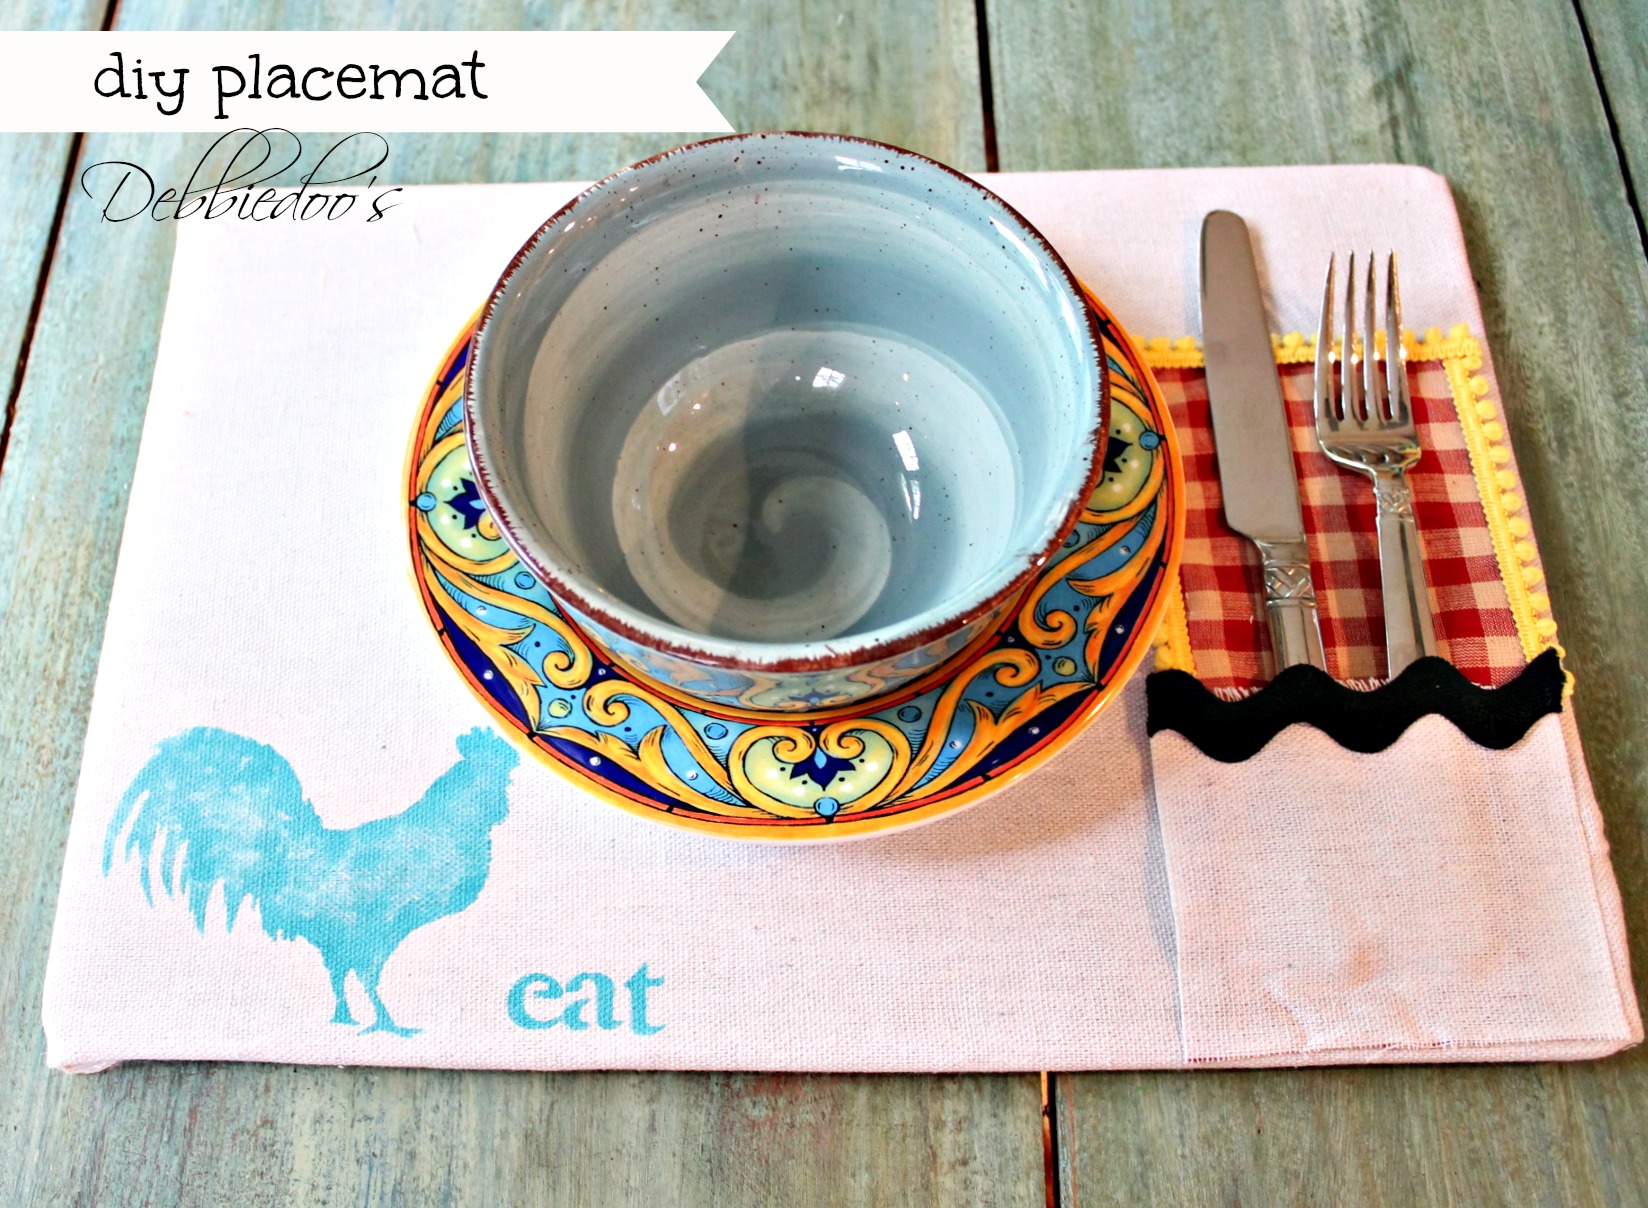
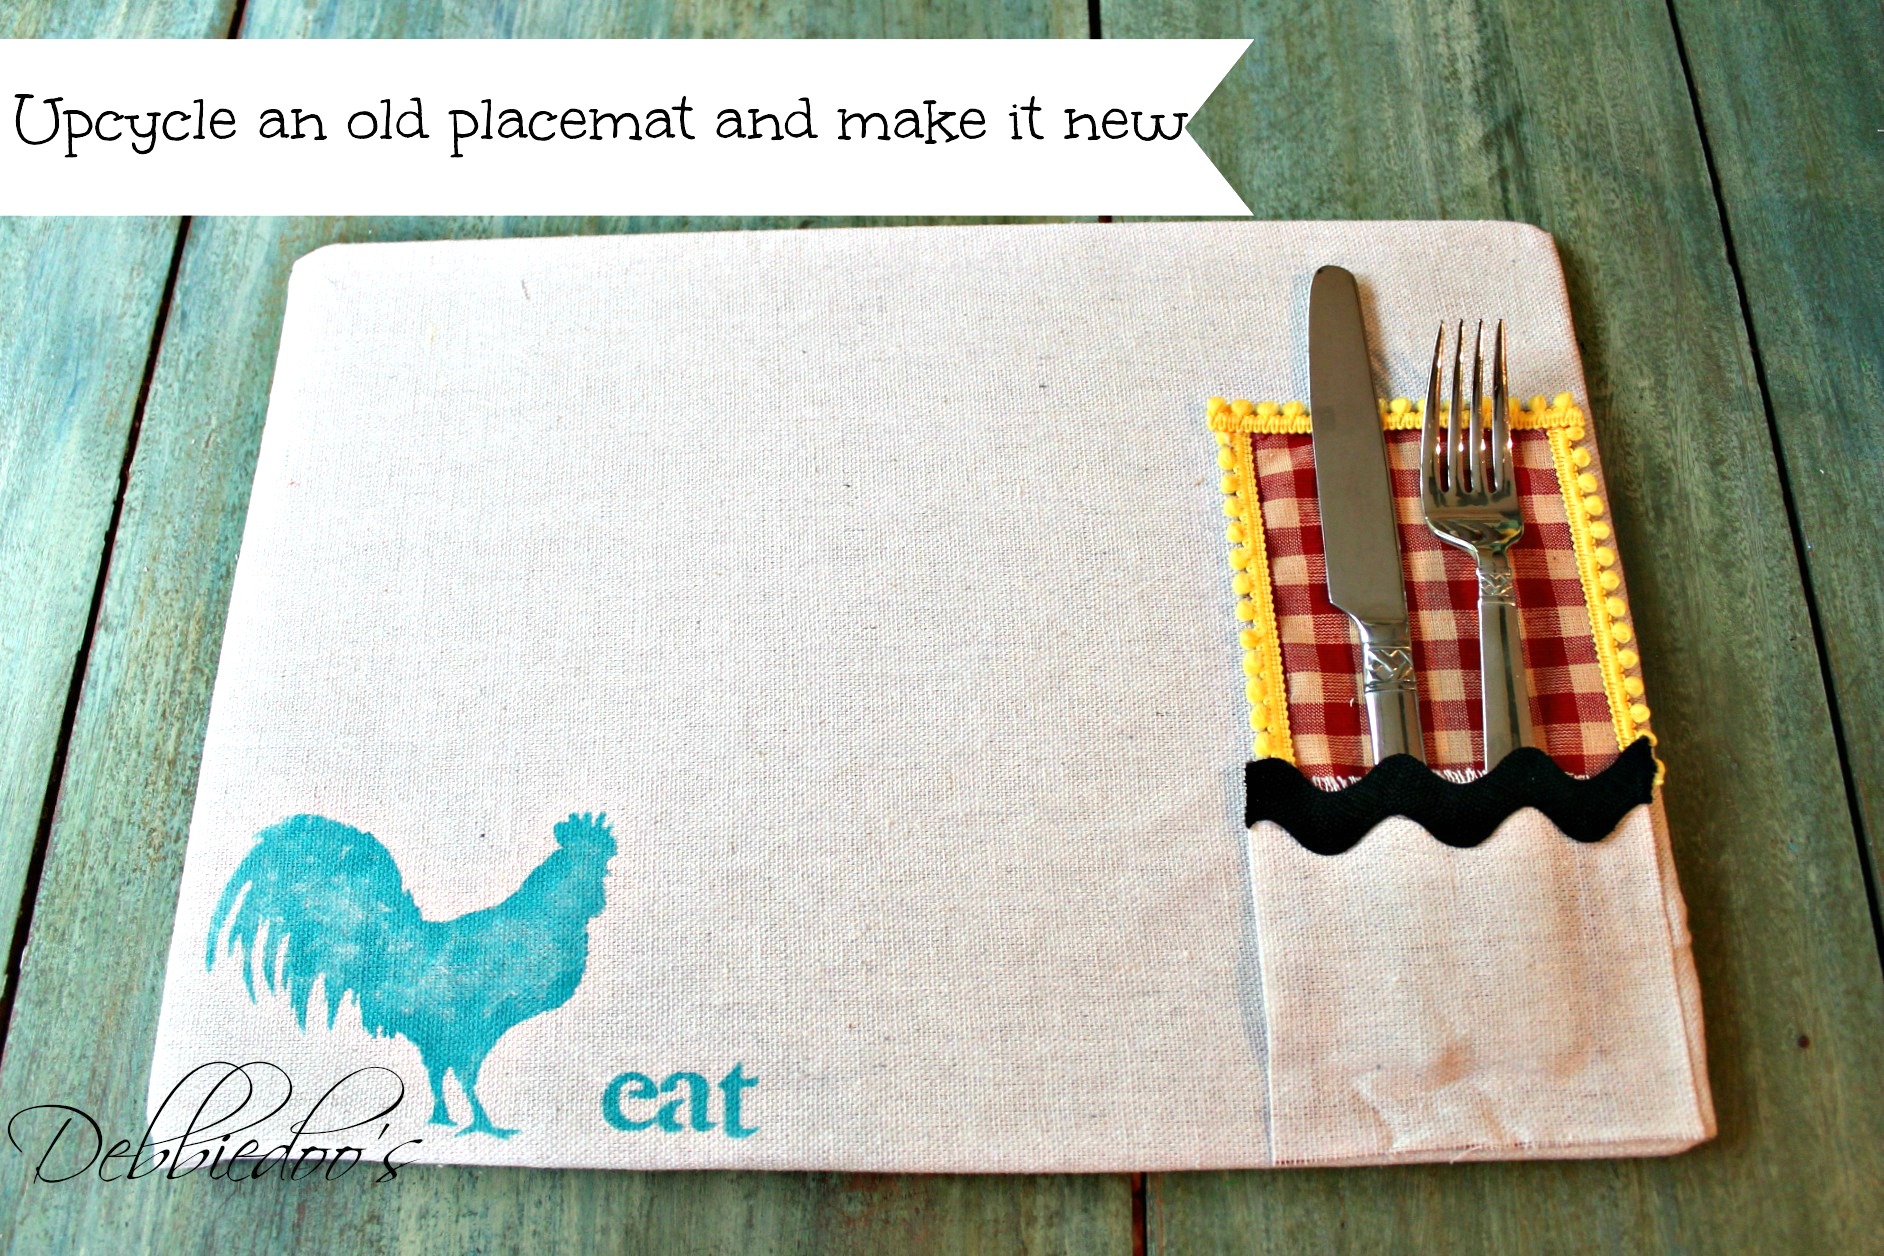
Today I am sharing and showing you how to make your own placemats.
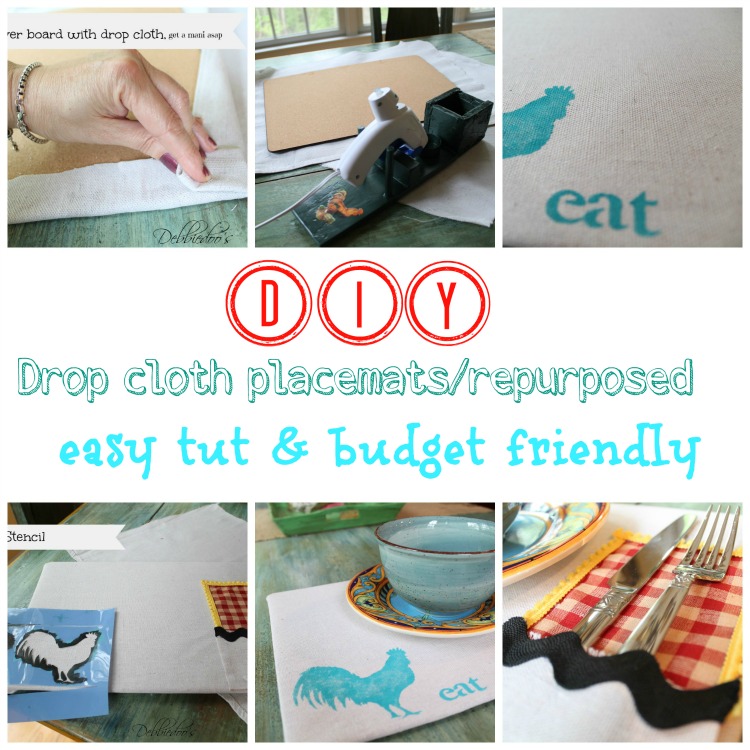
This is an upcycle, use what you have, don’t waste a thing kinda project.
All looks familiar right?
diy utensil holders..ringing a bell yet?
ding, ding, ding!
good moving on…
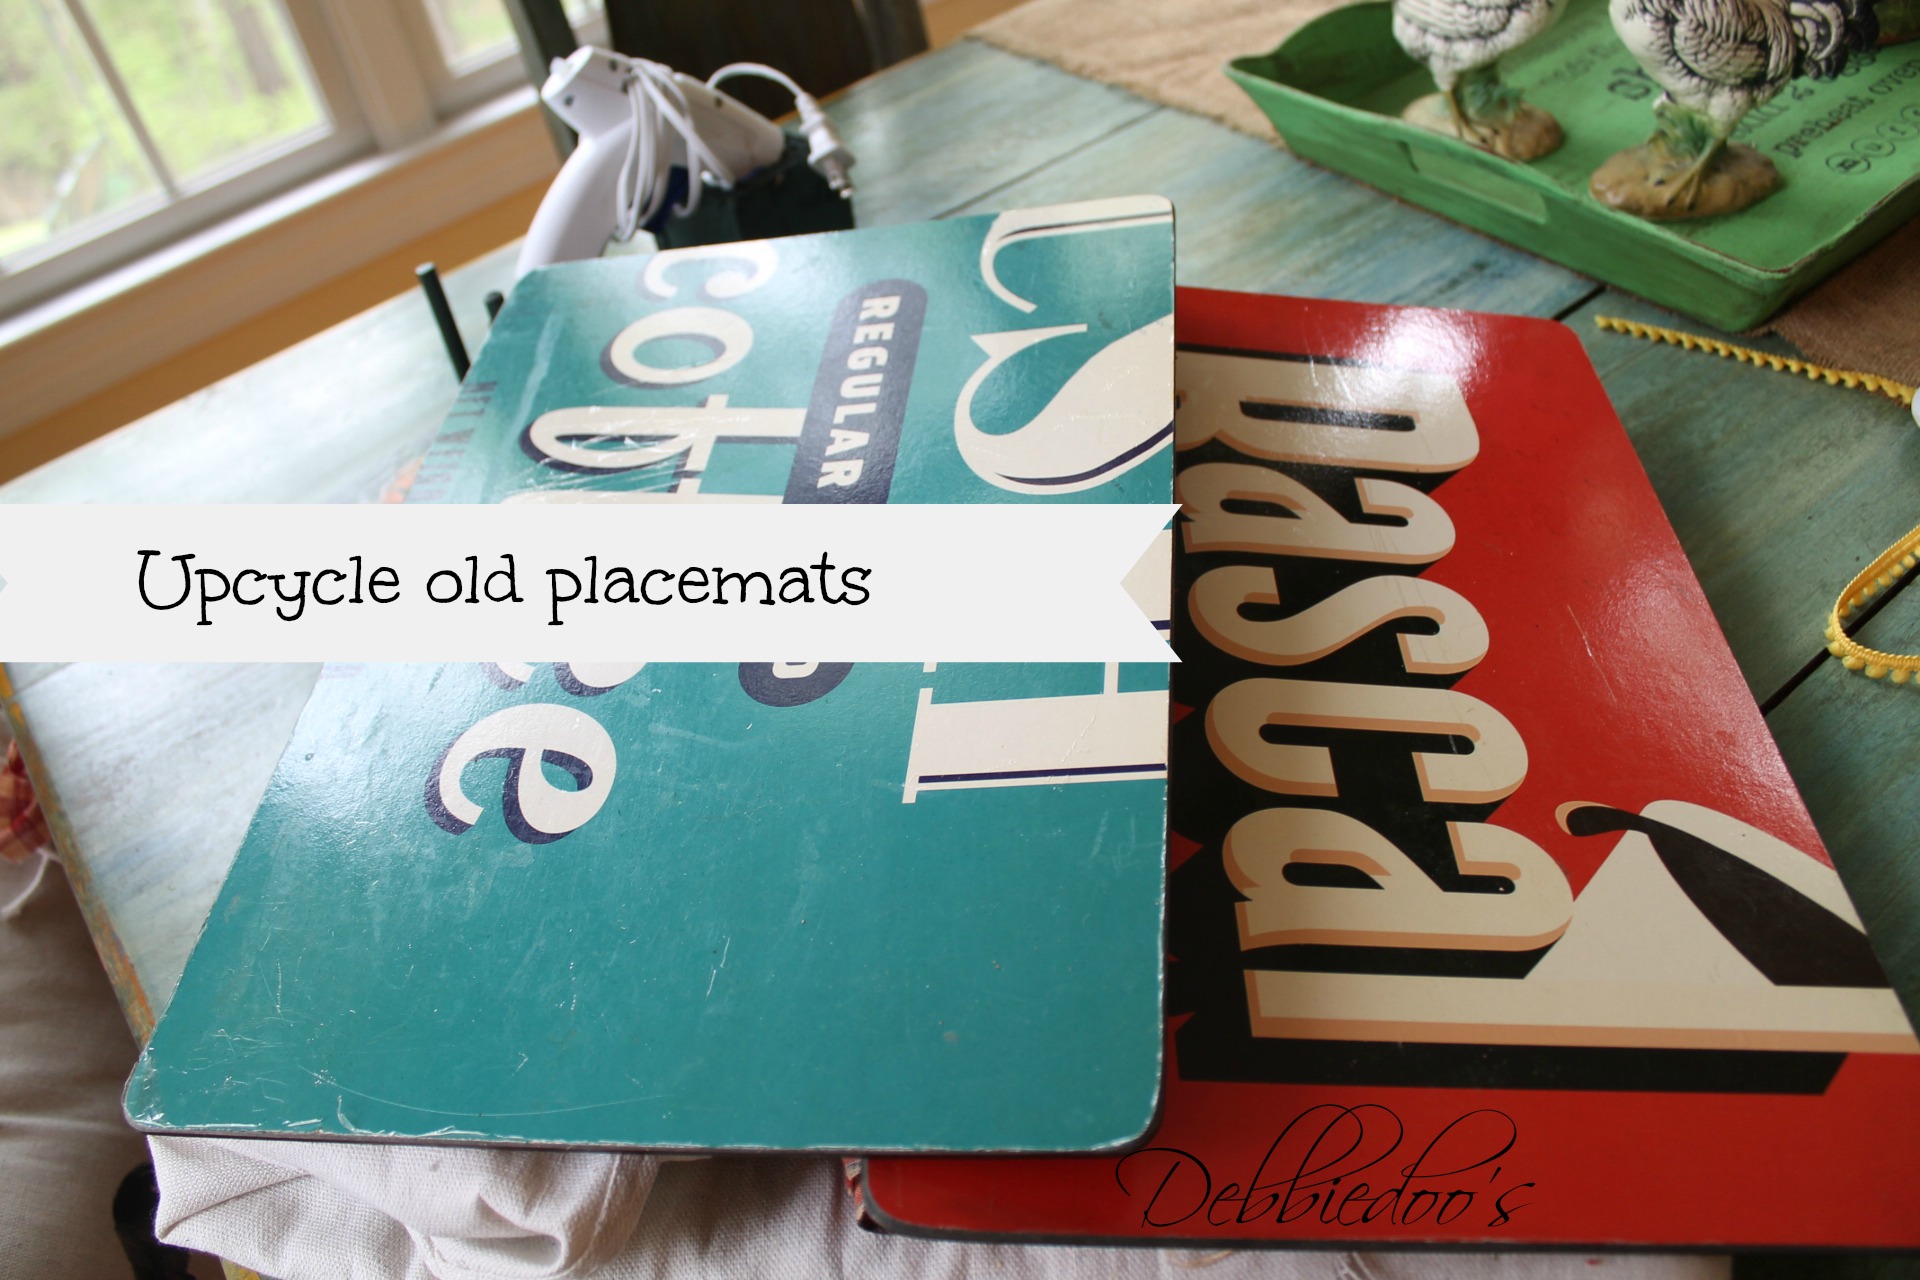
There is a reason I hold onto everything.
These were well used back in the day..
looking pretty rough now.
Now let me explain.
This project is a double bonus.
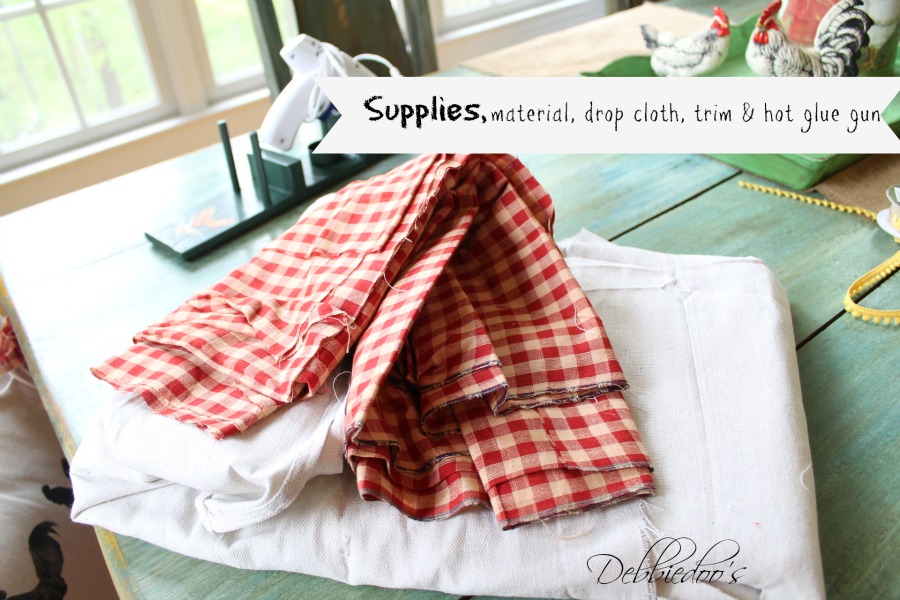
A diy upcycled placemat out of drop clothes,
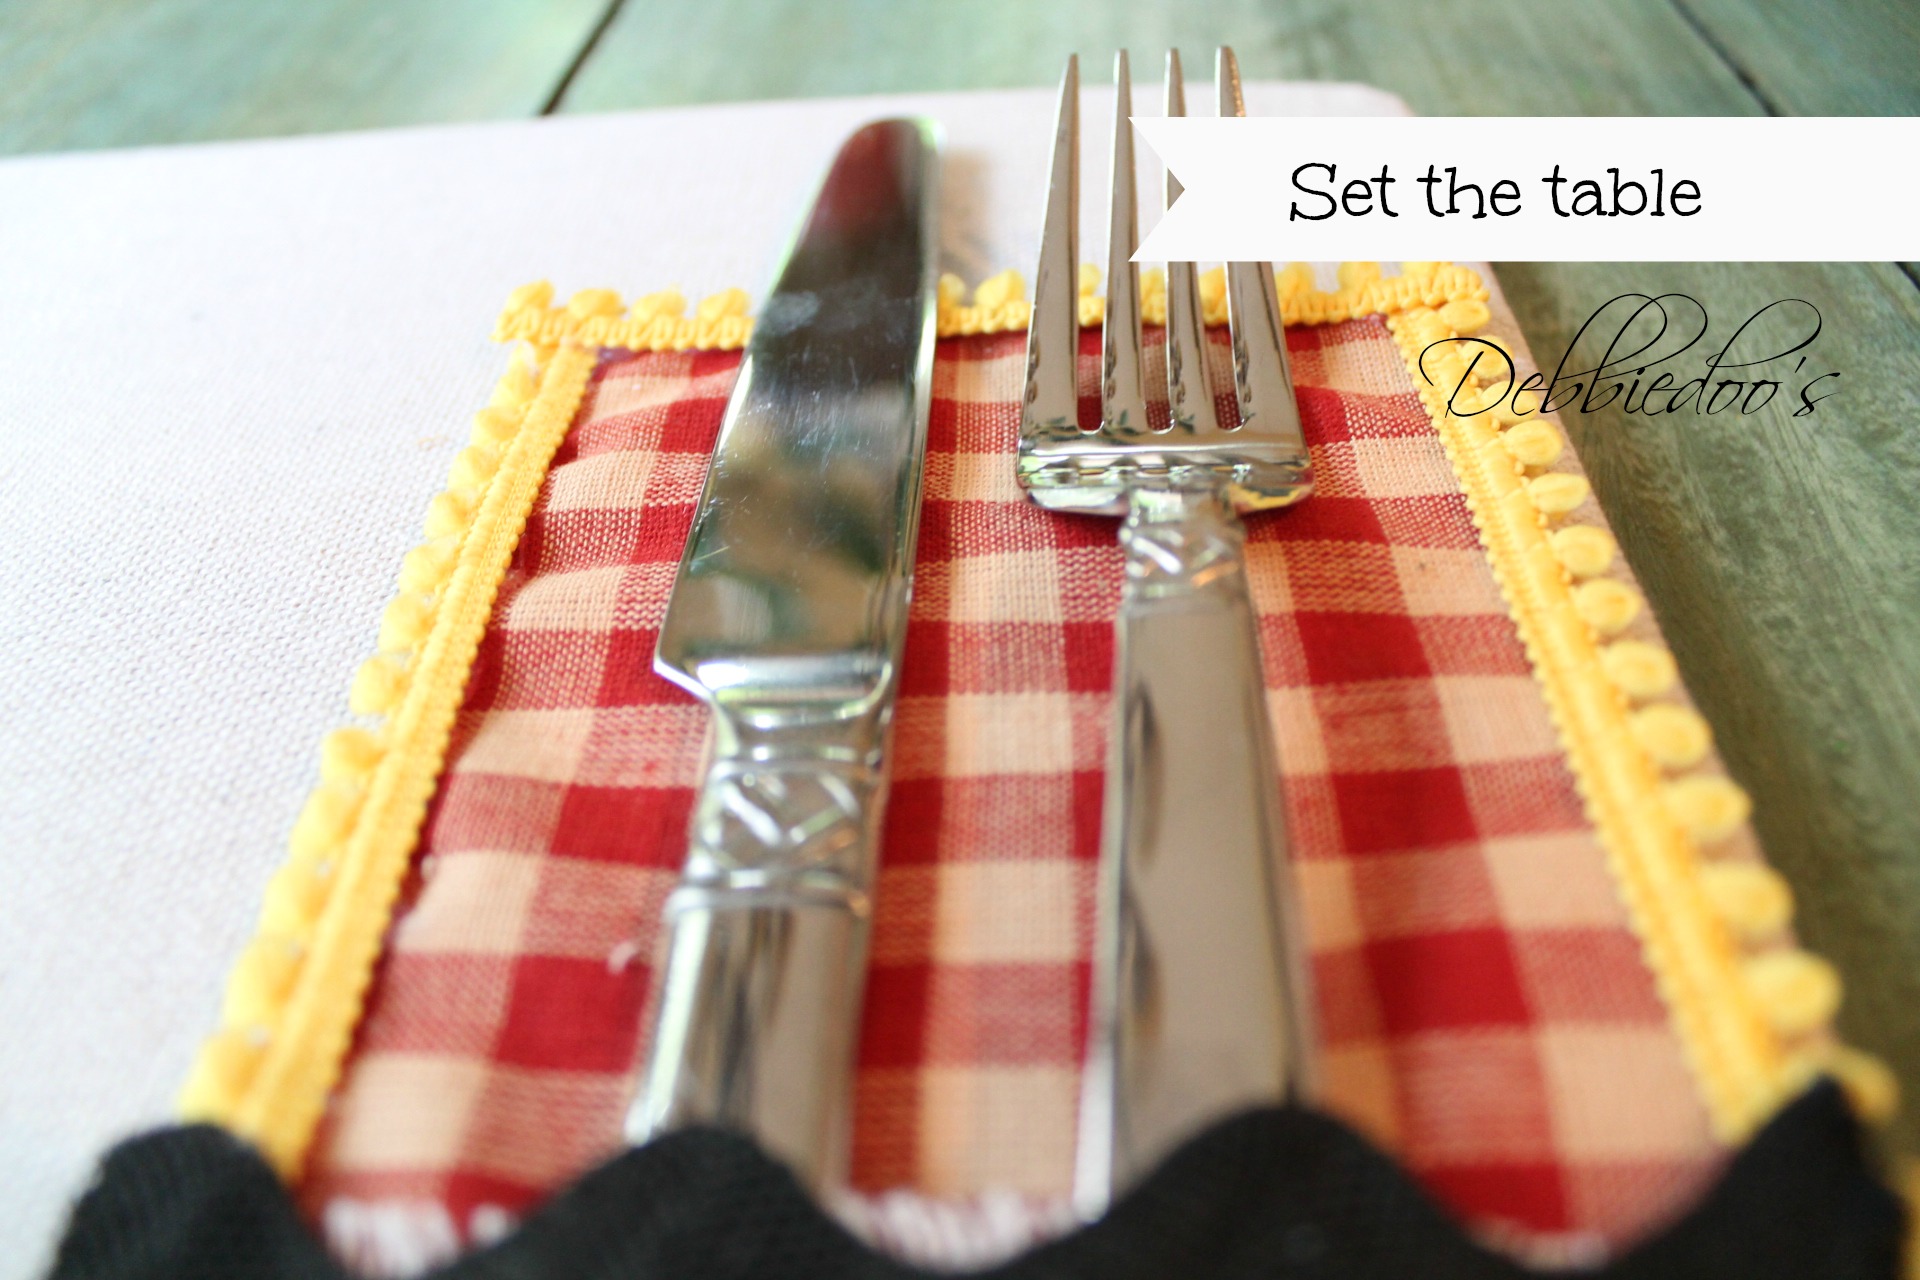
and a built in utensil holder.
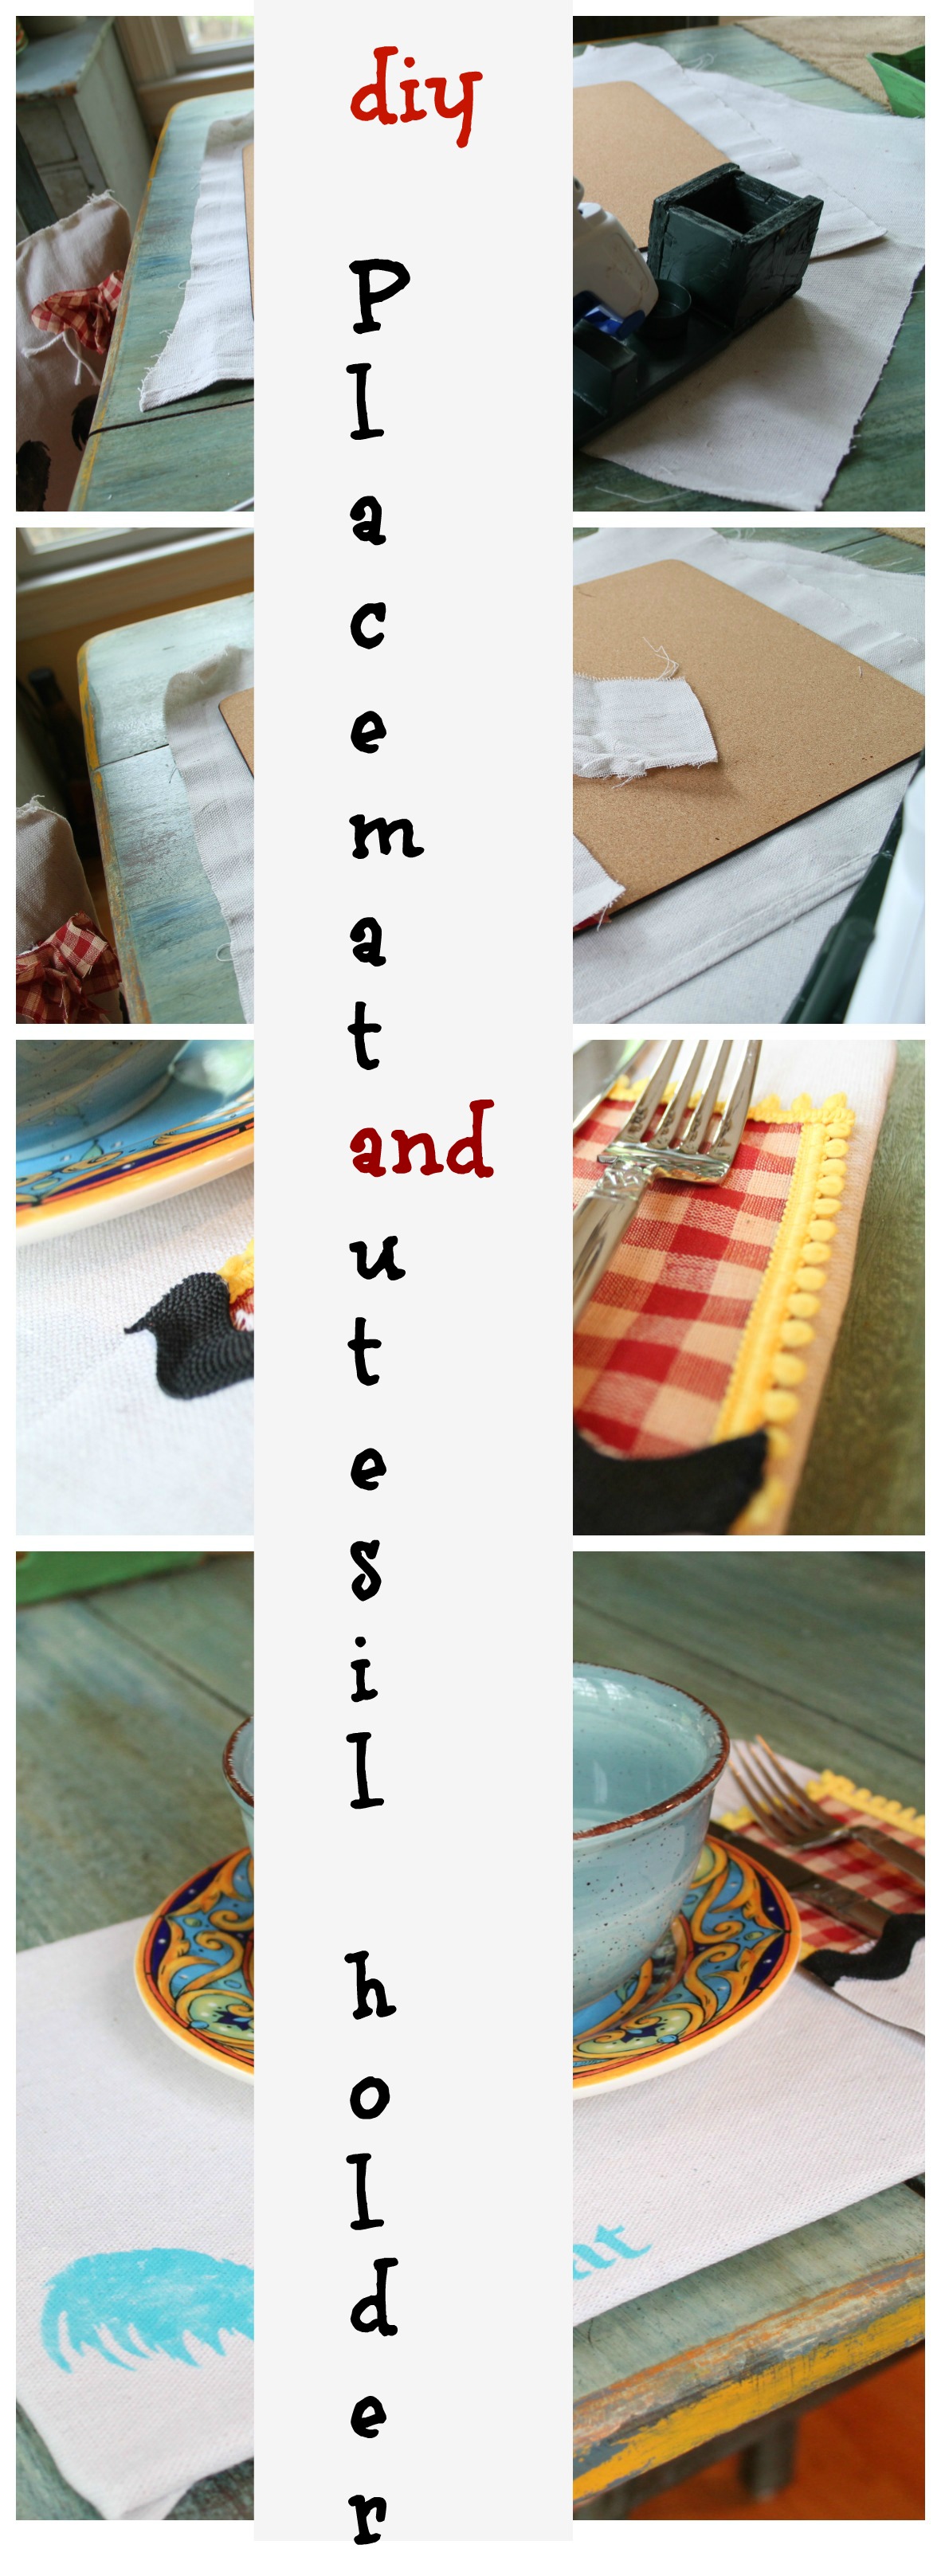
So as I say here, I first cut my drop cloth to size for the placemat
then the utensil holder.

These hands my friends are true hands of crafter…
bad shape most of the time.
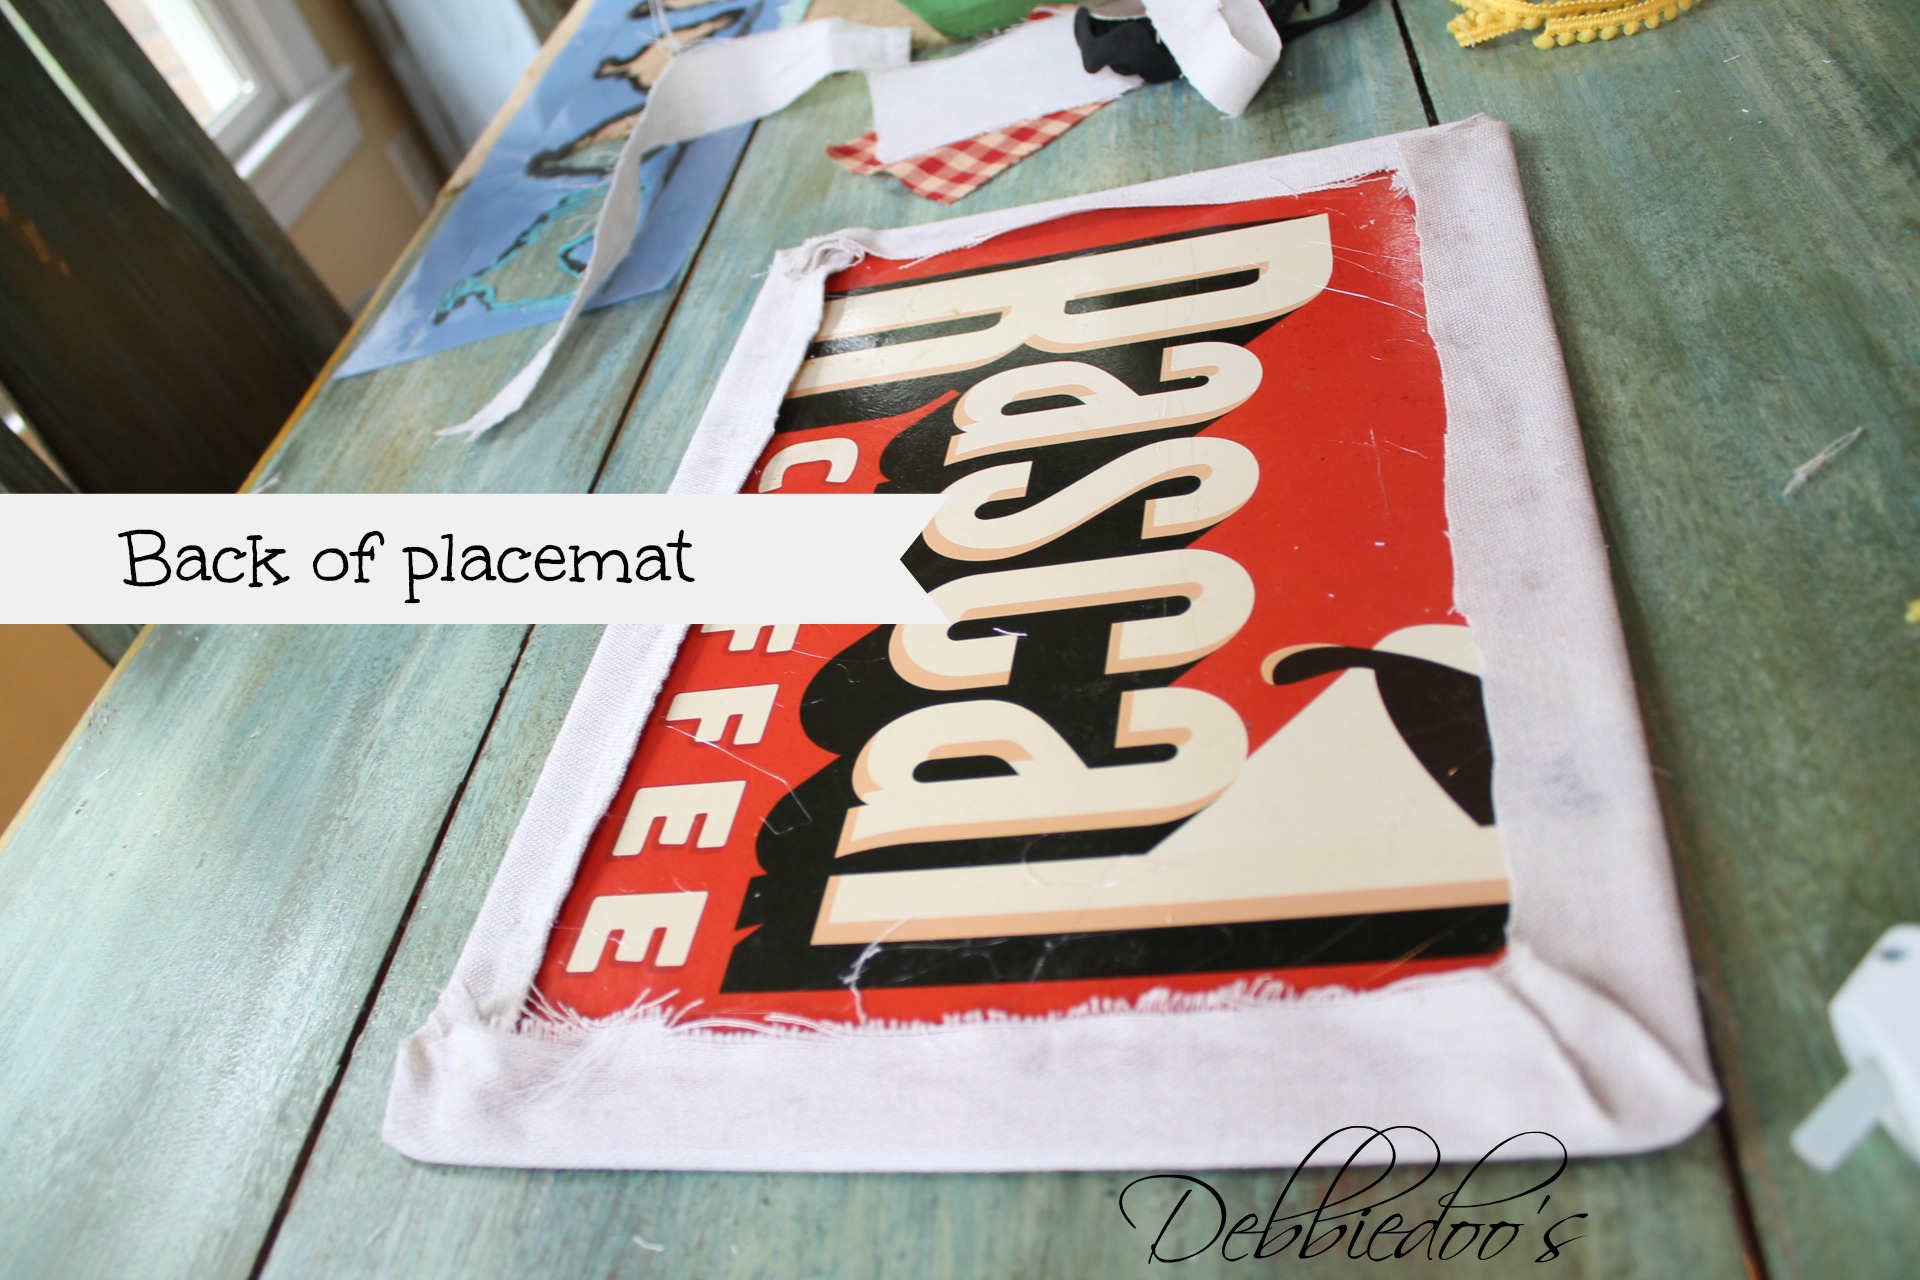
Hot glue gun to wrap the place mat with the drop cloth.
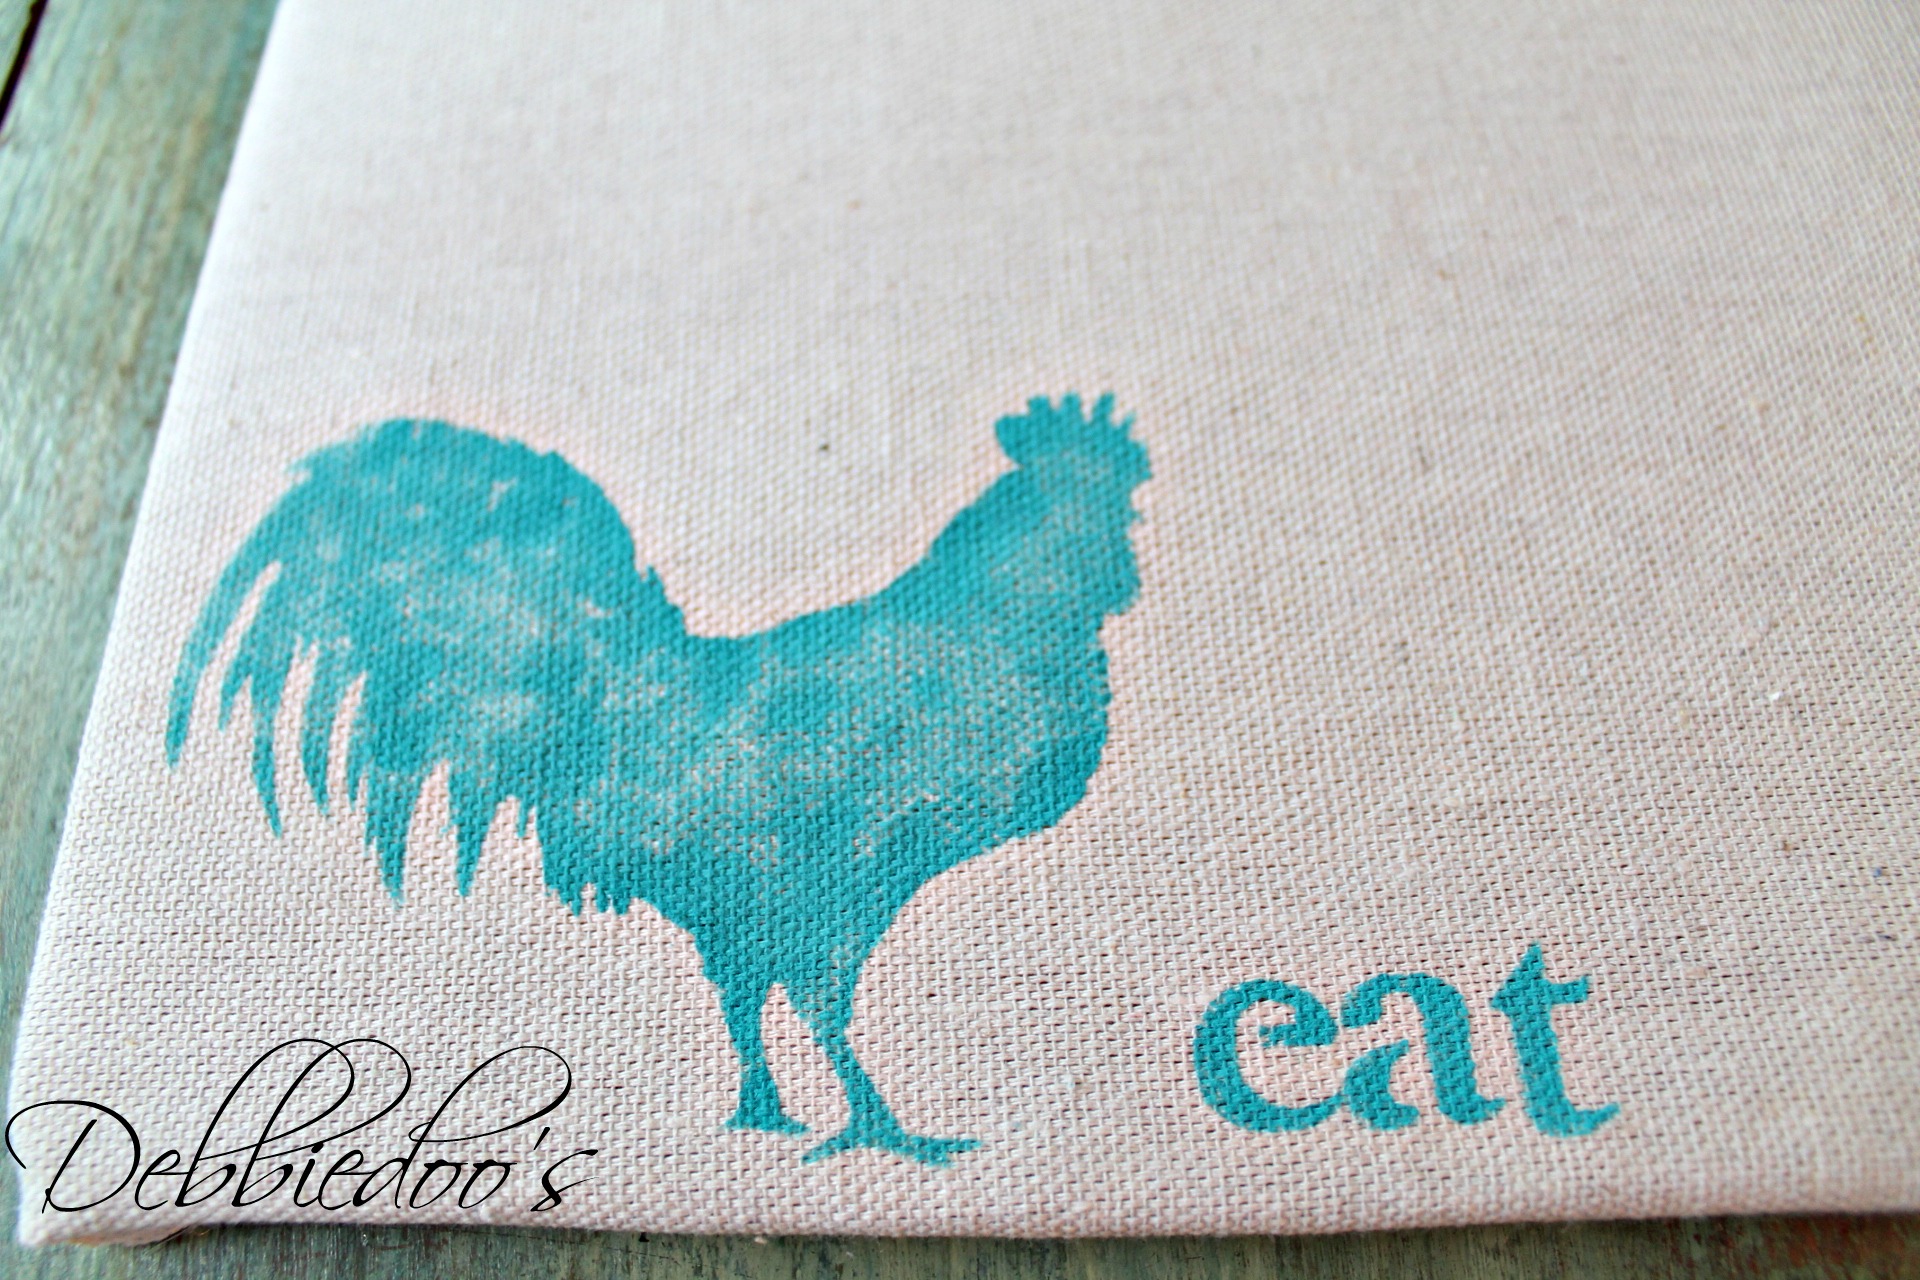
The back of the board is cork, and that in fact will be the top of the board, so the lettering will not peek through.
obviously…
Here is my signature coming up
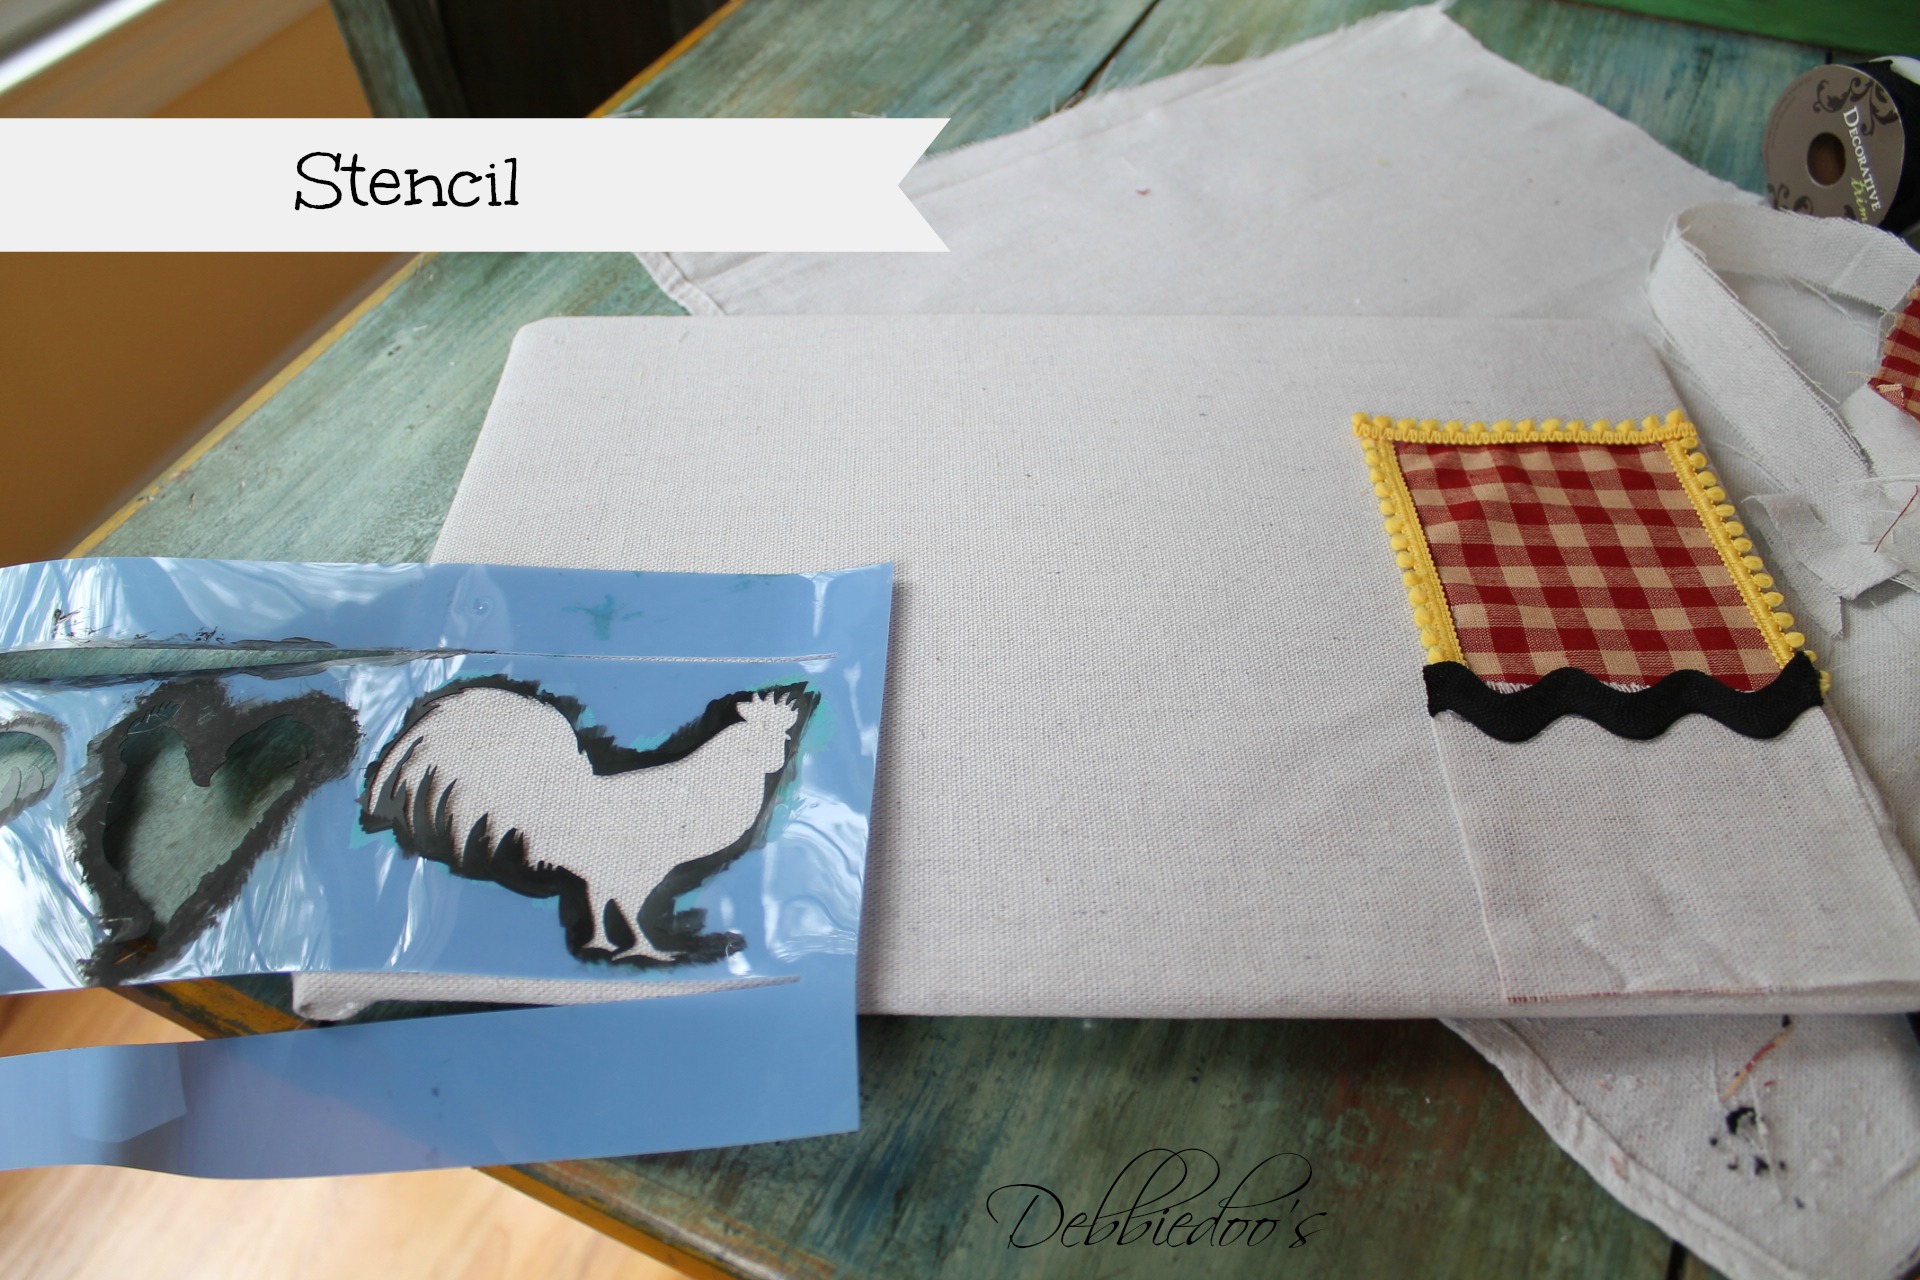
Did you think I would forget to add a roo?
back to the utensil holders….
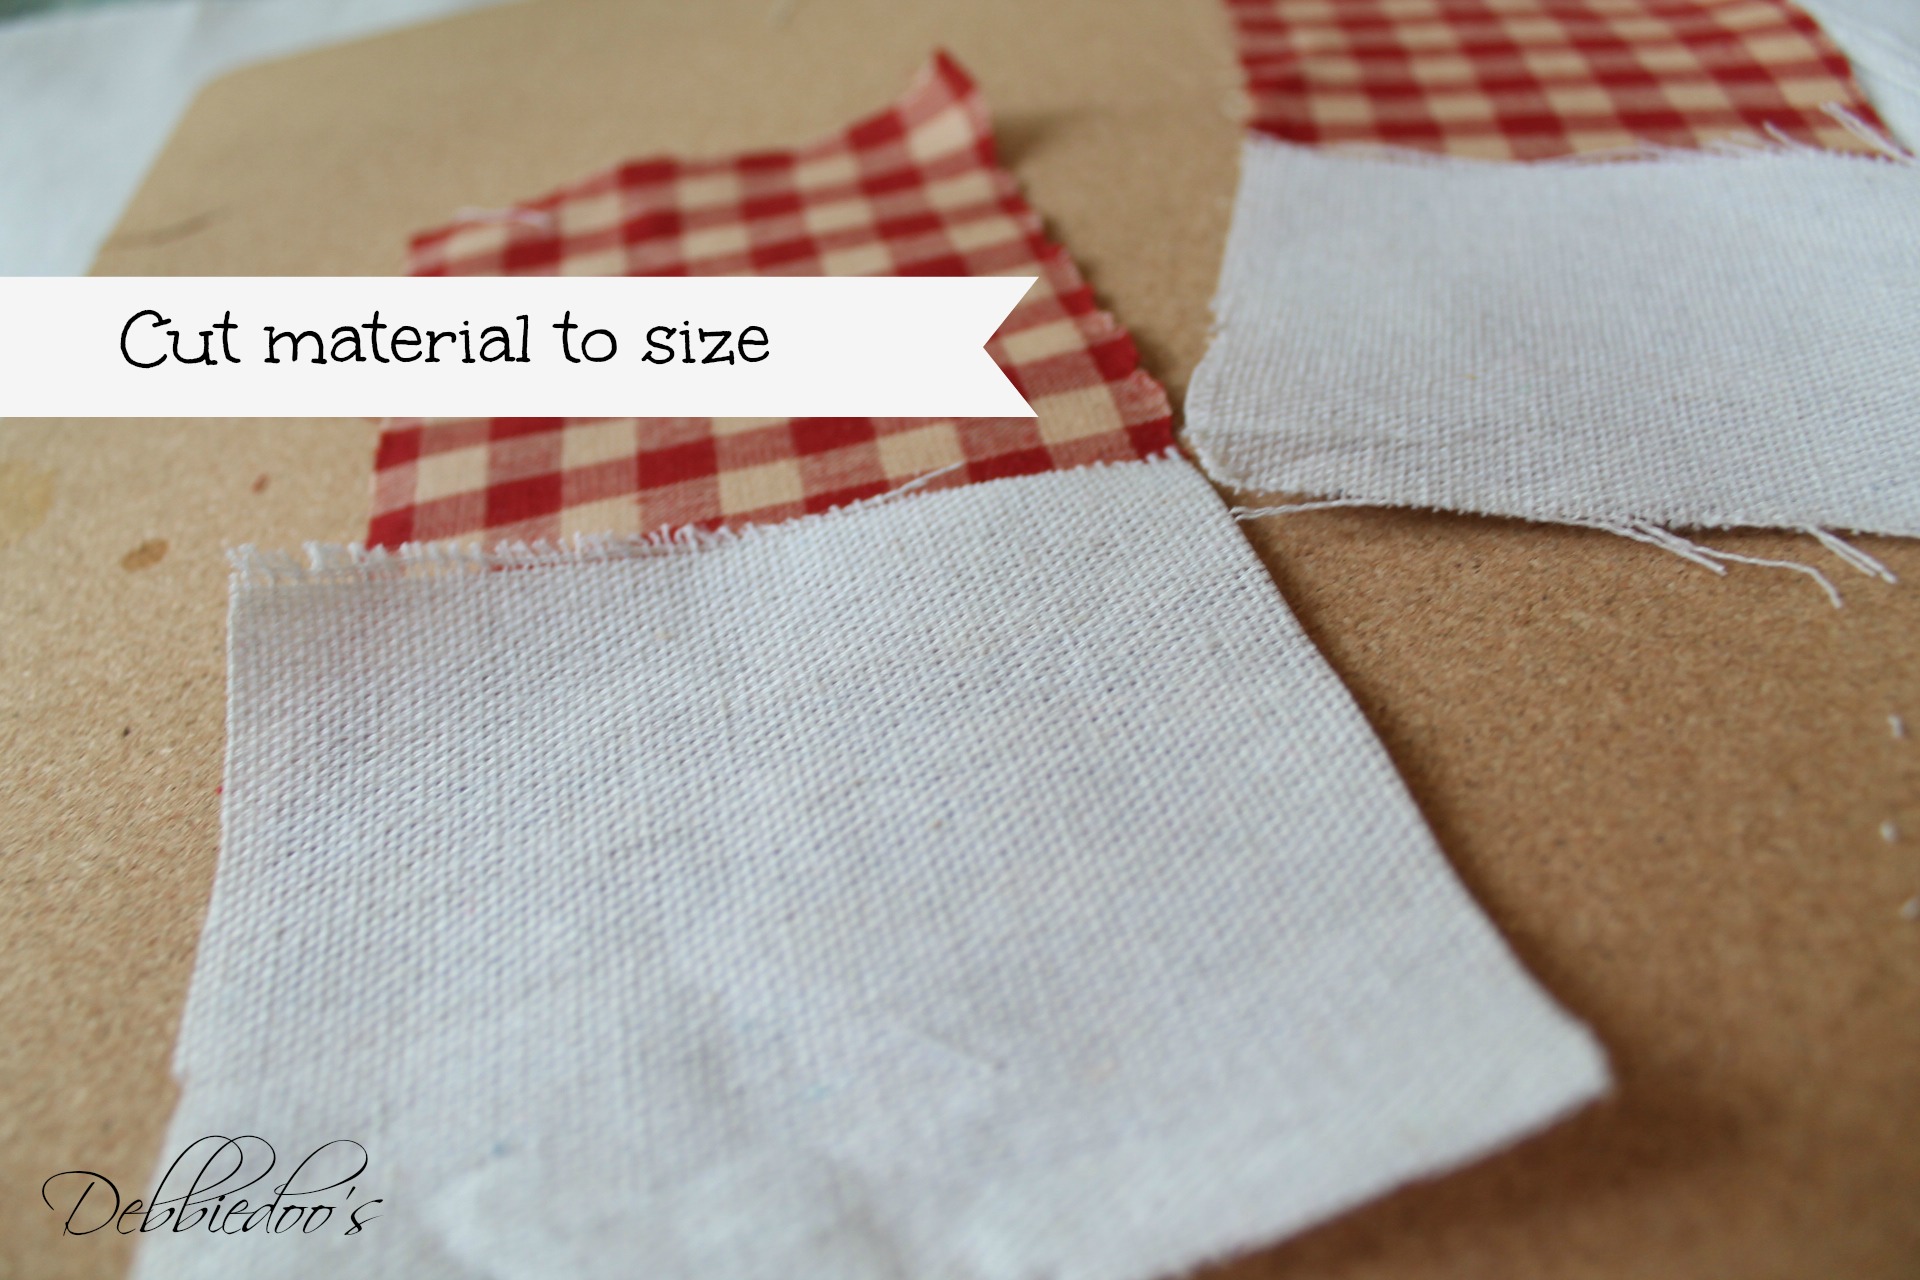
When cutting your material for the place setting holders,
no need for perfection.
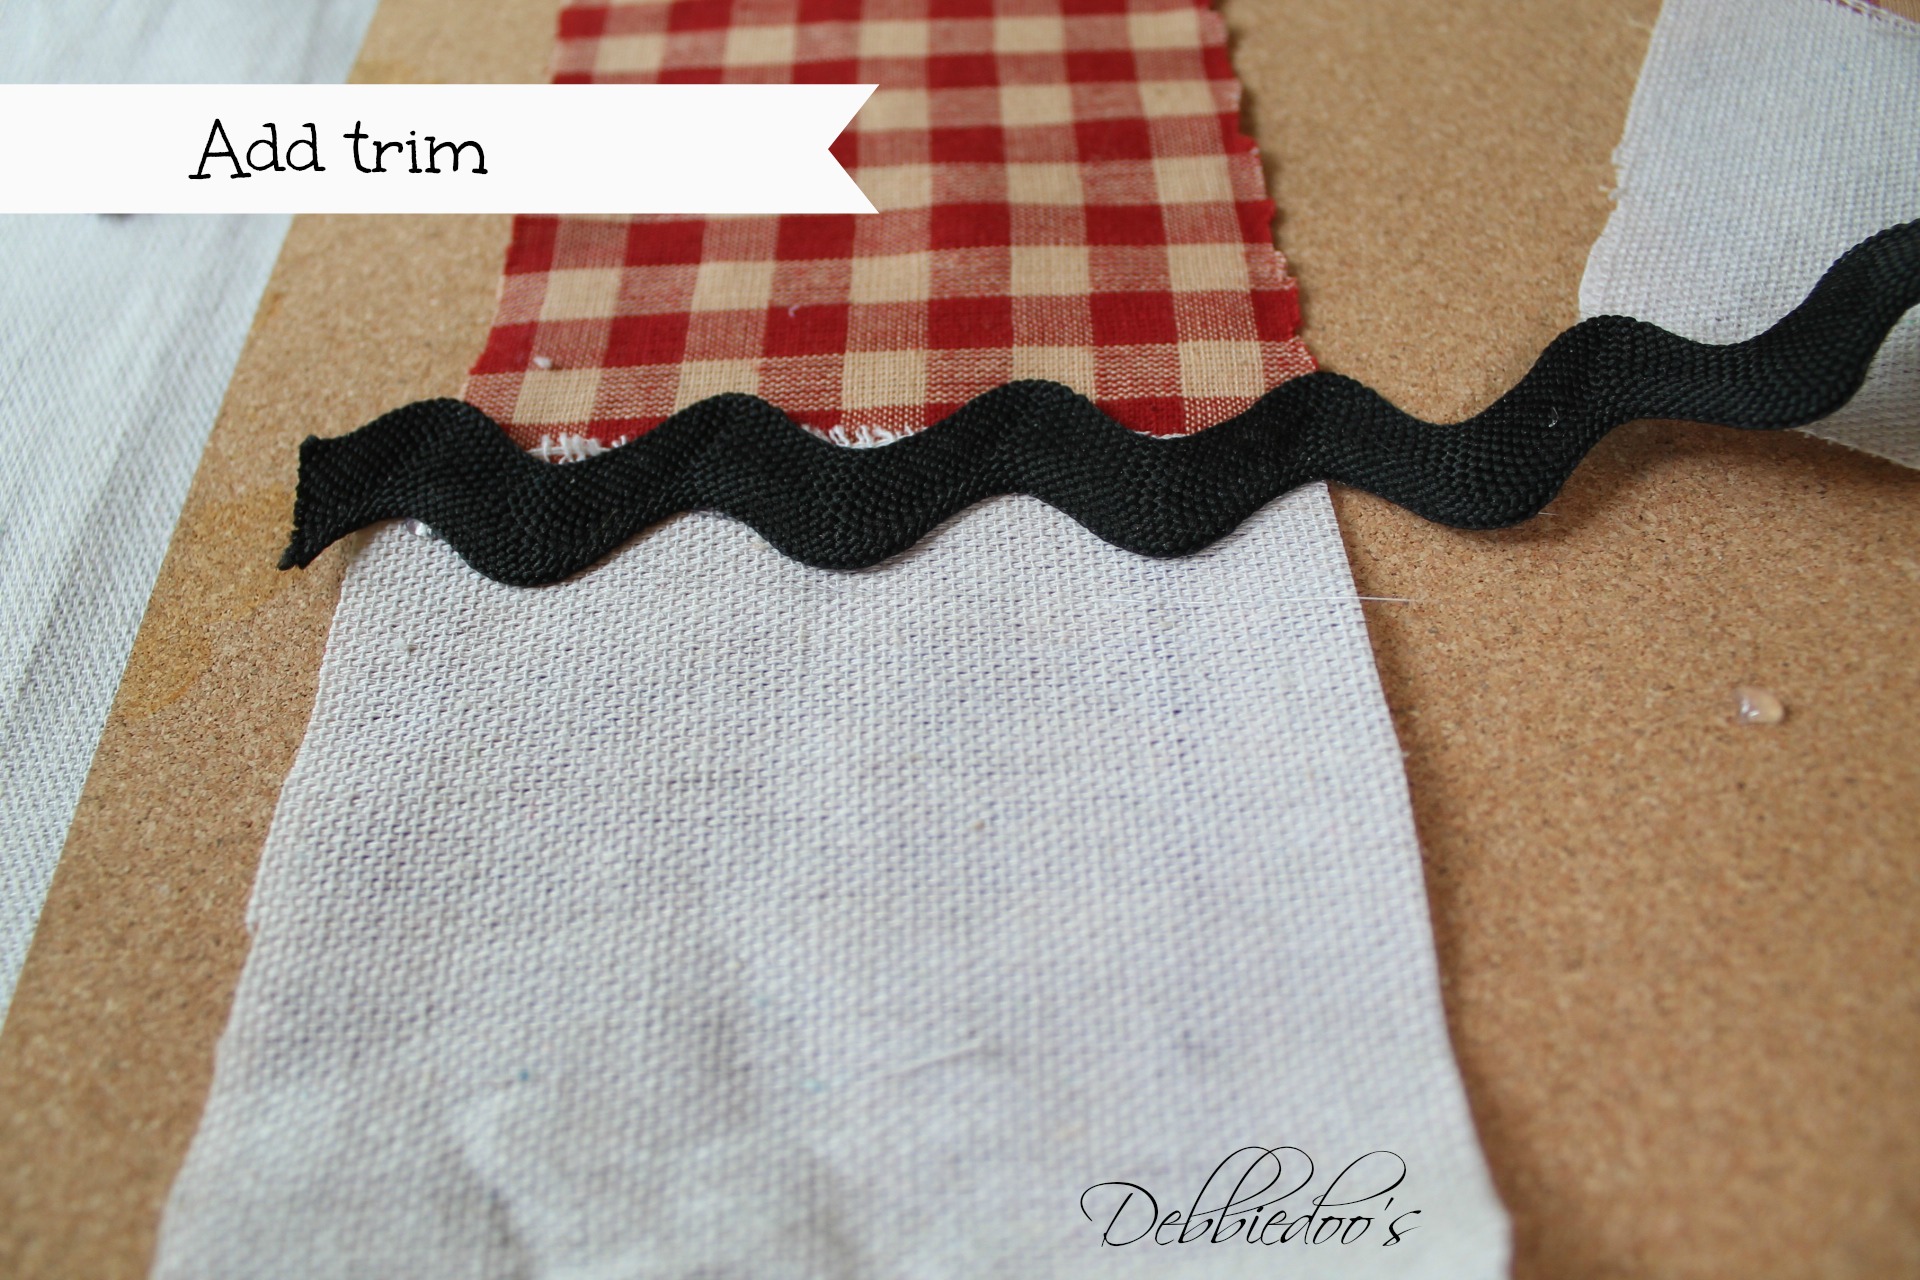
that is what the trim will cover up as you can see.
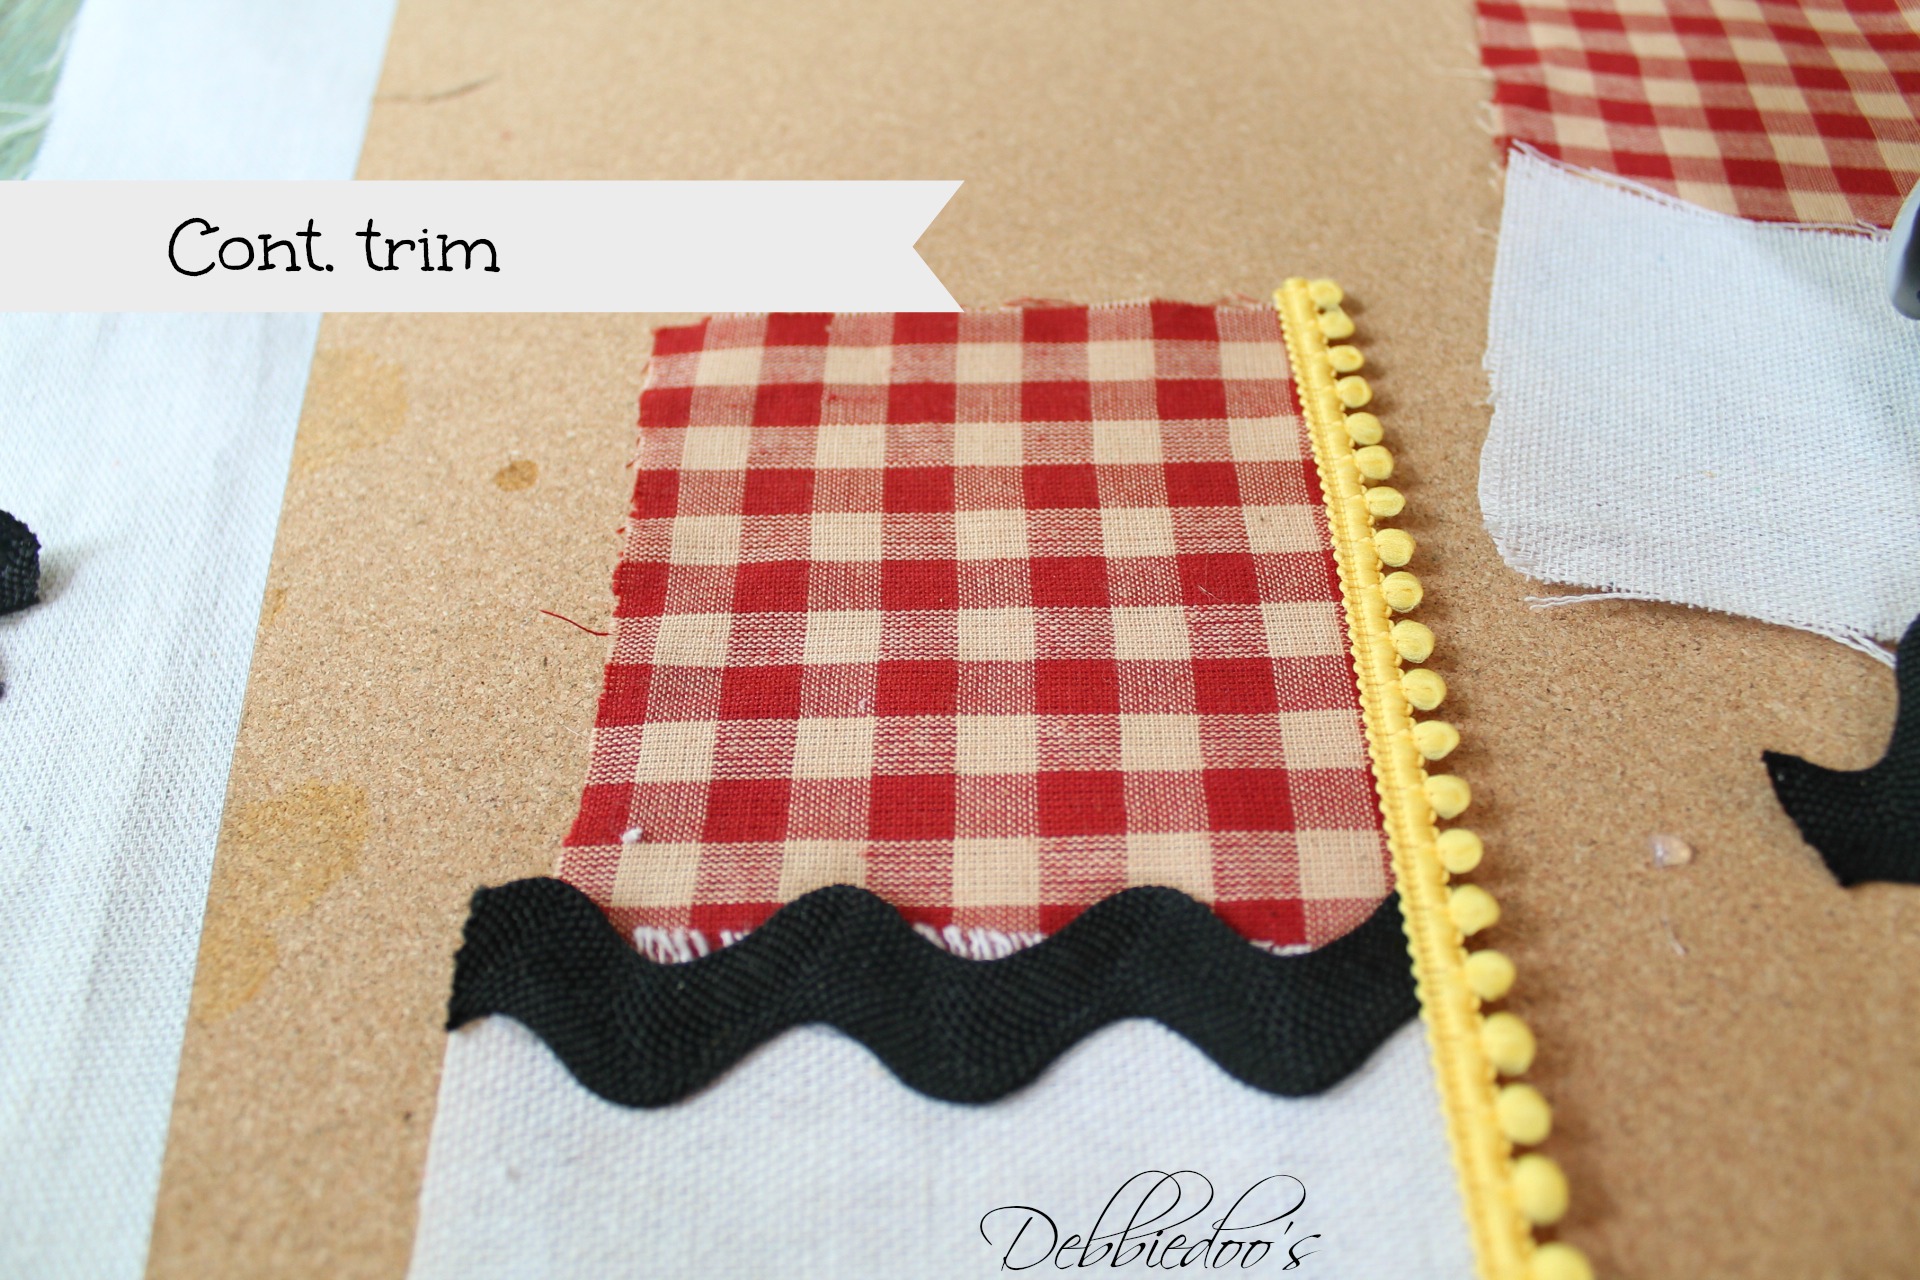
As you can see I mixed it up for more interest.
I think this is one of my favorite projects.
Not sure why, but I really enjoyed creating these whimsical little placemats.
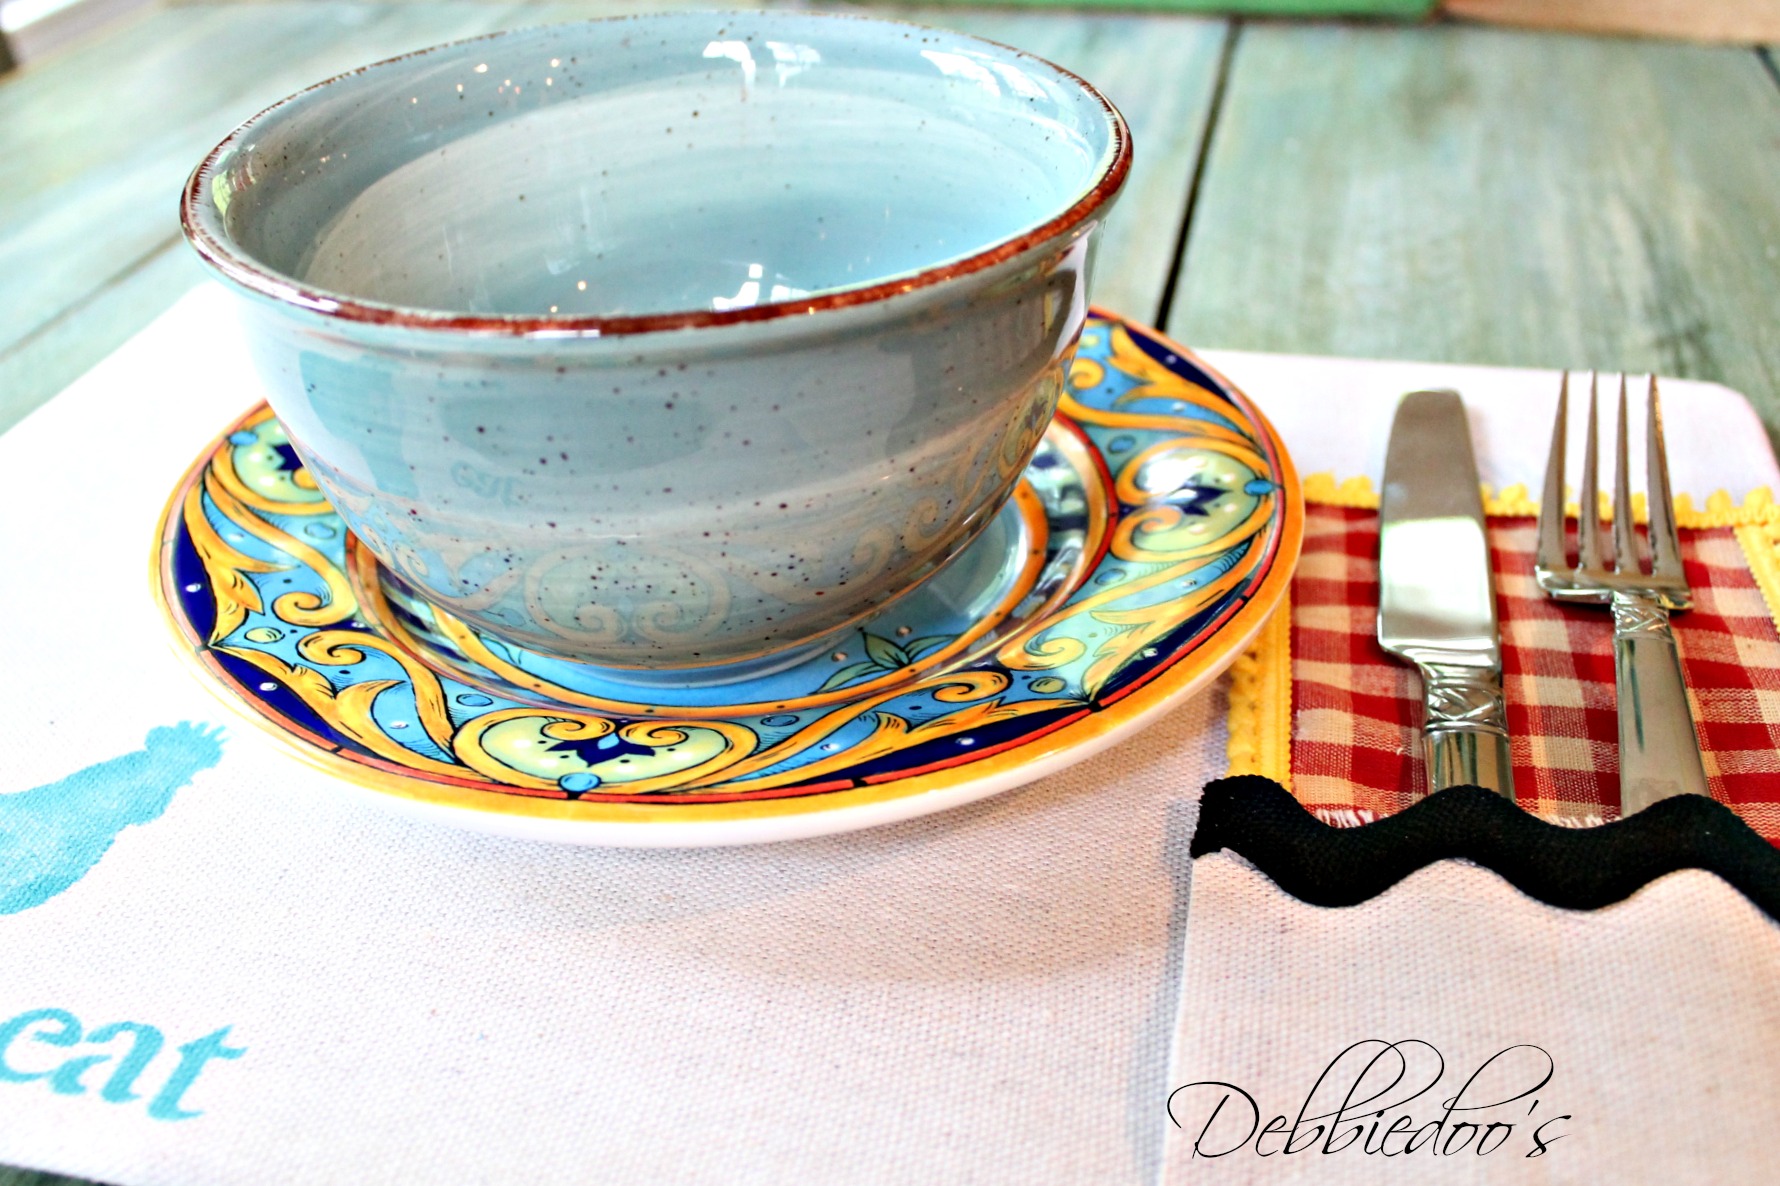
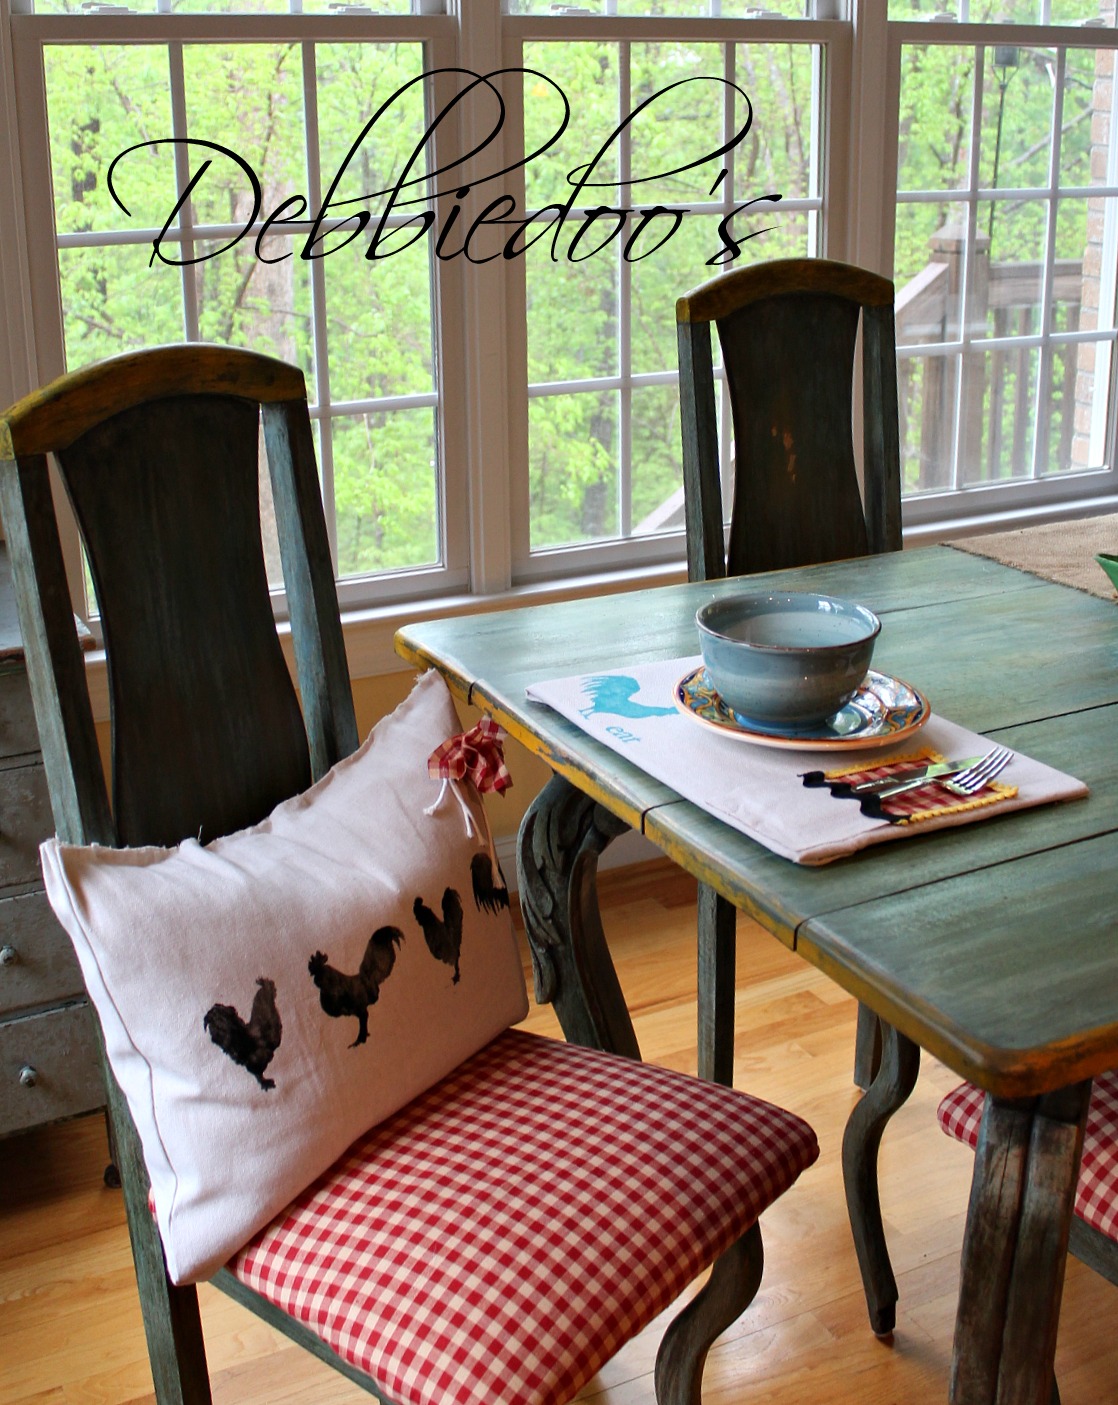
See the reason I mixed up the color scheme.
So I can put all different colored dishes with my new place settings.
So that is how I spent this rainy day here today.
One of a kind special placemat place setting all in one.
Debbiedoo’s special.
P.S. If you spied my cool GLUE gun holder, that is compliments of my friend
Debbie over at Dewdrop gardens.
She made it for me:)
Thanks Deb!
Hey not sure if you follow me along on Facebook, but I sure would love to see you over there!

Very cute Debbie and fit right in to your kitchens decor. They really pop on your turquoise table.
Very nice! I love the little pocket for the utensils!
Oh DEBBIE, You had me at CHICKEN…I HAVE to make some of these!! I am a chicken/rooster addict which I have to keep under control at all times..LOL…I only allow myself 4 chickens in the kitchen at a time, as to NOT become the crazy chicken lady…Even though I know I already am.
I LOVE LOVE LOVE this.
Can’t wait to try it out!
Hugs and Happy SUNDAY!
Karin
Well I am certainly the crazy lady Karin, because I have over 20 in the kitchen LOL…Love these little guys too!
What a cute idea, love the little pocket for the knife and fork, I’ve some old placemats that I never use so would love to give this a go!
great idea and very good tutorial. gotta love ric rac.
Cute idea, Debbie! This is a nice project for small pieces of fabric and drop cloth left over from other projects. Love the red and white check!
Very, very clever and adorable! You Rock!
Debbie, so adorable and love the utensil holder!!!!
Where did you get your dishes?! I love them!!! <3
The bowls came from Ross, and the plate as well a few years back.
thx!
Those are so cute Debbie!!! You rock!
XO Kris
Oh Debbie, that is adorable!!! You are doing so many crafts…Yep, I think it is time to open an Etsy store, I bet you creations would fly off the shelves. I don’t know what I would do with all of my projects if I did not have an antiques booth?!
Carol
Adorable as usual!!!!! Love the glue gun holder too.
Kris
This project is adorable. I love the upcycle part of it. Love all the mix of colors and your dishes are perfect. xoGinger
I used to sew placemats similar to these….but the hot gun method sure seems simpler…..thanks for the tute!
Really cute Debbie. You come up with some really neat ideas without spending a bunch of money. Thanks for sharing. I love dropcloth too.
Blessings,
Audrey z.
Saw chicken… had to pop over! How cute are these?! Gotta get some..
Hugs, Gee
Awesome! Where did you get that wonderful stencil from? (Forgive me if you’ve answered this question before.)
Hobby Lobby:)
That’s such a cute place mat! I love the fact that they have a built-in utensil holder too. They look perfect on your table. Looks like something I could handle since it doesn’t involve sewing.
I really like these — going to make as my gift my for my niece’s wedding. Thanks I was wanting an idea.
I just love your blog – and look forward to your emails.
Cynthia – Parker CO
Thanks Cynthia, that is awesome. Let me know how they turn out!
Cute, cute!! I have to say I LOVE your dishes ~ all the colors are perfect. Glad you put a roo on…we would never have known they were yours. 😉 Love that glue gun holder…was trying to figure it out.
Hope you have a fantastic week!
xo
Pat
These would look great in my kitchen. Noticed your glue gun holder….did you make it?
No my blogging friend Debbie did, I gave her shout out at the end with a link to her site. Thanks!
Very cute Debbie! I love the blue stenciled rooster. You are definitely a crafty gal.
Love the color and well it goes with your dishes. So fun!
Everything is looking wonderful in your kitchen! I love how you’ve tied it all together using up the scraps. And those dishes…Love them! And thank you for the shout-out, Debbie. I’m so glad you’re enjoying your holder.
Trying to catch up on emails after babysitting our 2 month old grandson for almost a week. It’s been almost 33 years since I’ve done midnight feedings!
Debbie 🙂
Oh my you poor thing LOL!~ Keeps ya young right Debbie?!!~ Thank you again my dear lady.
I love these! I was wondering though, do you use regular paint for your stencil ? Also, have you washed them or should that be avoided if possible? Thanks!
I used CHalky paint and yes they have been washed in cold water then lay to dry flat.