
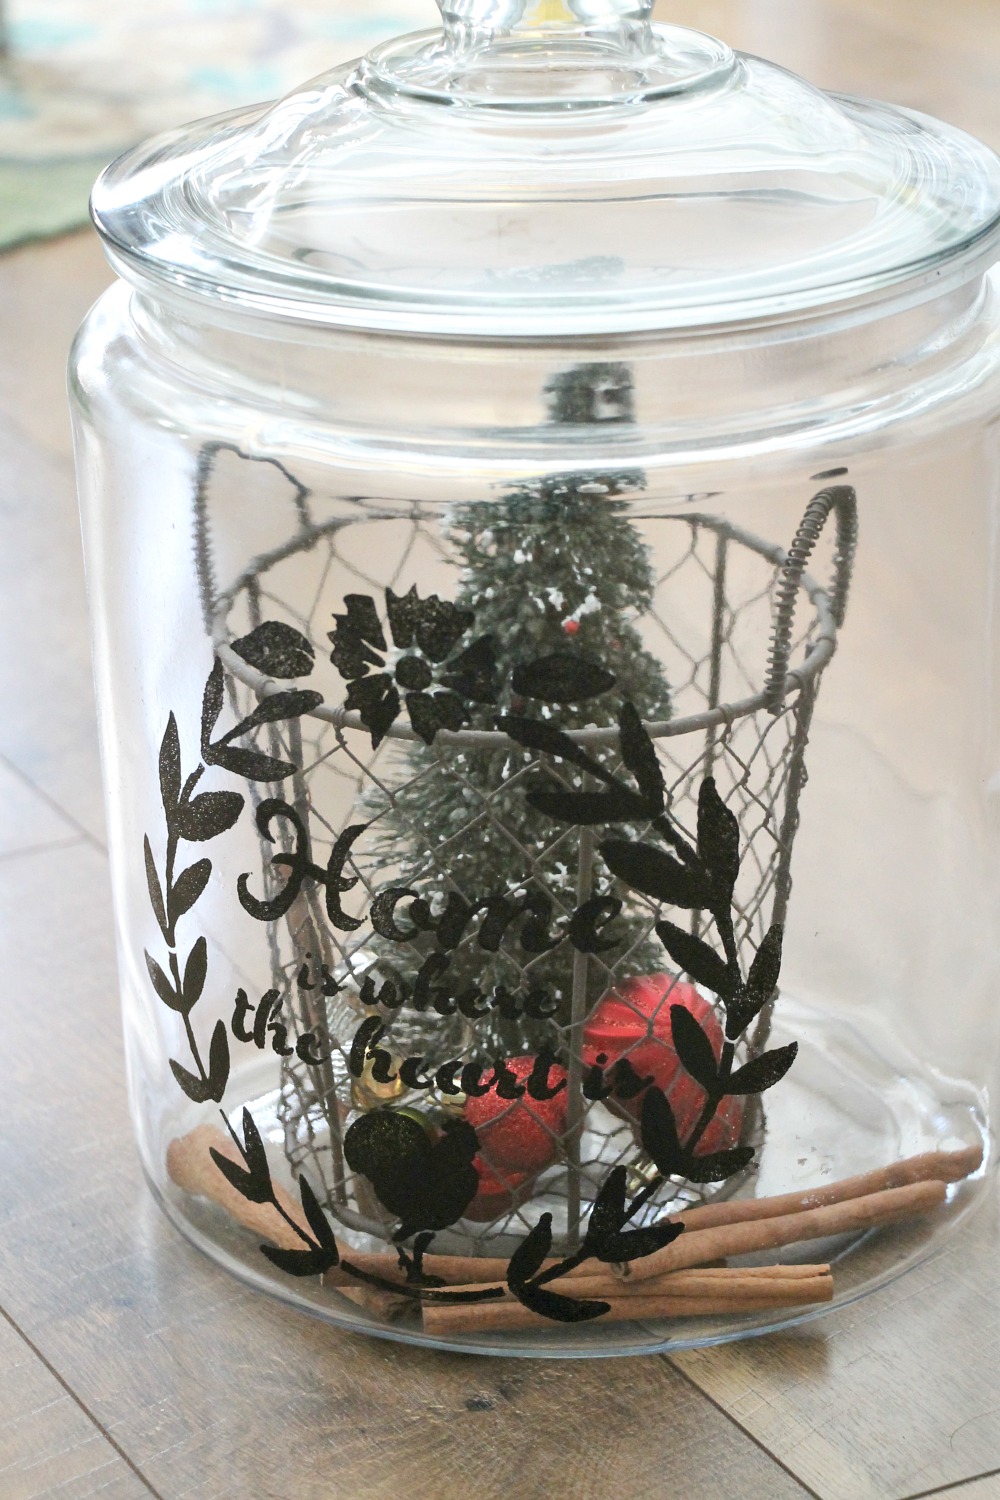
If you have a collection of plain mason jars lying around the house, you can turn them into personalized gifts or unique home decorations by learning how to stencil jars. These creations are not only cost-effective but also a fun way to unleash your creativity. Here’s a guide to help you stencil jars using a few basic materials.
1. Gather your supplies
- Glass jars, preferably smooth and clean. You can either purchase them or upcycle used food jars.
- Stencils that match your theme or preferences, whether they are homemade or store-bought
- Acrylic or enamel paint
- Old newspaper or disposable cloth
- Painter’s tape
- Sponge or paintbrush
- Small brush
- Sealant (optional)
- Embellishments, such as fabric or ribbons (optional)
2. Prepare your workspace
Get prepared by covering your workspace with old newspapers or a disposable cloth to protect it from paint spills. Arrange all your materials within arm’s reach for convenience.
Before starting, make sure your jars are clean. Wash them with soap and water, then let them dry completely. Any grease or dirt can hinder the paint from sticking to the surface properly.
3. Apply the stencils
Position the stencils on your jars as you like, then secure them using painter’s tape to prevent shifting during the painting process.
4. Paint the jars
Choose a paint color and apply it over the stencil using a sponge or a paintbrush. Let the paint dry according to the manufacturer’s instructions. You might need to apply a second coat for a more opaque finish.
5. Remove the stencils
Once the paint is completely dry, carefully peel off the stencils. If there are any paint bleeds or mistakes, use a small brush dipped in a contrasting color to correct them.
6. Apply the finishing touches (optional)
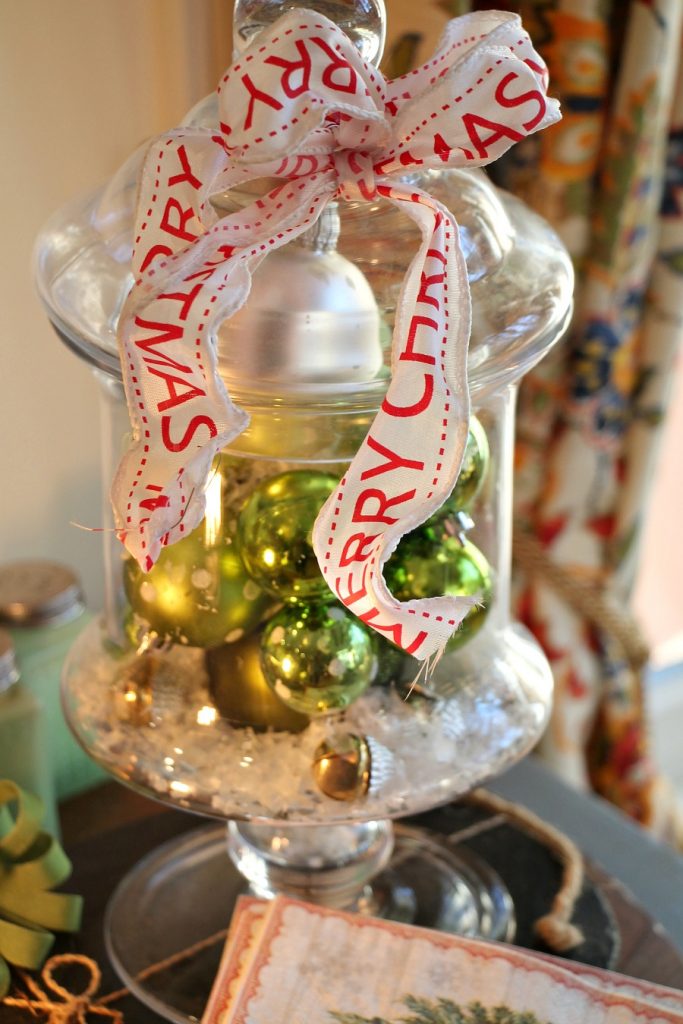
If desired, you can apply a sealant to protect the painted design. Decorate the jar lids with additional paint, fabric, or ribbons for a finishing touch.
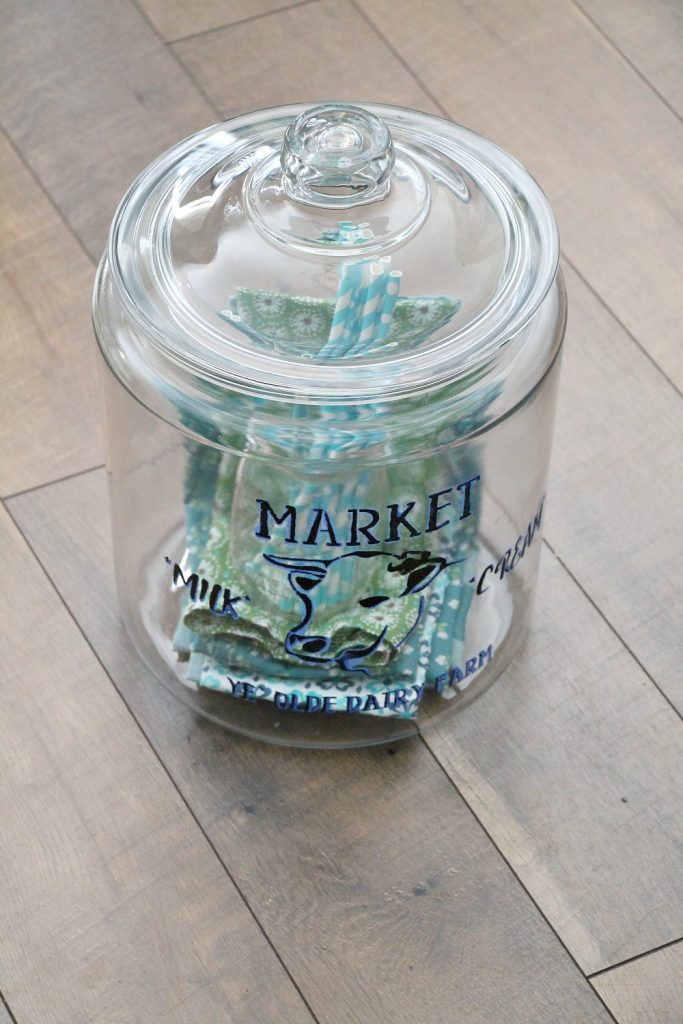
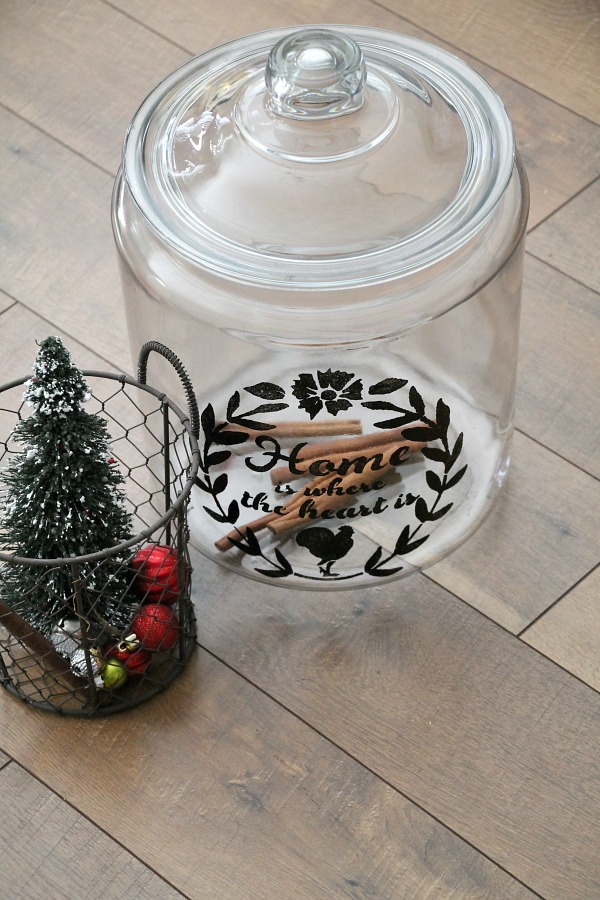
Congratulations, your new DIY stencil jars are now ready! Use them for storage, like a stylish container for your pens, craft materials, or spices. They also make excellent decorative pieces, candle holders, or unique gifts for friends and family.
When it comes to care and maintenance, simply clean the outside of your jars with a dry cloth. Avoid washing the outside to protect the painted design.
If you loved this project, check out more recycled glass jar crafts.
So enjoyed this video, and meeting your Mom too!
Your stencils are wonderful and are truly no-fail and that means so much to an expert or novice stencil lover.
xo
Jemma