

I recovered the seats on six dining chairs with red-and-white gingham. This was my first attempt, and the undersides were far from professional, but the new fabric changed the look of our kitchen chairs.
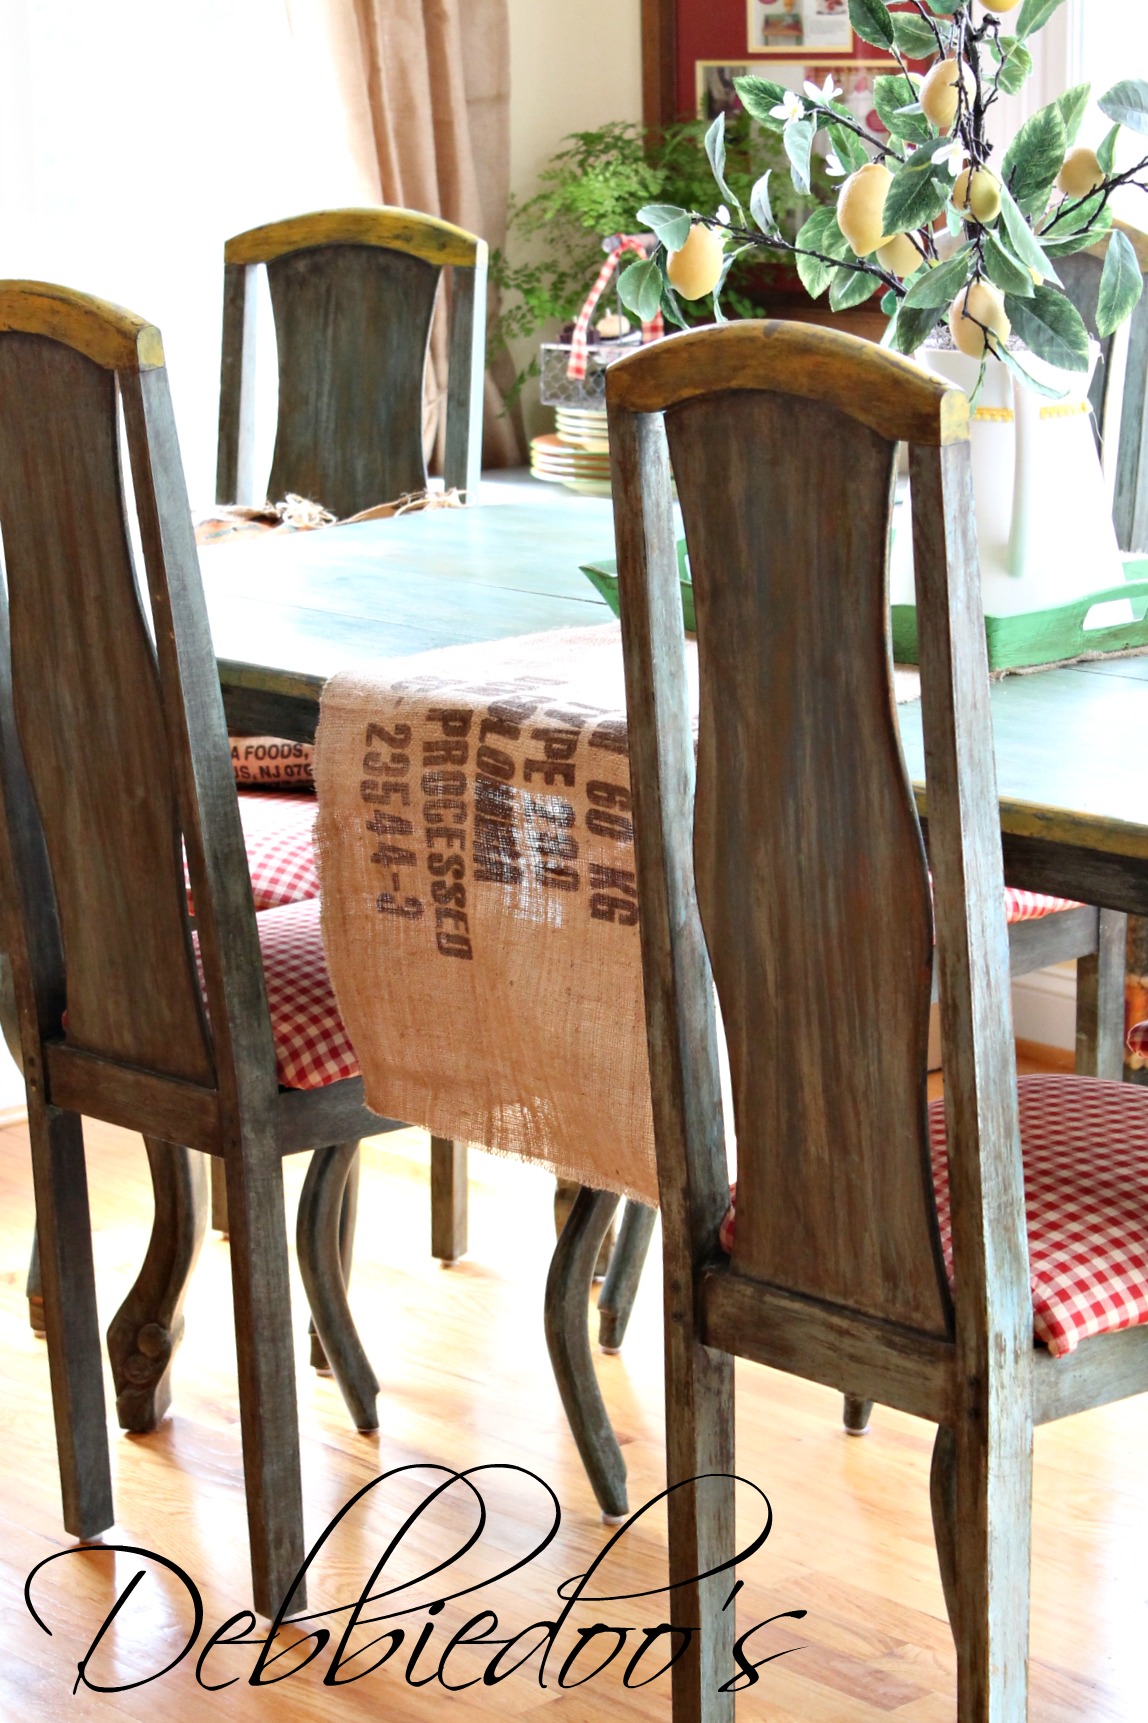
Choose a fabric you can work with
I chose a simple gingham rather than a fabric with picture scenes, such as roosters, because I did not want to position a separate picture consistently on every seat.
The fabric was on sale at Hobby Lobby for $3.49 a yard when I made these. I bought six yards to be safe, although I thought five yards would have been more than enough for my six chairs. Your fabric needs will depend on the seat sizes, fabric width, and pattern placement.
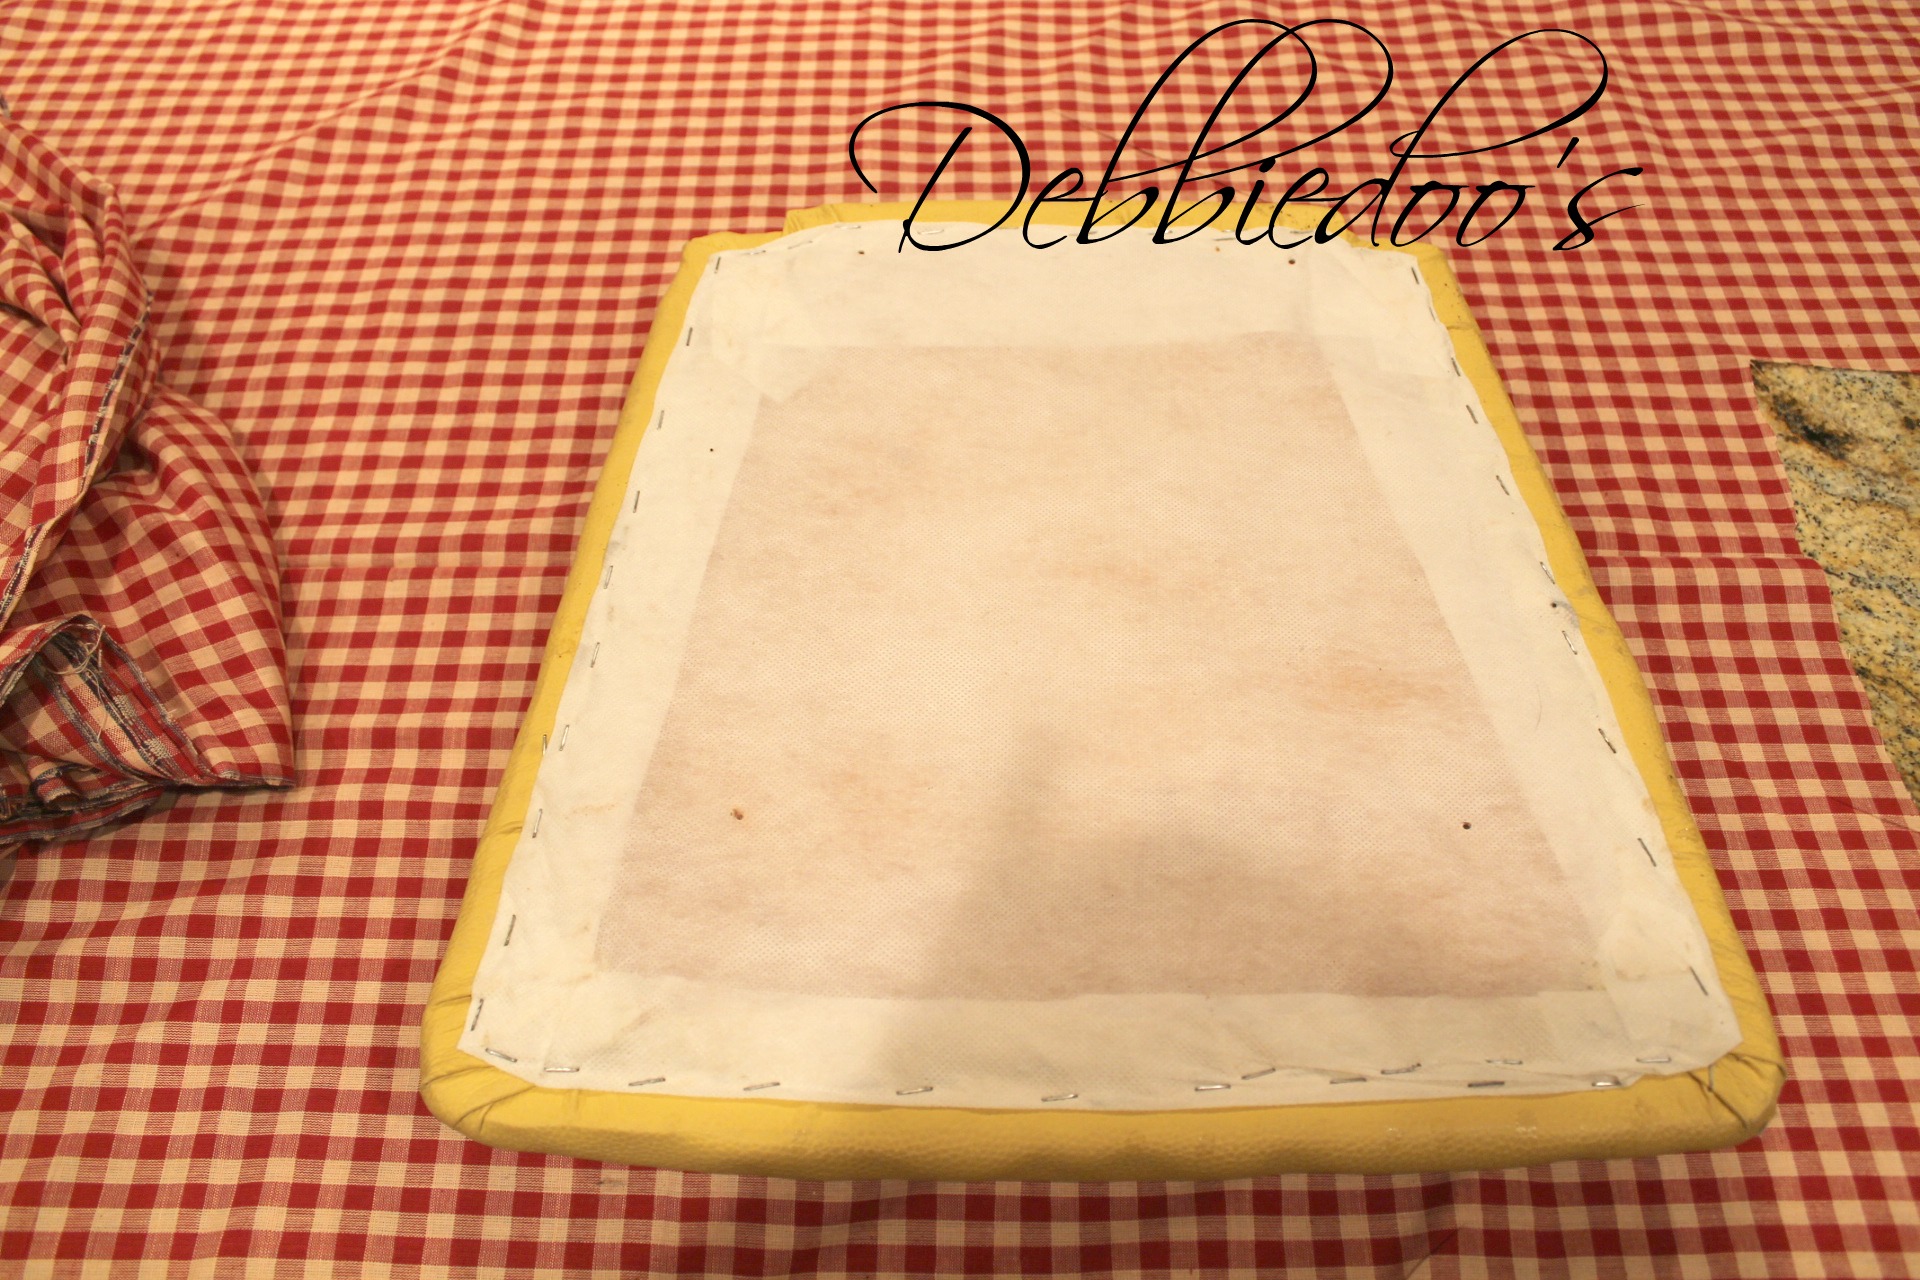
Cut fabric around each seat pad
I placed the chair pad on the fabric and cut a square with about 3½ inches extra on each side. Looking back, I thought three inches might have been enough for my pads.
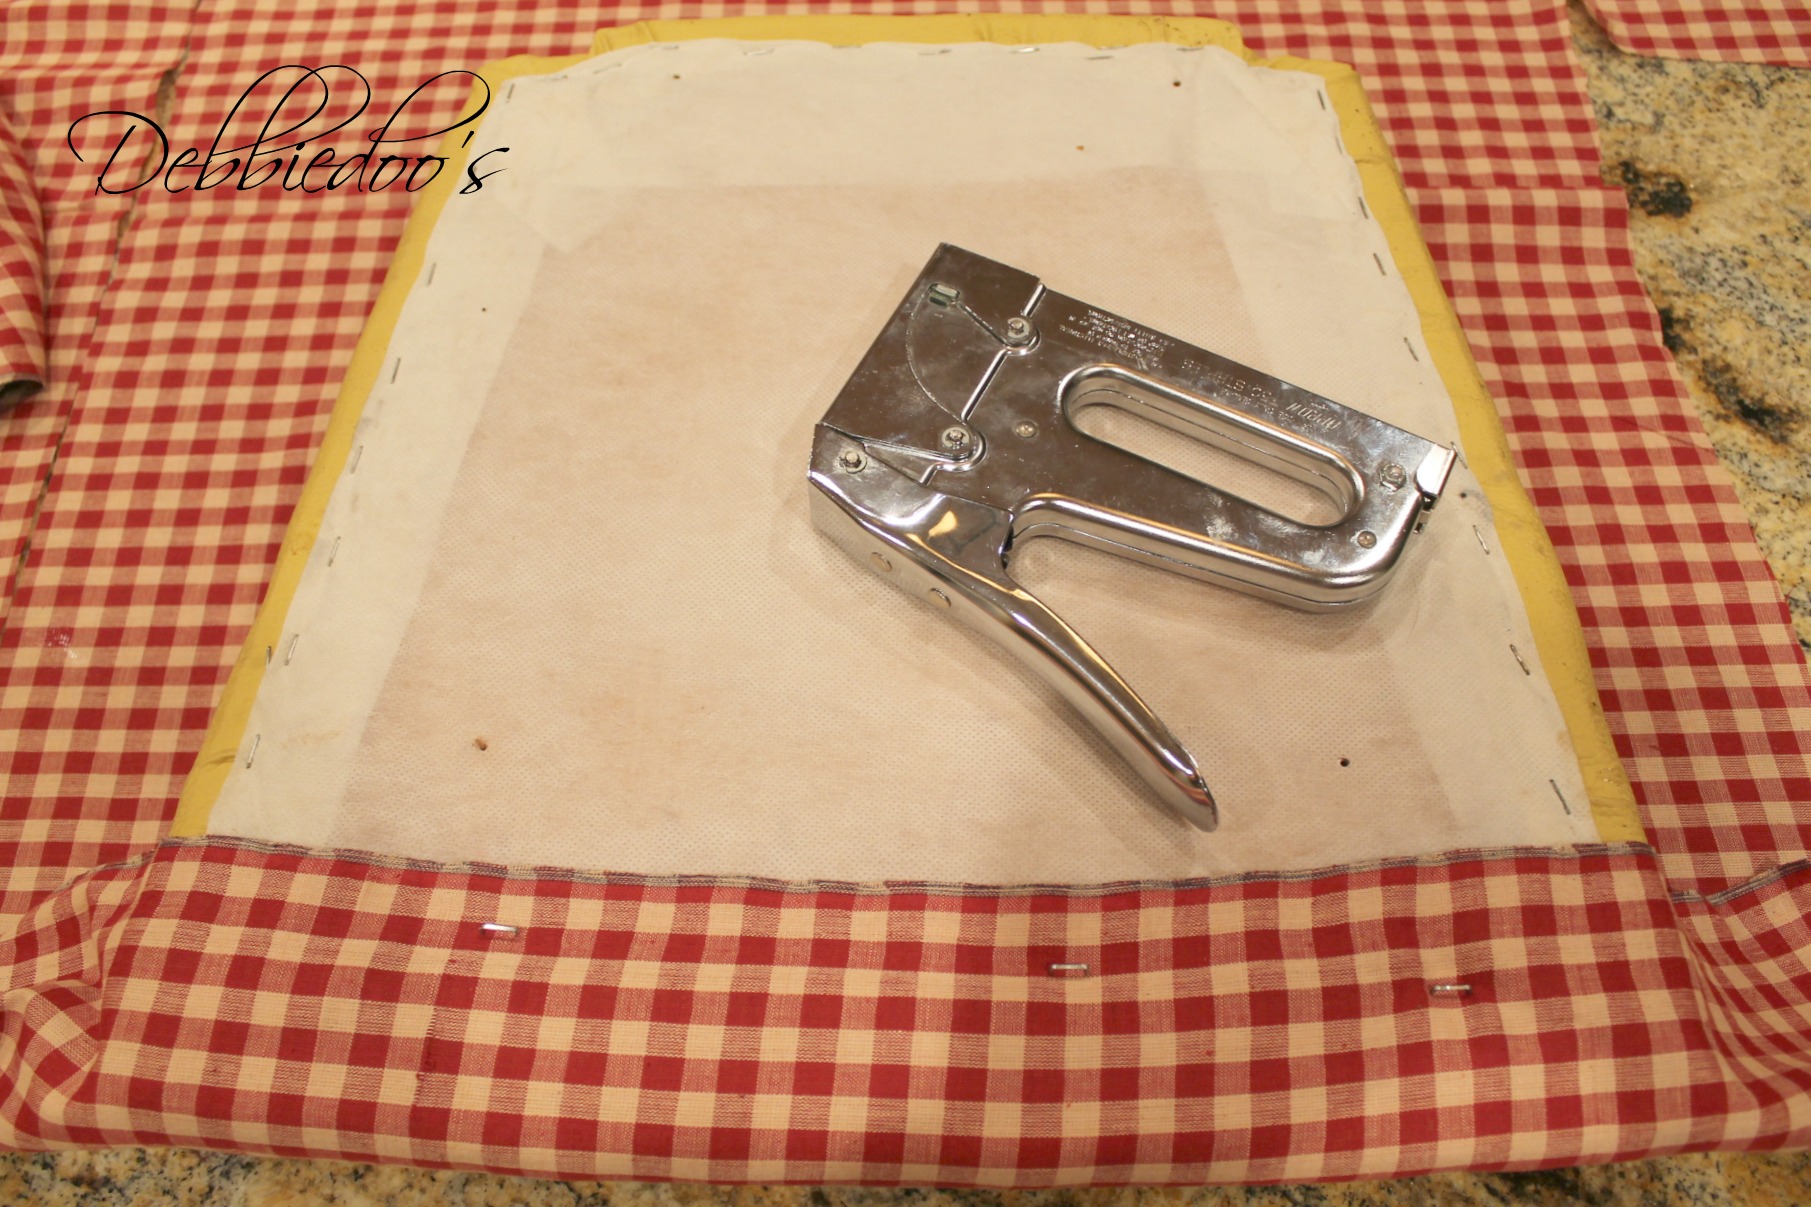
Fold, pull snugly, and staple
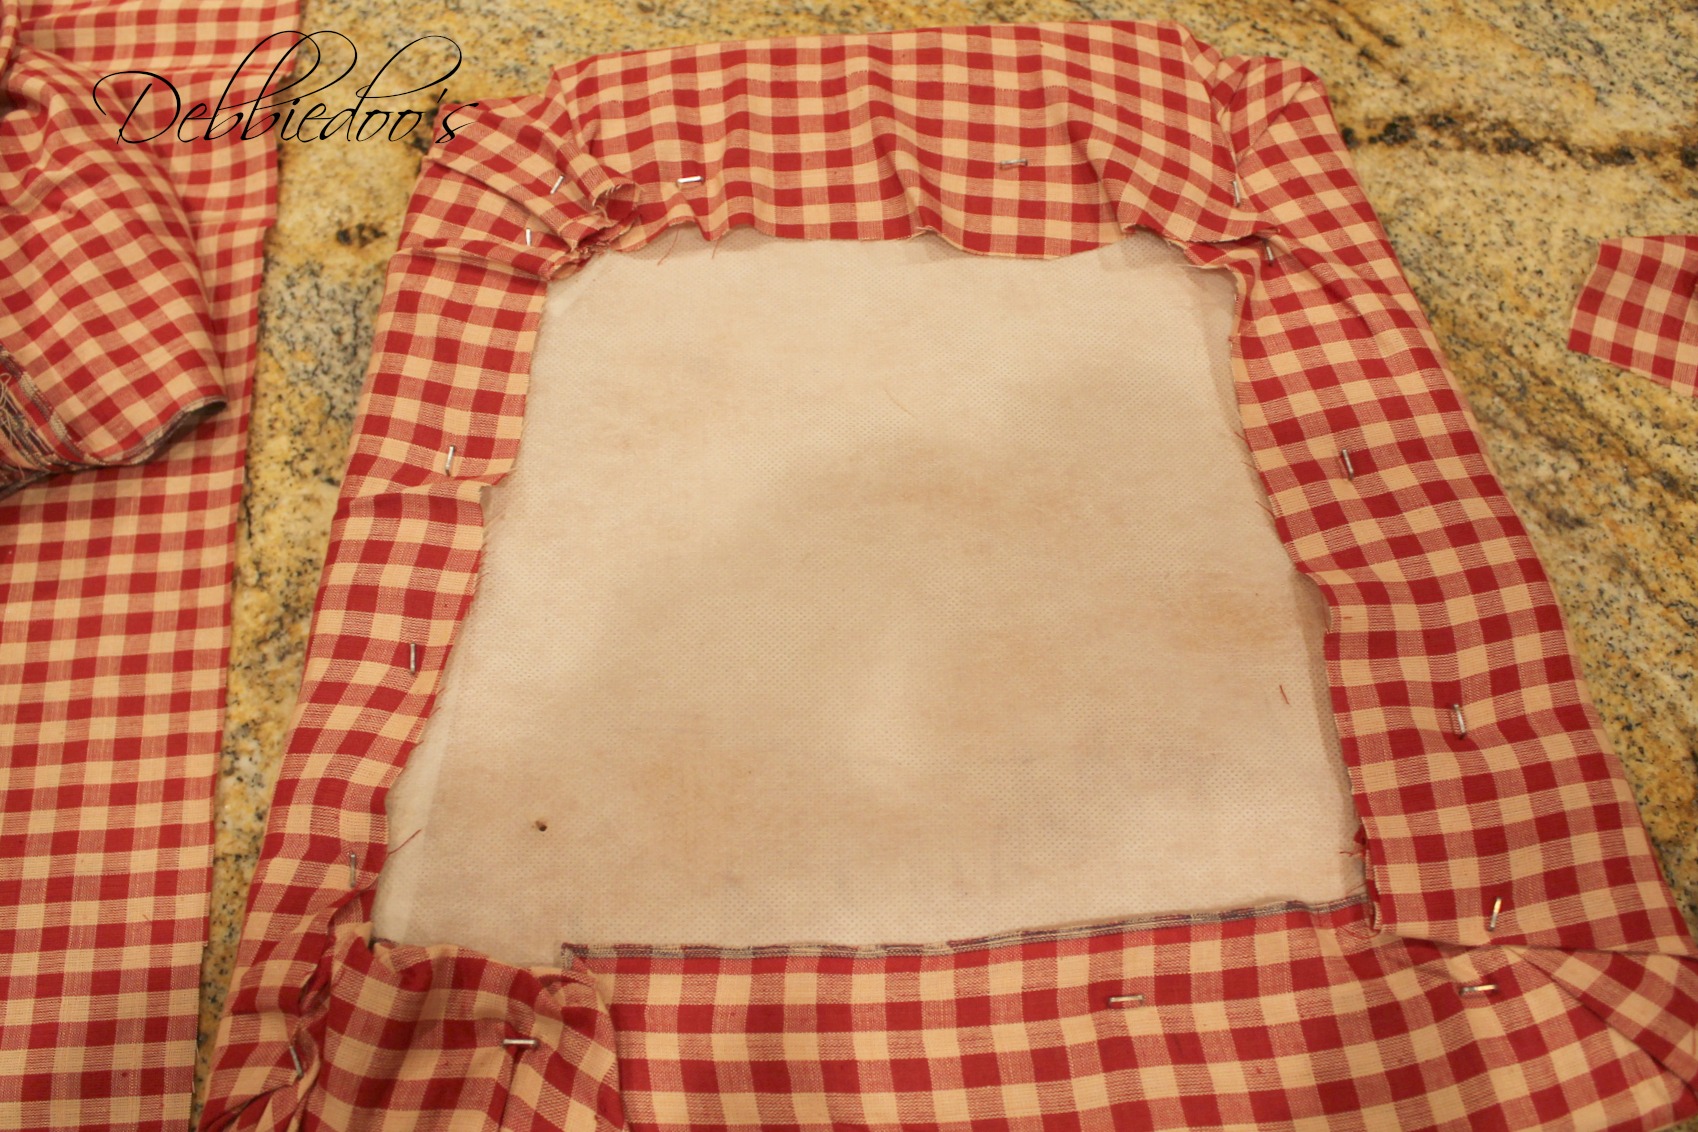
I folded the fabric over the edges, pulled it tight, and stapled as I went. I folded the corners much like wrapping a gift.
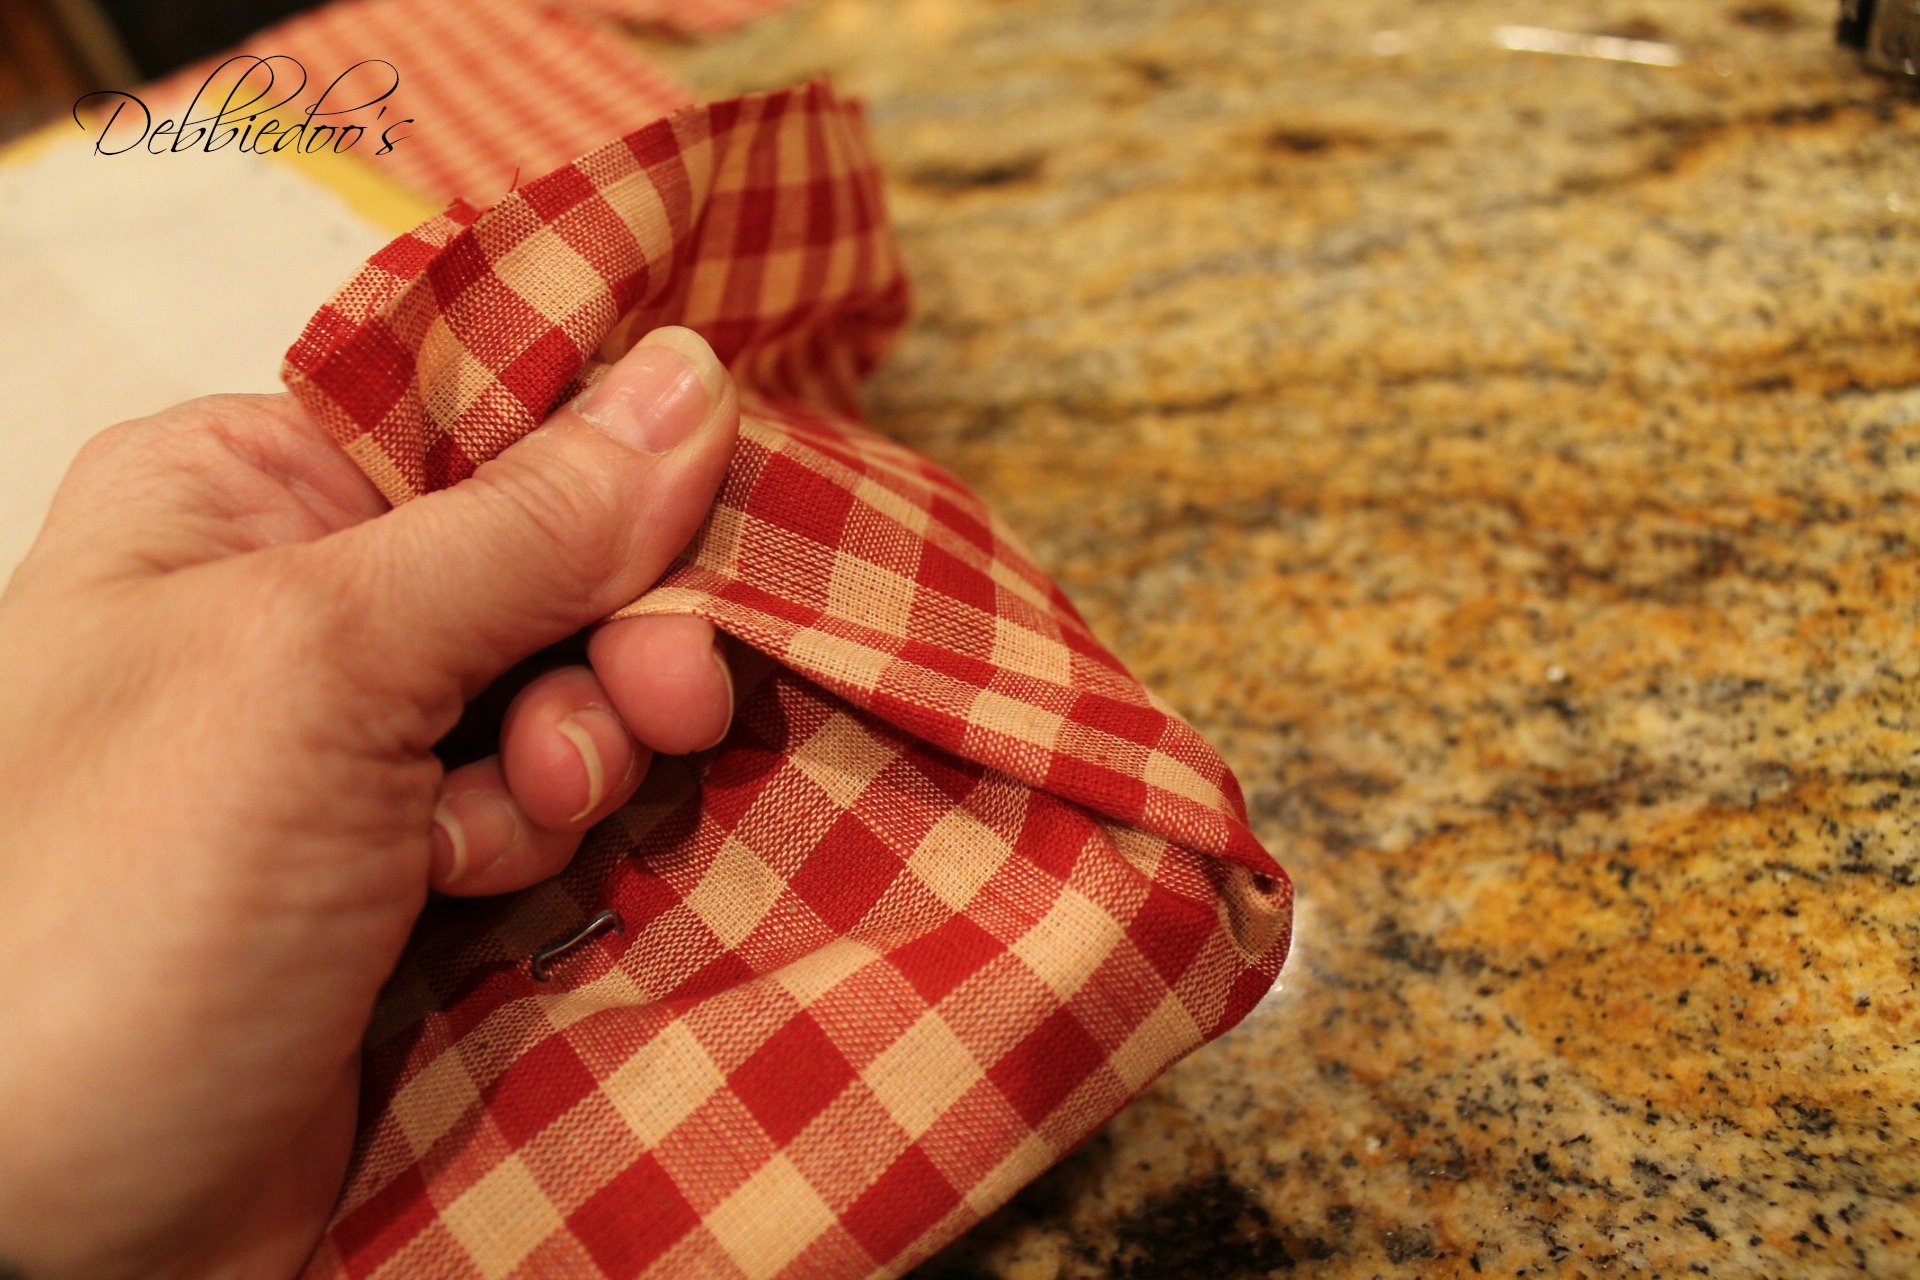
Some of my staples did not go all the way in. I felt the fabric was secure, but that was a limitation of my first attempt, rather than a finish to copy: check that the fabric is firmly attached and address projecting or loose staples before putting a seat back into use.
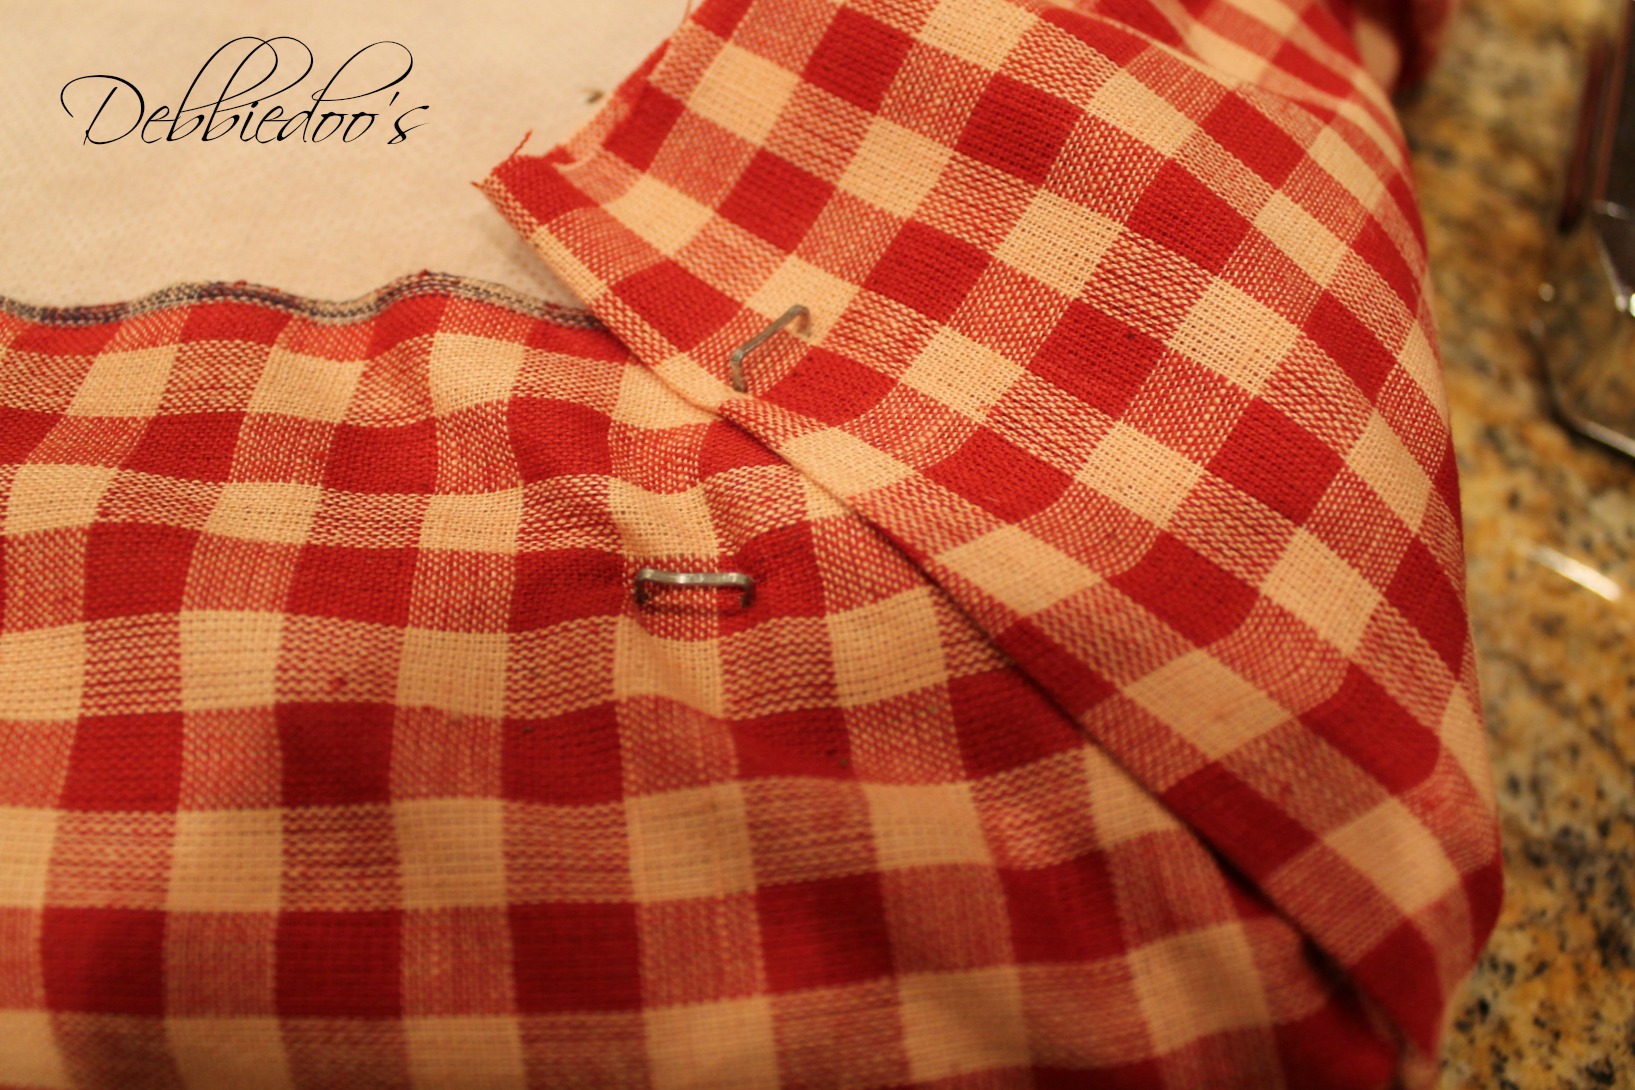
The underside of my first attempt
The underside shows the folded fabric and my uneven stapling. Getting the fabric taut took plenty of pulling and was tiring on my hands and neck.
The finished gingham seats
The visible side looked much neater than the underside. I reported spending less than $20 on the makeover at the time; that was my project cost, rather than a current price estimate.
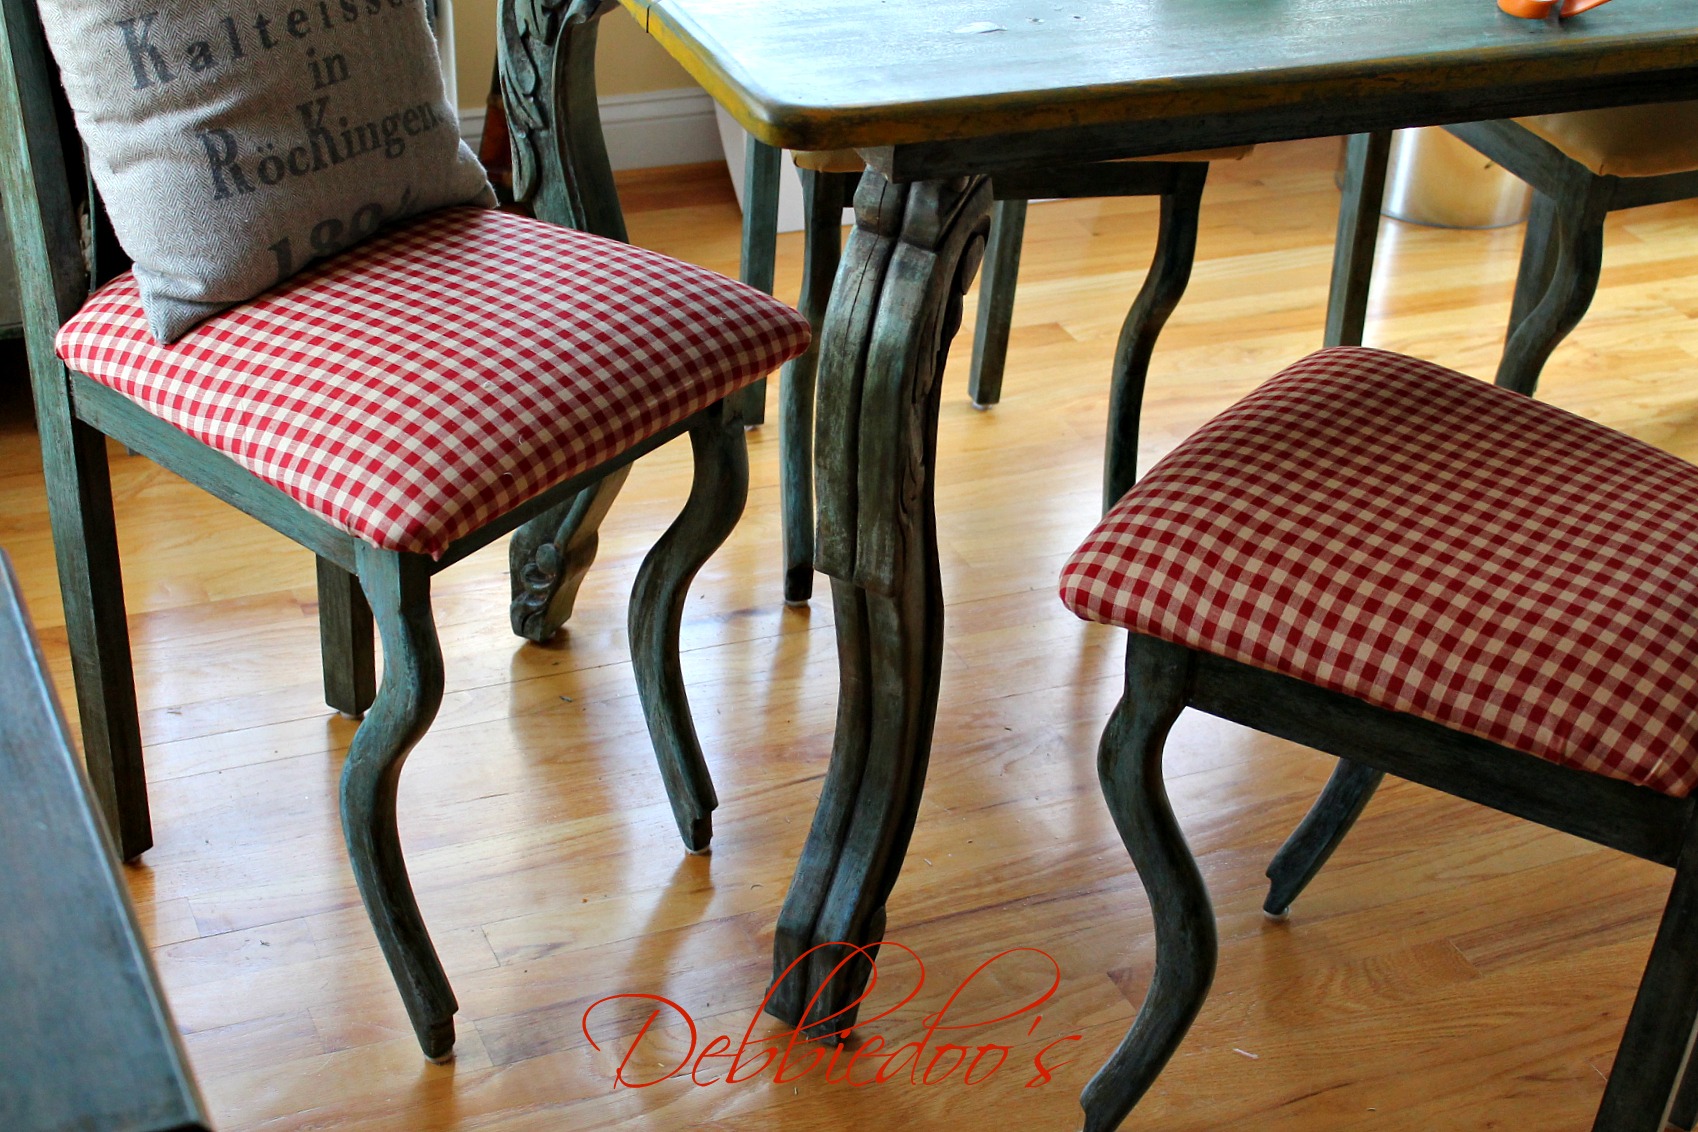
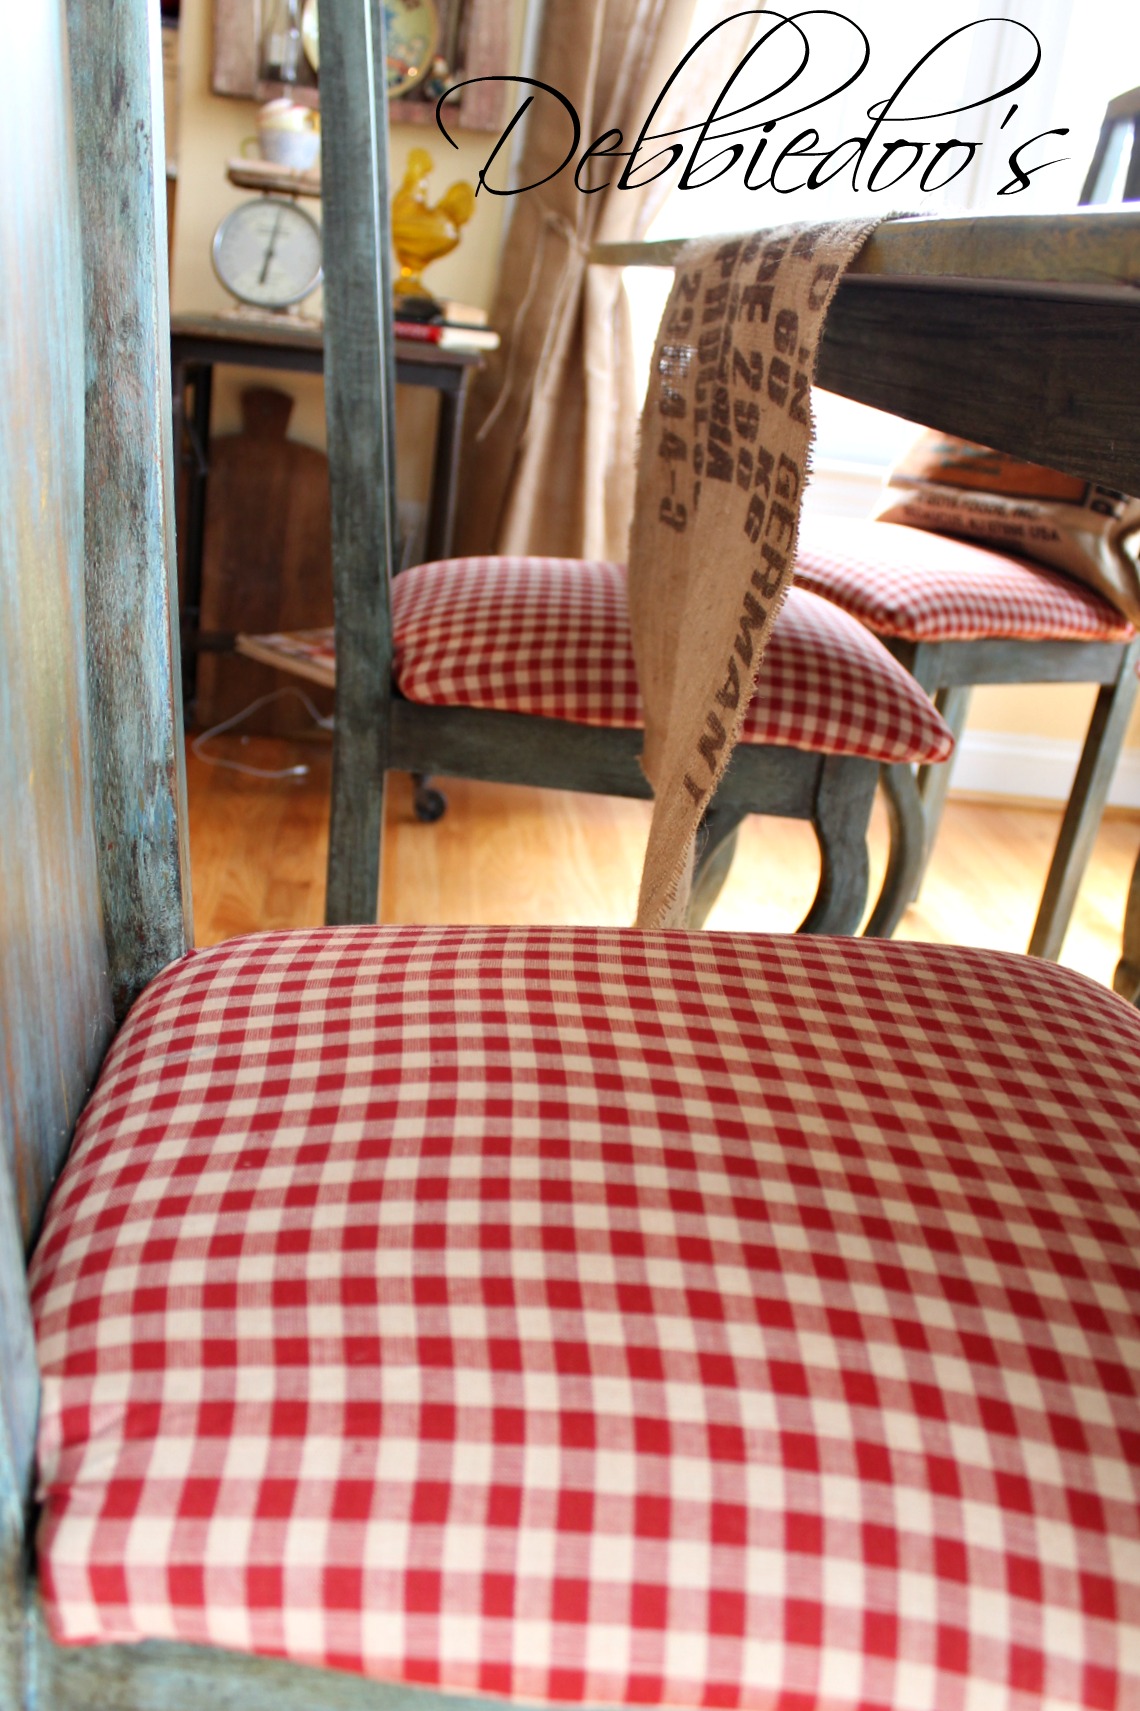
The chair-seat makeover together


Leave a Reply