
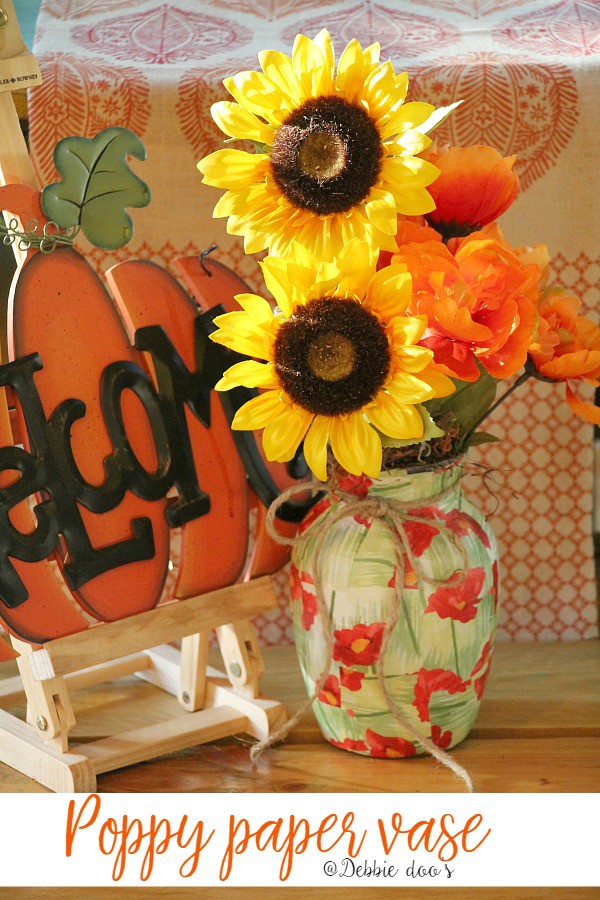
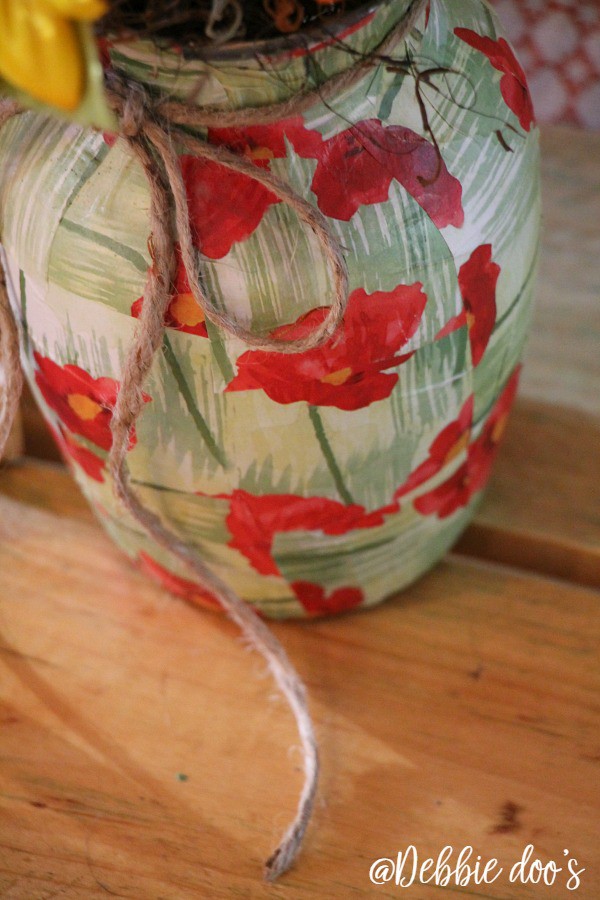
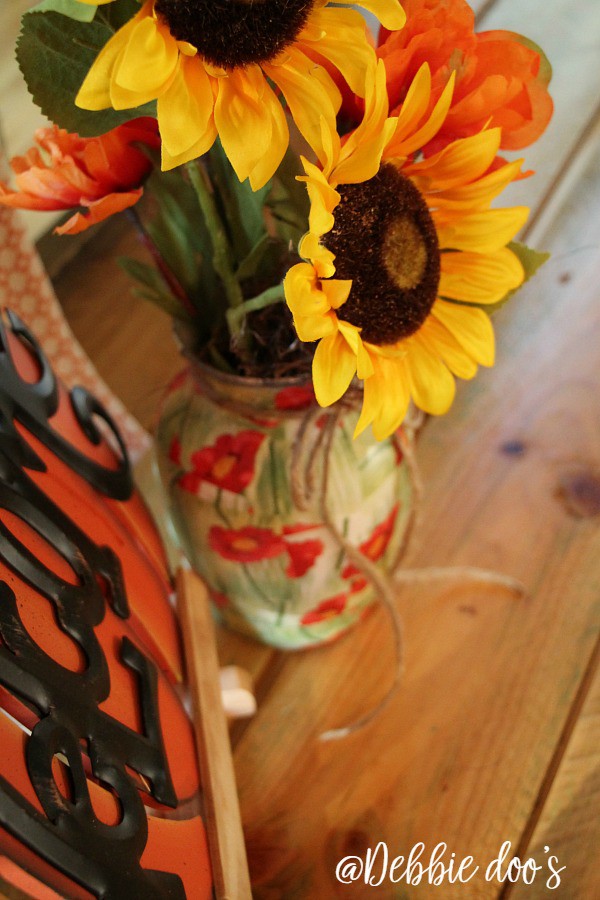
Breathe new life into a plain Dollar Tree glass vase by adding a touch of personality and creativity with Mod Podge and wrapping paper. This simple yet effective DIY project is perfect for transforming old or unadorned vases into eye-catching centerpieces or thoughtful gifts.
In this step-by-step guide, we’ll walk you through applying wrapping paper to a glass vase using Mod Podge, resulting in a stunning and unique decorative piece. You will need to gather your materials, measure and cut the wrapping paper, apply Mod Podge to the vase, position the paper, trim excess paper, seal the paper, dry and repeat, seal the Mod Podge, and let the vase cure. Whether an experienced crafter or a beginner, this project is a fun and easy way to unleash your creativity and repurpose a glass vase.
1. Gather your materials
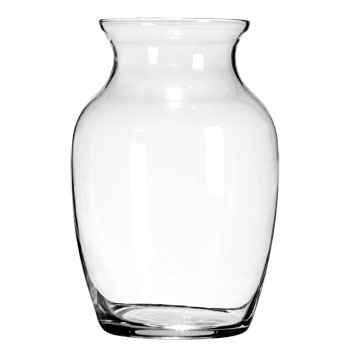
- Glass vase (clean and dry)
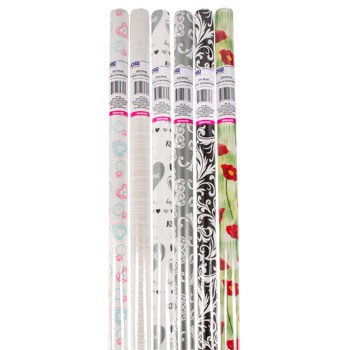
- Wrapping paper. I used wrapping paper with a poppy design
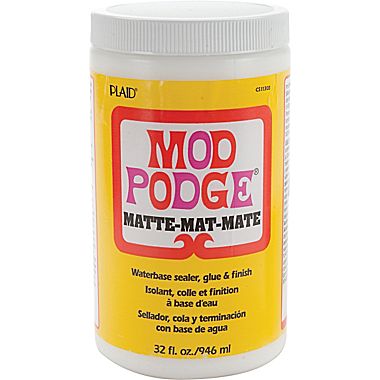
- Mod Podge (matte or gloss finish). I used matte
- Scissors or a paper cutter
- Foam brush or paintbrush
- Ruler or measuring tape
- Pencil
- Craft knife (optional)
- Clear acrylic sealer spray (optional)
2. Measure and cut the wrapping paper
Measure the height and circumference of your glass vase. Then mark and cut the wrapping paper to the desired size, leaving a slight overlap (about ½ inch) on the circumference. You can create a straight or a decorative edge, depending on your preference.
3. Apply Mod Podge to the vase
Use the foam brush to apply a thin, even layer of Mod Podge on the glass vase where you’ll be placing the wrapping paper. Make sure to cover the entire area that the paper will be applied to.
4. Position the paper
Carefully place the wrapping paper onto the vase, starting at one edge and working your way around. Smooth out any wrinkles or bubbles as you go, pressing the paper firmly onto the vase. It’s crucial to work quickly, as Mod Podge dries fast.
5. Trim excess paper
If you have any excess paper, use a craft knife to trim it carefully. Make sure the paper is properly aligned and adhered to the vase before trimming.
6. Seal the paper
Once the wrapping paper is in place, apply another thin layer of Mod Podge over the paper using the foam brush. This will seal the paper and give it a protective coating. Make sure to cover the entire surface of the paper, including the edges and seams.
7. Dry and repeat
Allow the vase to dry for about 15-20 minutes. If necessary, apply additional coats of Mod Podge for added durability, allowing each coat to dry before applying the next one.
8. Seal the Mod Podge (optional)
If you want to give the vase a glossy or matte finish and further protect the surface, apply a clear acrylic sealer spray after the final coat of Mod Podge has dried completely. Follow the manufacturer’s instructions for the best results.
9. Let the vase cure
Allow the vase to dry and cure for at least 24 hours before using it for decoration or gifting.
Now you have a beautifully decorated Dollar Tree glass vase with a personal touch! This technique can also be applied to other glass objects, such as jars, bottles, or votive holders. It is also possible to Mod Podge napkins on glass.
Check out more Mod Podge glass projects.
Very nice project! Very doable. Go, Clemson!!
Ahh yes, never thought of that aspect. Considering our son is a Tiger:)
Very cute Debbie!
Cute vase Deb.
And so true, ya gotta praise them lots.
But we know they deserve it 🙂
Cute as ever Debbie, I watched your FB DIY video:) You always give me a good laugh!
Good, I’m glad:)
I love it!!! Great job as usual!
I’ve had a vase sitting on my craft desk for months. This gives me the confidence to get on with it. Thanks xx. And yes, I had to give hubby lots of hugs when he finished my craft room xx