Debbiedoos

Thrifty home decor, dollar tree crafts, stenciling, decorating blog.

  • Home Tours
  • All things good food
  • Crafty gallery
  • Dollar tree Christmas and Winter crafting ideas
You are here: Home / All things chalky paint projects / Aging terra cotta pots

Aging terra cotta pots

By 5 Comments

FacebooktwitterpinterestFacebooktwitterpinterest
When does my obsession ever end?
Annie Sloan chalk paint has been one of mine for a while now.
Today, I am going to share aging terra cotta pots with Annie Sloan paint, craft paint and some stencils.
 Do you ever feel like that  about something you love?
I always feel like
I will look back and say to myself what was I thinking?
because I have so many times before.

(bought my first MUM of the season)

 I sure hope with all these latest projects I have been doing,  that  will NOT be the case.  I have been very happy with their out come!
So……today, I was thinking more about our backyard retreat and all the color I want to add.
I have a can of Annie Sloan Provence  chalk paint that I have been dying to dig into.

Remember I mentioned I want a Spanish flair out on our new area.  I want to totally bring the inside out.

So I decided to make my own pot instead of paying 50.00 for something fancy with flair.

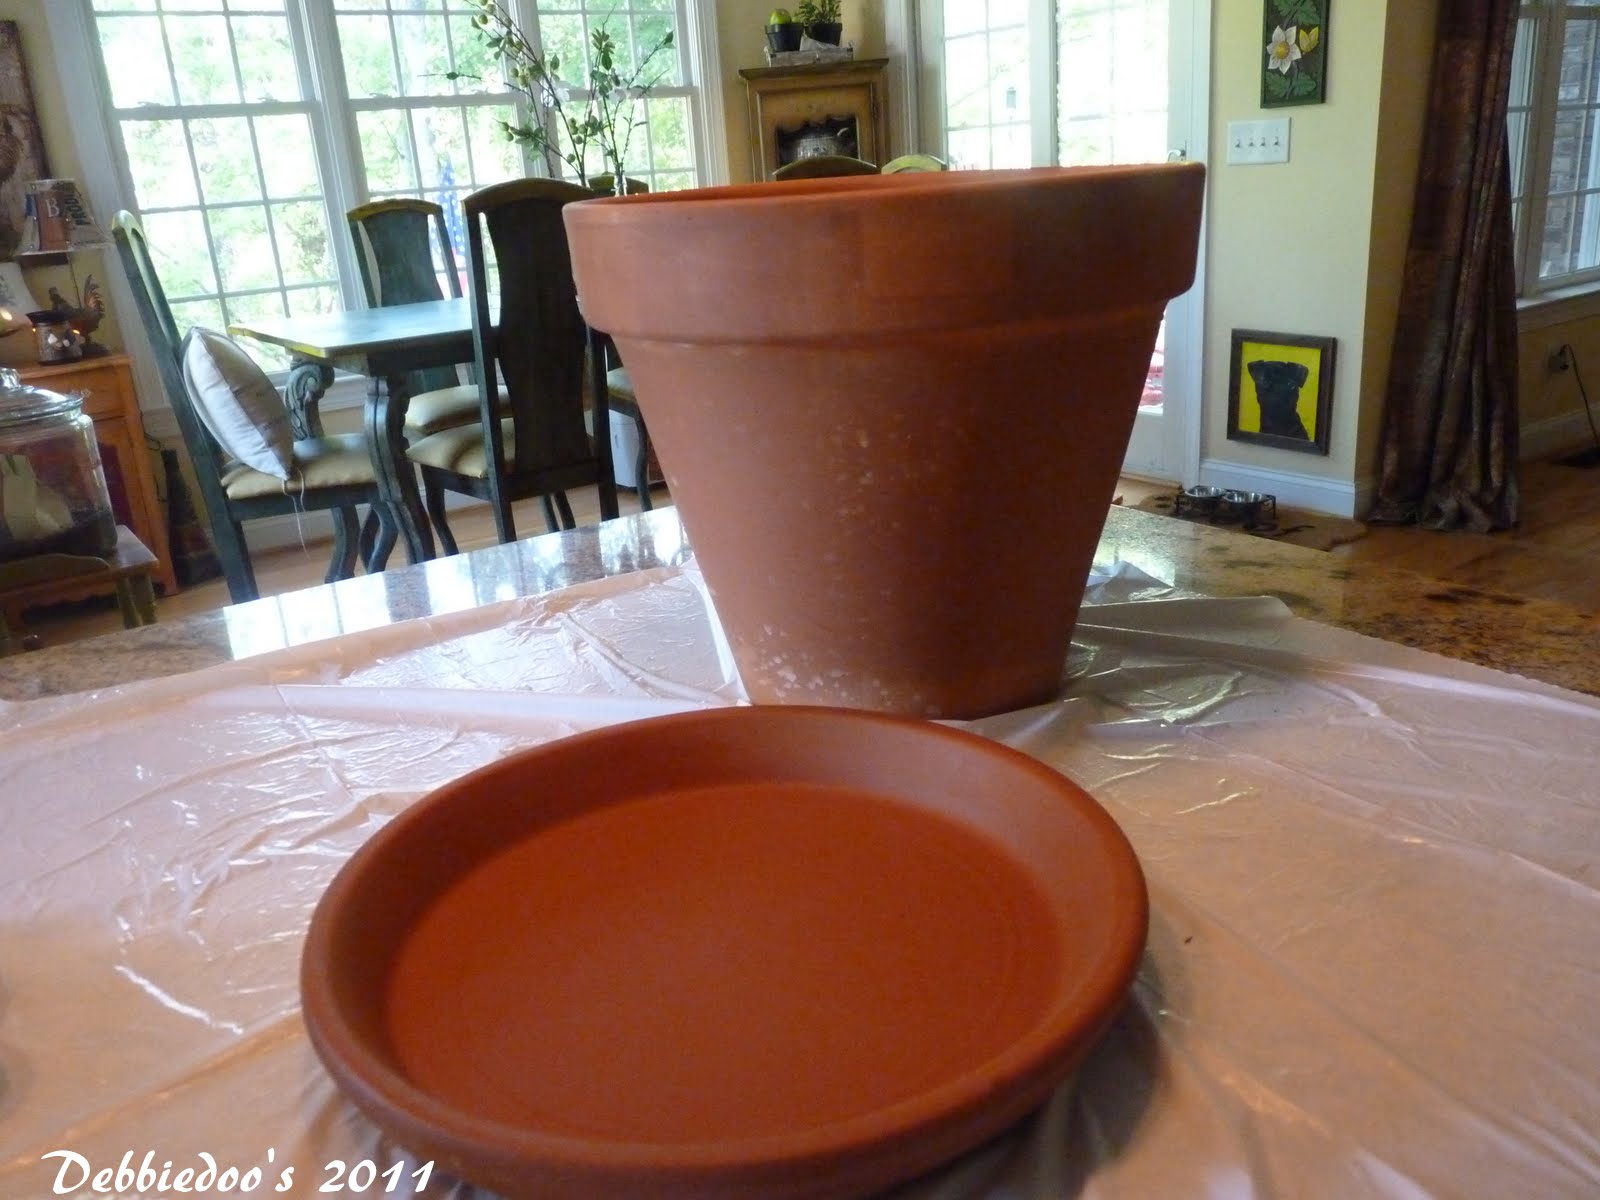
It really was so simple to paint the terra cotta.
The Annie sloan chalk paint went on like butter.
Dried fast as usual.  I have so many pretty stencils on hand I thought I would stencil a design on the pot as well.

I was achieving a weathered old look…
so I sanded the heck out of it.
Gosh,
the sanding is the toughest part of these jobs!
I sweat like a dickens!

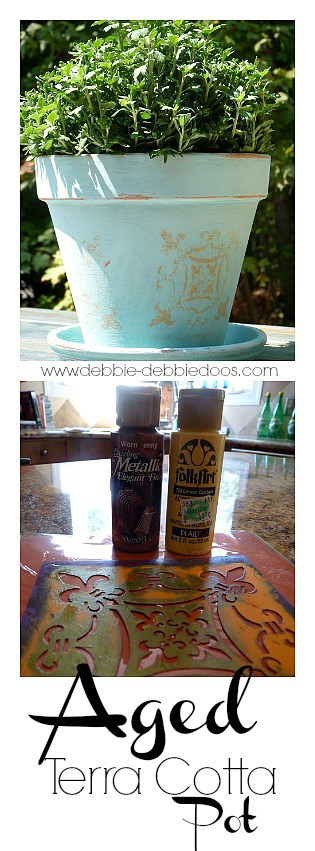
The process was simple.  I painted two coats of Annie Sloan chalk paint. I used duck egg blue color.

Let that completely dry for a  few hours and then did my stencil work.

and again, as I mentioned sanded the heck out of it.  You can use some polyurethane to protect your masterpiece. I did not. I wanted it to get weathered and chippy over time.

I am so very happy with the after…it turned out better than I anticipated.
You just never know when you try something new, it was a 50/50..
The best part of it, this pot was less that 10.00.

In fact from what I am told about Annie’s paint, that  using it for outdoor projects is just as wonderful.  It will take on a more weathered effect over time.

This is the stencil and paint I used..

Thanks for stopping by today.

I hope you will stick around and follow me anyplace anytime.

XO

Thank you so much for visiting with me today.

If you are new here, welcome! I am also very excited to share my new stencil line with you.

[envira-gallery id=”32693″]

Thank you for your visit today!

To view my stencil gallery projects you may check out my Debcreates.com page.

I share all things, thrifty home decor, crafts and a recipe or two on occasion.

I also have an Etsy shop!

Sign up today and receive a few freebies. 12 months of seasonal printable art.

If you would like to commit to becoming a subscriber, I would love for you to join me.


If you like this pot, how about checking out some more of my own and others I gathered

10 Simple garden pot ideas.

10 Simple garden pot ideas

Aged terra cotta pot

You can check out my DIY gallery of ideas while  while you are here.

gallery of ideas by Debbiedoo's

I am no Picasso, however with stencils you surely can feel like one.


FacebooktwitterpinterestFacebooktwitterpinterest

Filed Under: All things chalky paint projects, Stenciling Projects

Image Map

Comments

  1. Lisa Palmese says

    April 8 at 7:25 am

    Love the painted pot and Love the painting of the rooster frame it with a matte and a big chunky
    frame and people will want to know where to buy it!!
    Lisa

    Reply
  2. Christine @ 24 Carrot Kitchen says

    June 18 at 10:00 am

    I love these pots! I think I will give it a try. Thanks!

    Reply
  3. Debbie Plunkett says

    July 14 at 10:11 am

    Hi Deb (Love your name!)

    I adore your chalk paint, terra cotta pots creation and would like to try and make one and have a question as to the order in which you painted and stenciled. It looks like you painted the pot, then added the stencil, my question is, did you lightly paint over the stencil and then sand it or did you totally paint over the stencil and sand the heck out of it????

    Thanks so much – love your web site!!

    Reply
    • debbiedoo's says

      July 14 at 4:43 pm

      Thank you Debbie. The pot was painted first, stenciled, distressed and then a light clear wax to protect and seal it.

      Reply

Leave a Reply Cancel reply

Your email address will not be published.

This site uses Akismet to reduce spam. Learn how your comment data is processed.

Subscribe today!

Looking for something?

Social butterfly

FacebooktwitterpinterestrssyoutubeinstagramFacebooktwitterpinterestrssyoutubeinstagram

Follow me

FacebooktwitterpinterestrssyoutubeinstagramFacebooktwitterpinterestrssyoutubeinstagram

Recent Posts

  • Christmas decorating
  • Dollar tree Splatter Screen Seasonal Wreaths
  • Country Christmas kitchen decorating
  • 5 Minute Dollar Tree Christmas Wreath
  • Budget friendly Christmas Crafts

Printables & Images Policy: Please do not use my printables for anything that is sold or alter them in any way. Please do not post one (or more) of my printables on your site without my permission. If you would like to feature one of my images, please ask first. This includes, but is not limited to, other blogs, round-up sites and magazine publication sites. I can be reached at debbiedoos43@gmail.com

Debbie Manno (Debbiedoo's) is a participant in the Amazon Services LLC Associates Program, an affiliate advertising program designed to provide a means for sites to earn advertising fees by advertising and linking to (Debbiedoo's) (amazon.com). I also grant ZERO permission to use one or any of my photos/printables or any other content here within my website for features or "round ups" without prior permission. Thank you. I also would like to credit Pixabay.com for their CCO use of images. Noting that I can download, modify, distribute, and use them royalty free for anything I like, even in commercial applications. ANY recipes of mine that have inspired you to make and create, please always reference to finding the original recipe on my site and not sharing the entire recipe on your site for no incentive to visit the original creator. Thank you.

Copyright © 2019 Debbiedoo's · Log in

This website uses cookies to improve your experience. We'll assume you're ok with this, but you can opt-out if you wish.Accept Reject Read More
Privacy & Cookies Policy

Necessary Always Enabled