
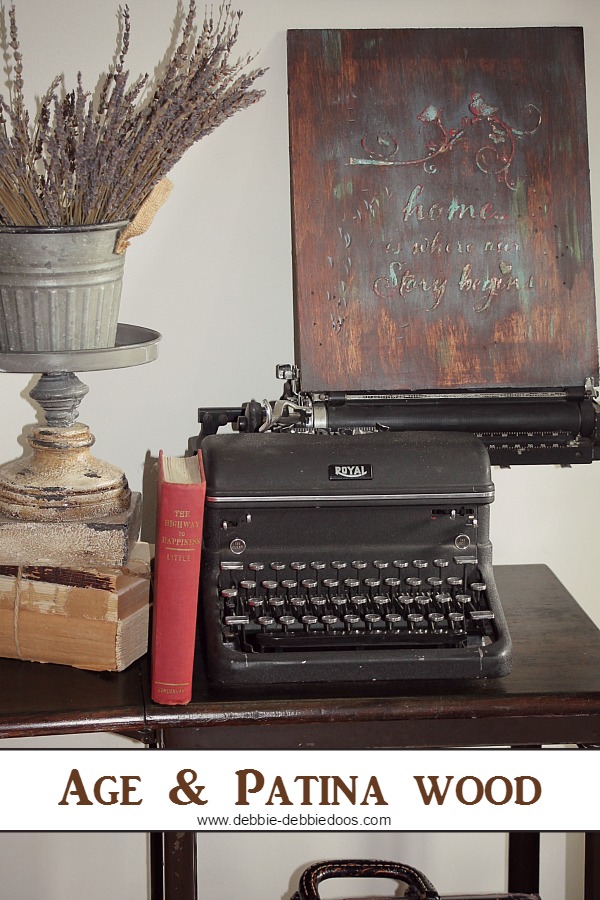
With patience, a bit of elbow grease, and a love for rustic charm, anyone can learn to age wood and create a patina masterpiece. In this guide, we will walk you through the step-by-step process of aging wood.
1. Gather your supplies
- Board made of sturdy wood, such as plywood
- Stencil
- Putty knife
- Stencil bristle brushes
- Craft paints
- Plaster of paris
- Jacquard Pearl Ex Shimmer Dust
- Lumiere Paints
- Sponge brushes
- Gel stain
- Wax sealant
- Hammer
- Needle-nose pliers
2. Prepare the wood board

Begin by creating the wormwood look on your board by pounding and gashing the wood with a hammer and needle-nose pliers. It’s a bit of a workout but also a lot of fun.
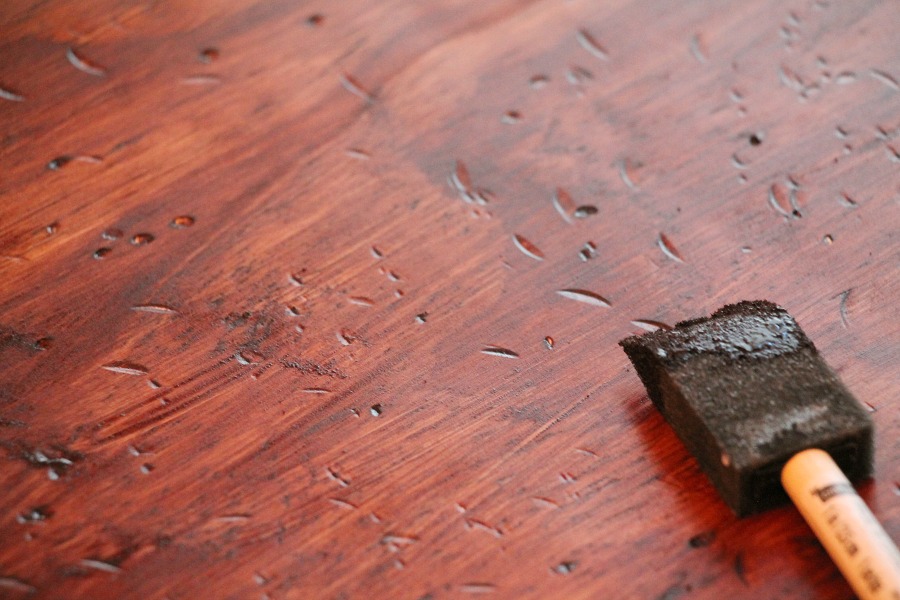
After achieving the desired look, stain the board with gel stain. An alternative method would be staining the board after applying the plaster of paris, which we will cover in the next step.
3. Apply the plaster of paris
Once the stain is dry, it’s time to apply the plaster of paris. Mix it according to the instructions on the package and apply it with a putty knife.
Keep a damp paper towel handy for any spills or drips since it’s not always a clean process. After covering the board, let it dry overnight.
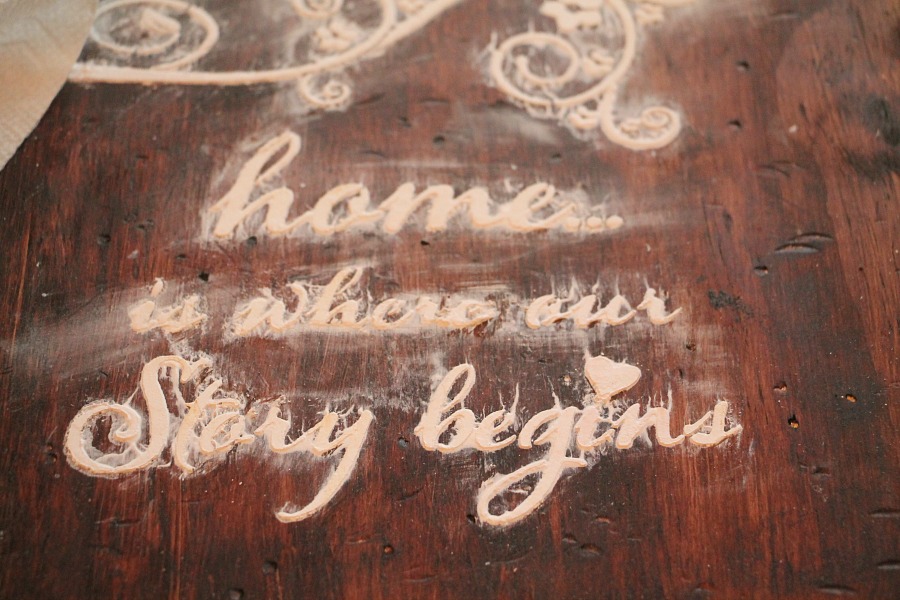
4. Add more details
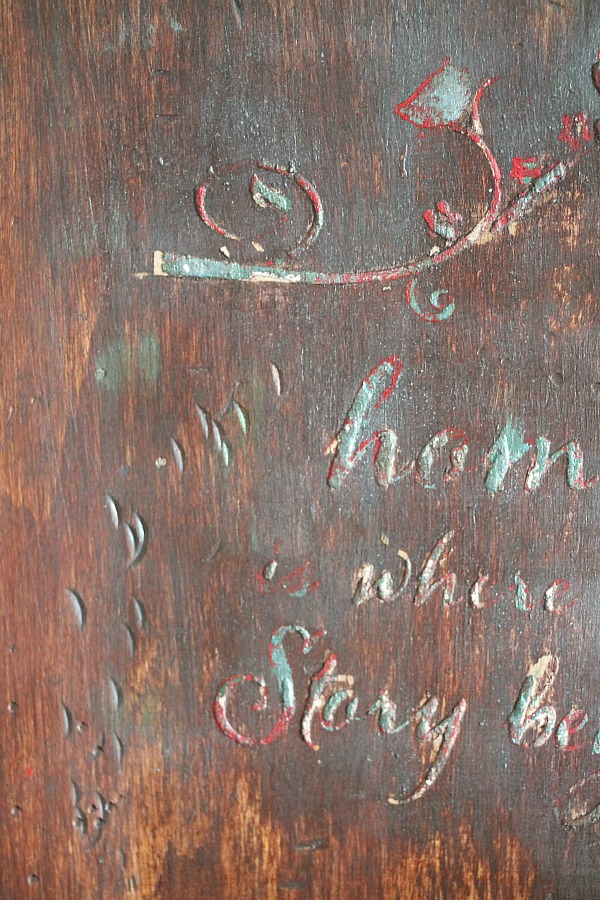
The next day, go over your board with another layer of gel stain and let it dry overnight. Then comes the really fun part – adding the patina. Using your stencil and simple red craft paint, dab on your design. It dries quickly, so you can then go over the stencil again with your Shimmer Lumineer paints and dusting powders to create the beautiful aged patina look.
5. Add the final touches

Once everything is dry, lightly sand the project. This enhances the aged effect by smoothing some areas while leaving others chippy and raised. Finally, seal the entire project with wax to protect your hard work and add a professional finish to your piece.
Check out more ways to age wood without painting or staining.
You’re a riot…patience!!! The oloder I get, the less I have. Love the finished project but not sure I could sit still long enough (lack of patience) to see it through. But would love to make it as a gift. Oh my, you’re challenging me again!
If I can sit, you can sit long enough! Trust me. You will enjoy it.
F.U.N. !!– –gotta pit together my ladies tool box !!
Linda of No.Cal.
I love the board on the old typewriter and the picture board is beautiful!
I just love the aged look. Do you use 1/4″ plywood for the signs?
Yes:)