
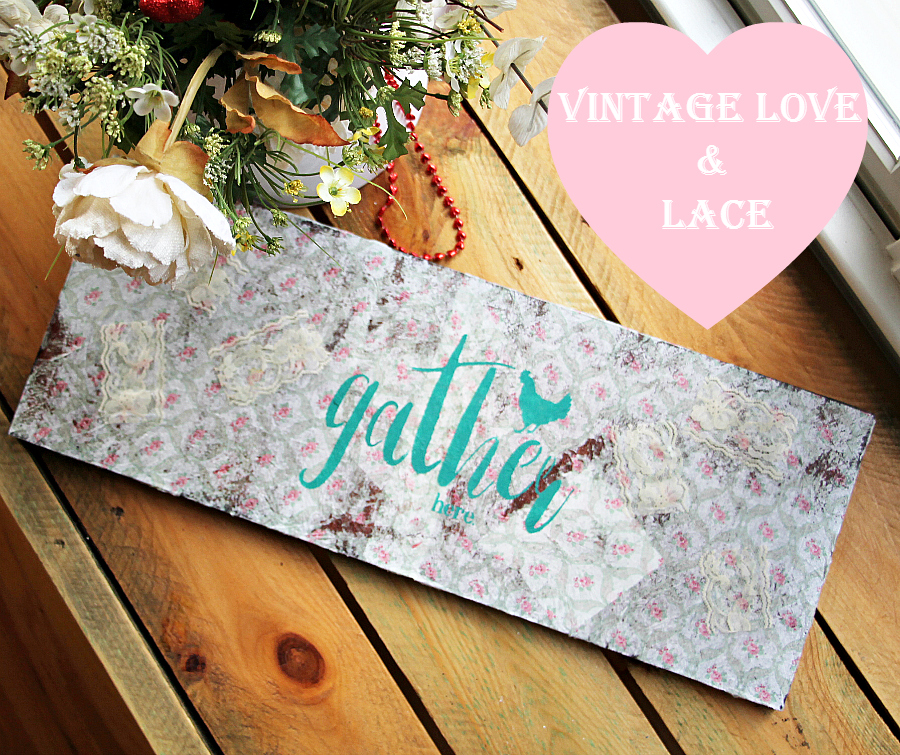
A DIY Valentine’s Day sign is an easy, meaningful way to decorate your home for February 14. With just a handful of basic supplies, you can create a personalized piece that adds warmth, charm, and a handmade touch to your Valentine’s décor—no special skills required.
1. Gather your supplies
- Mod Podge
- A wooden board
- Napkins with colorful patterns
- Sandpaper (optional)
- Newspaper
- Cloth
- Paintbrush
- Embellishments (optional)
All these items are readily available at most craft stores. You may even have some lying around your house.
2. Prepare your workspace
Crafting requires a clean, well-lit workspace. Make sure to clear your table or desk and lay down newspaper or a cloth to catch any drips of Mod Podge.
Always keep a cloth handy to wipe up any spills. Remember, safety is paramount, so ensure you’re working in a well-ventilated area and wash your hands thoroughly after you’re done.
If the wooden board has rough edges, lightly sand them down.
3. Select and cut the napkins

When creating your DIY Valentine’s Day sign, it’s essential to choose a design that resonates with Valentine’s Day. For example, hearts, flowers, and words of love are popular themes. As far as the color palette goes, think shades of red, pink, and white.
Cut out your chosen designs from the napkins carefully. Keep in mind that the pieces need to fit onto your board.
4. Arrange and stick the napkin pieces
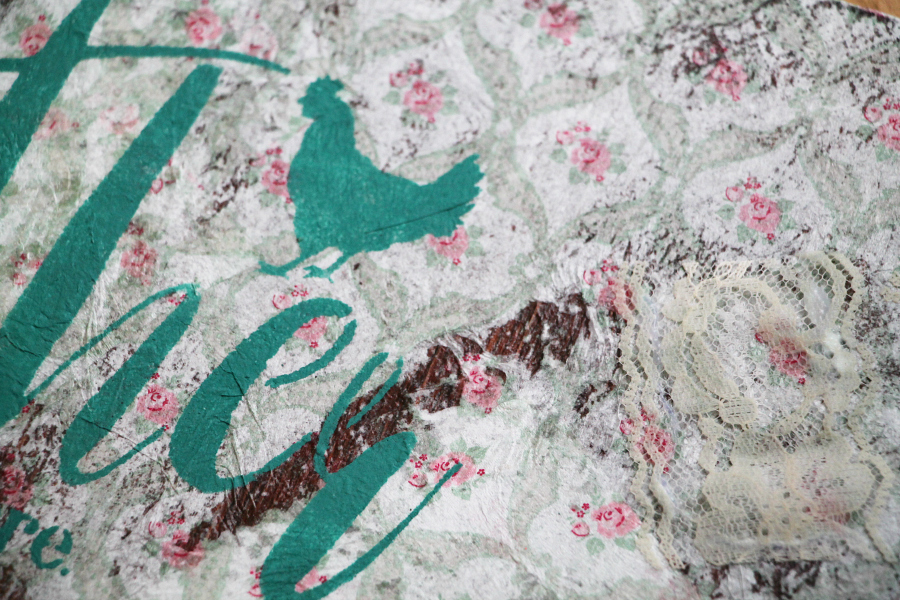
Use a brush to apply a layer of Mod Podge to the area of the board where you plan to place your napkin pieces. To avoid uneven Mod Podge application, always start with a thin layer and add more if necessary.
Then, gently lay your napkin pieces onto the board. Smooth them out with your fingers or a flat tool to avoid any wrinkles or bubbles.
Once you’ve arranged your design, apply another layer of Mod Podge over the top to seal it. Be gentle to avoid tearing the napkins. If your napkin tears during application, you can patch it with a similar piece of napkin and extra Mod Podge.
Allow your DIY Valentine’s Day sign to dry completely. This may take a few hours or longer, depending on the thickness of your Mod Podge layer.
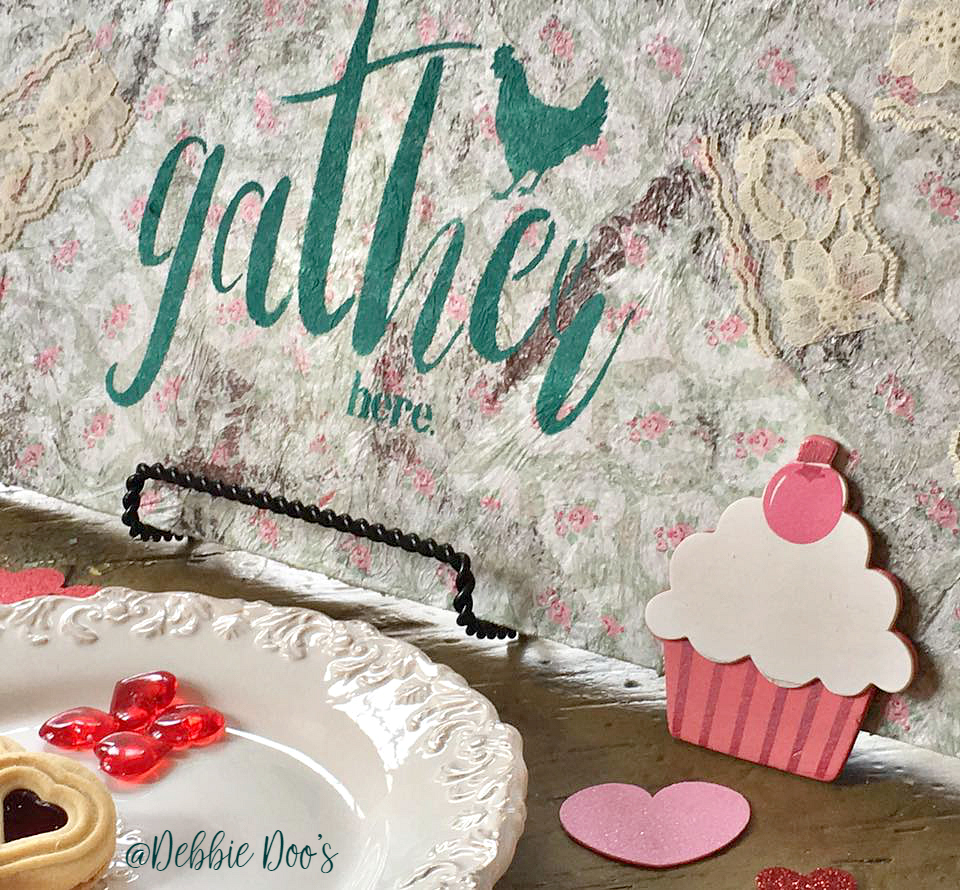
5. Add embellishments (optional)
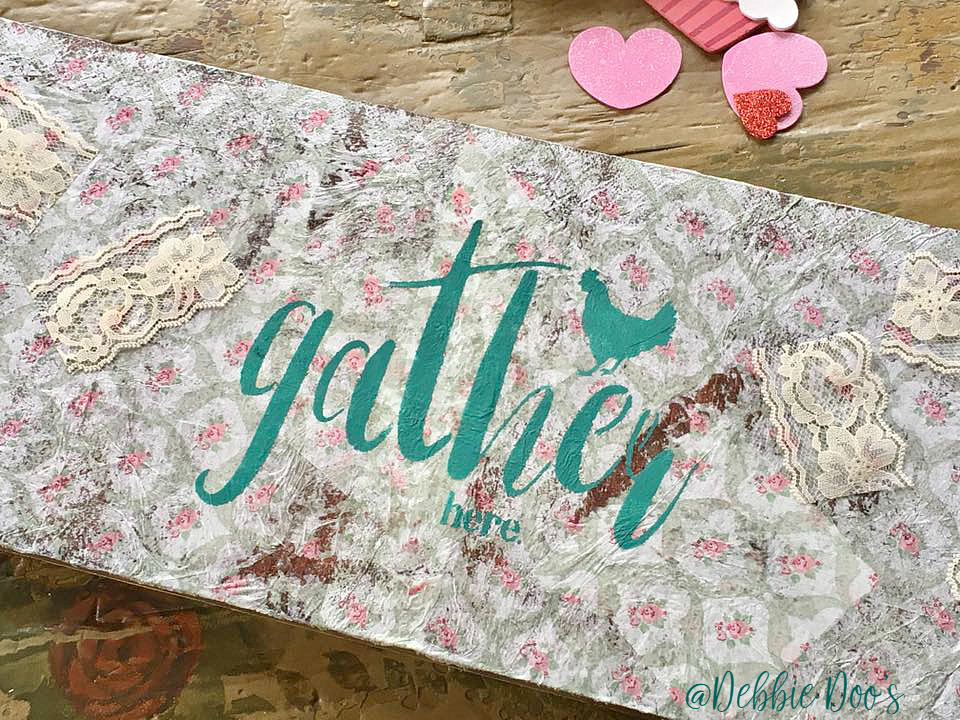
You can add personal touches to your sign by adding initials, dates, or other significant elements. Ribbons, glitter, or even small photos can make your sign extra special.
Preserve your Valentine’s Day sign by keeping it out of direct sunlight and away from moisture. When storing, wrap it in tissue paper to prevent scratches.
If you love this project, learn more about applying napkins to wood with Mod Podge.
I love this! Isn’t it amazing what the kids remember. I love that you made this sign and I too try to celebrate every holiday I can.
Besutiful.
We are teachers to our children, but what they teach us is the best!
You are a grest Mom!!
That is very true! XO thank you.
I always look forward to getting your new letter such great and cute ideas thank you for sharing .
Thank you Kathy!