
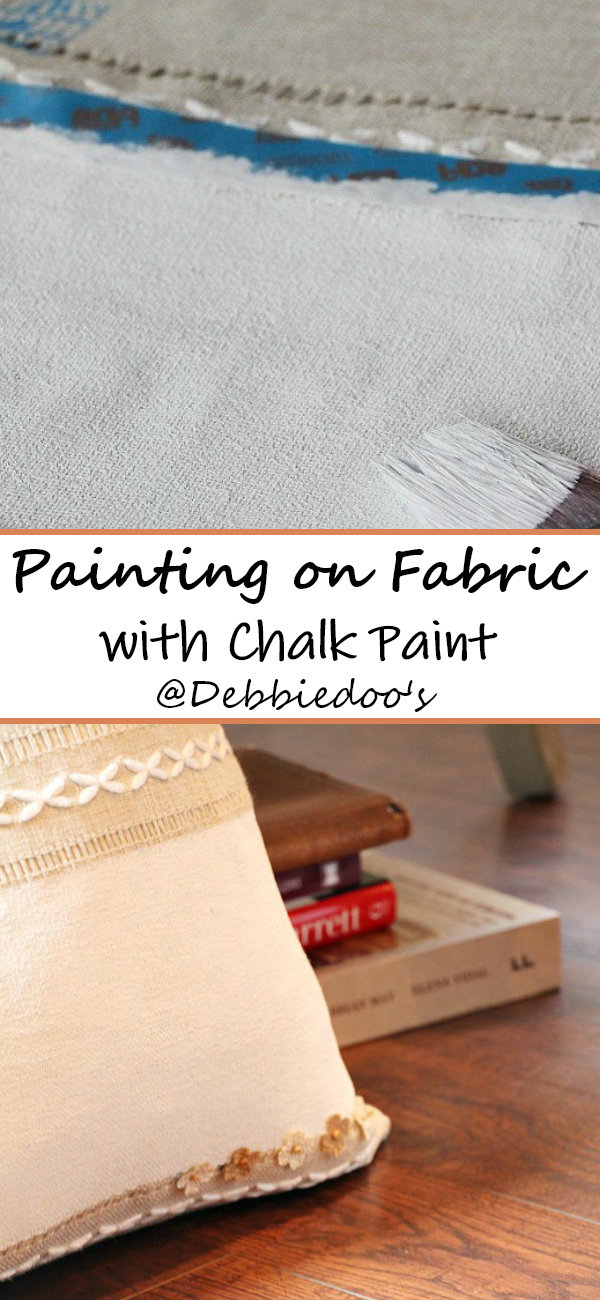
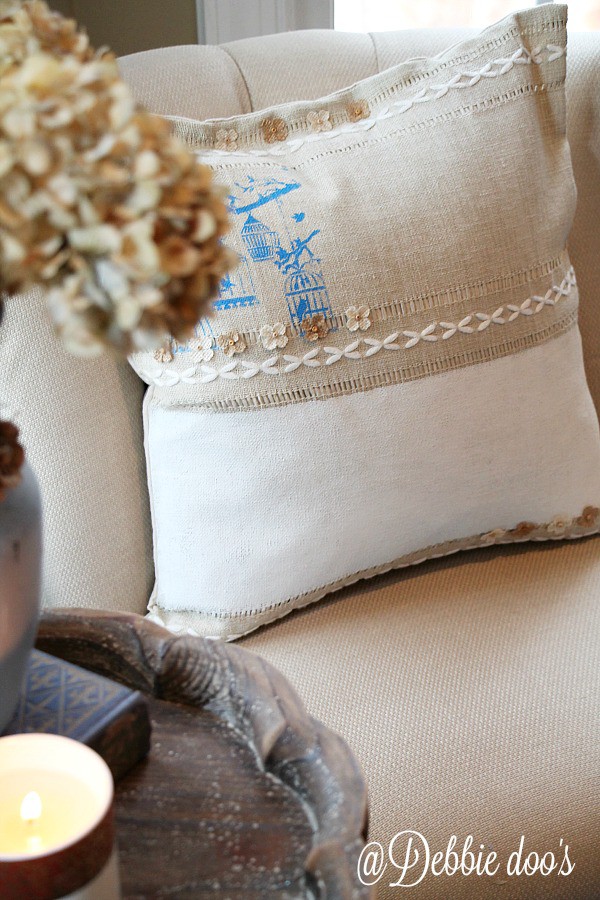
Revamp your pillow covers with a personal touch using a little paint, a stencil, and some creativity. This how-to guide will walk you through the process of painting fabric with chalk, using a charming design of birds, bird cages, and a tree limb on the top right side.
1. Gather your supplies
- Textile paint or craft acrylic paint
- Chalky paint
- Stencil sponge
- 3M tape
- Stencil with birds, bird cages, and a tree limb
- Mini burlap flowers
- Pillow cover
- Plastic bag
2. Set up your workspace
Ensure you have a clean, flat surface to work on. Using the 3M tape, mask off areas of the pillow cover that you want to keep paint-free, such as the pretty white threading.
3. Prepare the pillow cover
Insert a plastic bag inside the pillow to prevent paint bleed-through to the other side of the pillow cover. Then smooth out the cover so it’s ready for painting.
4. Paint the stencil design
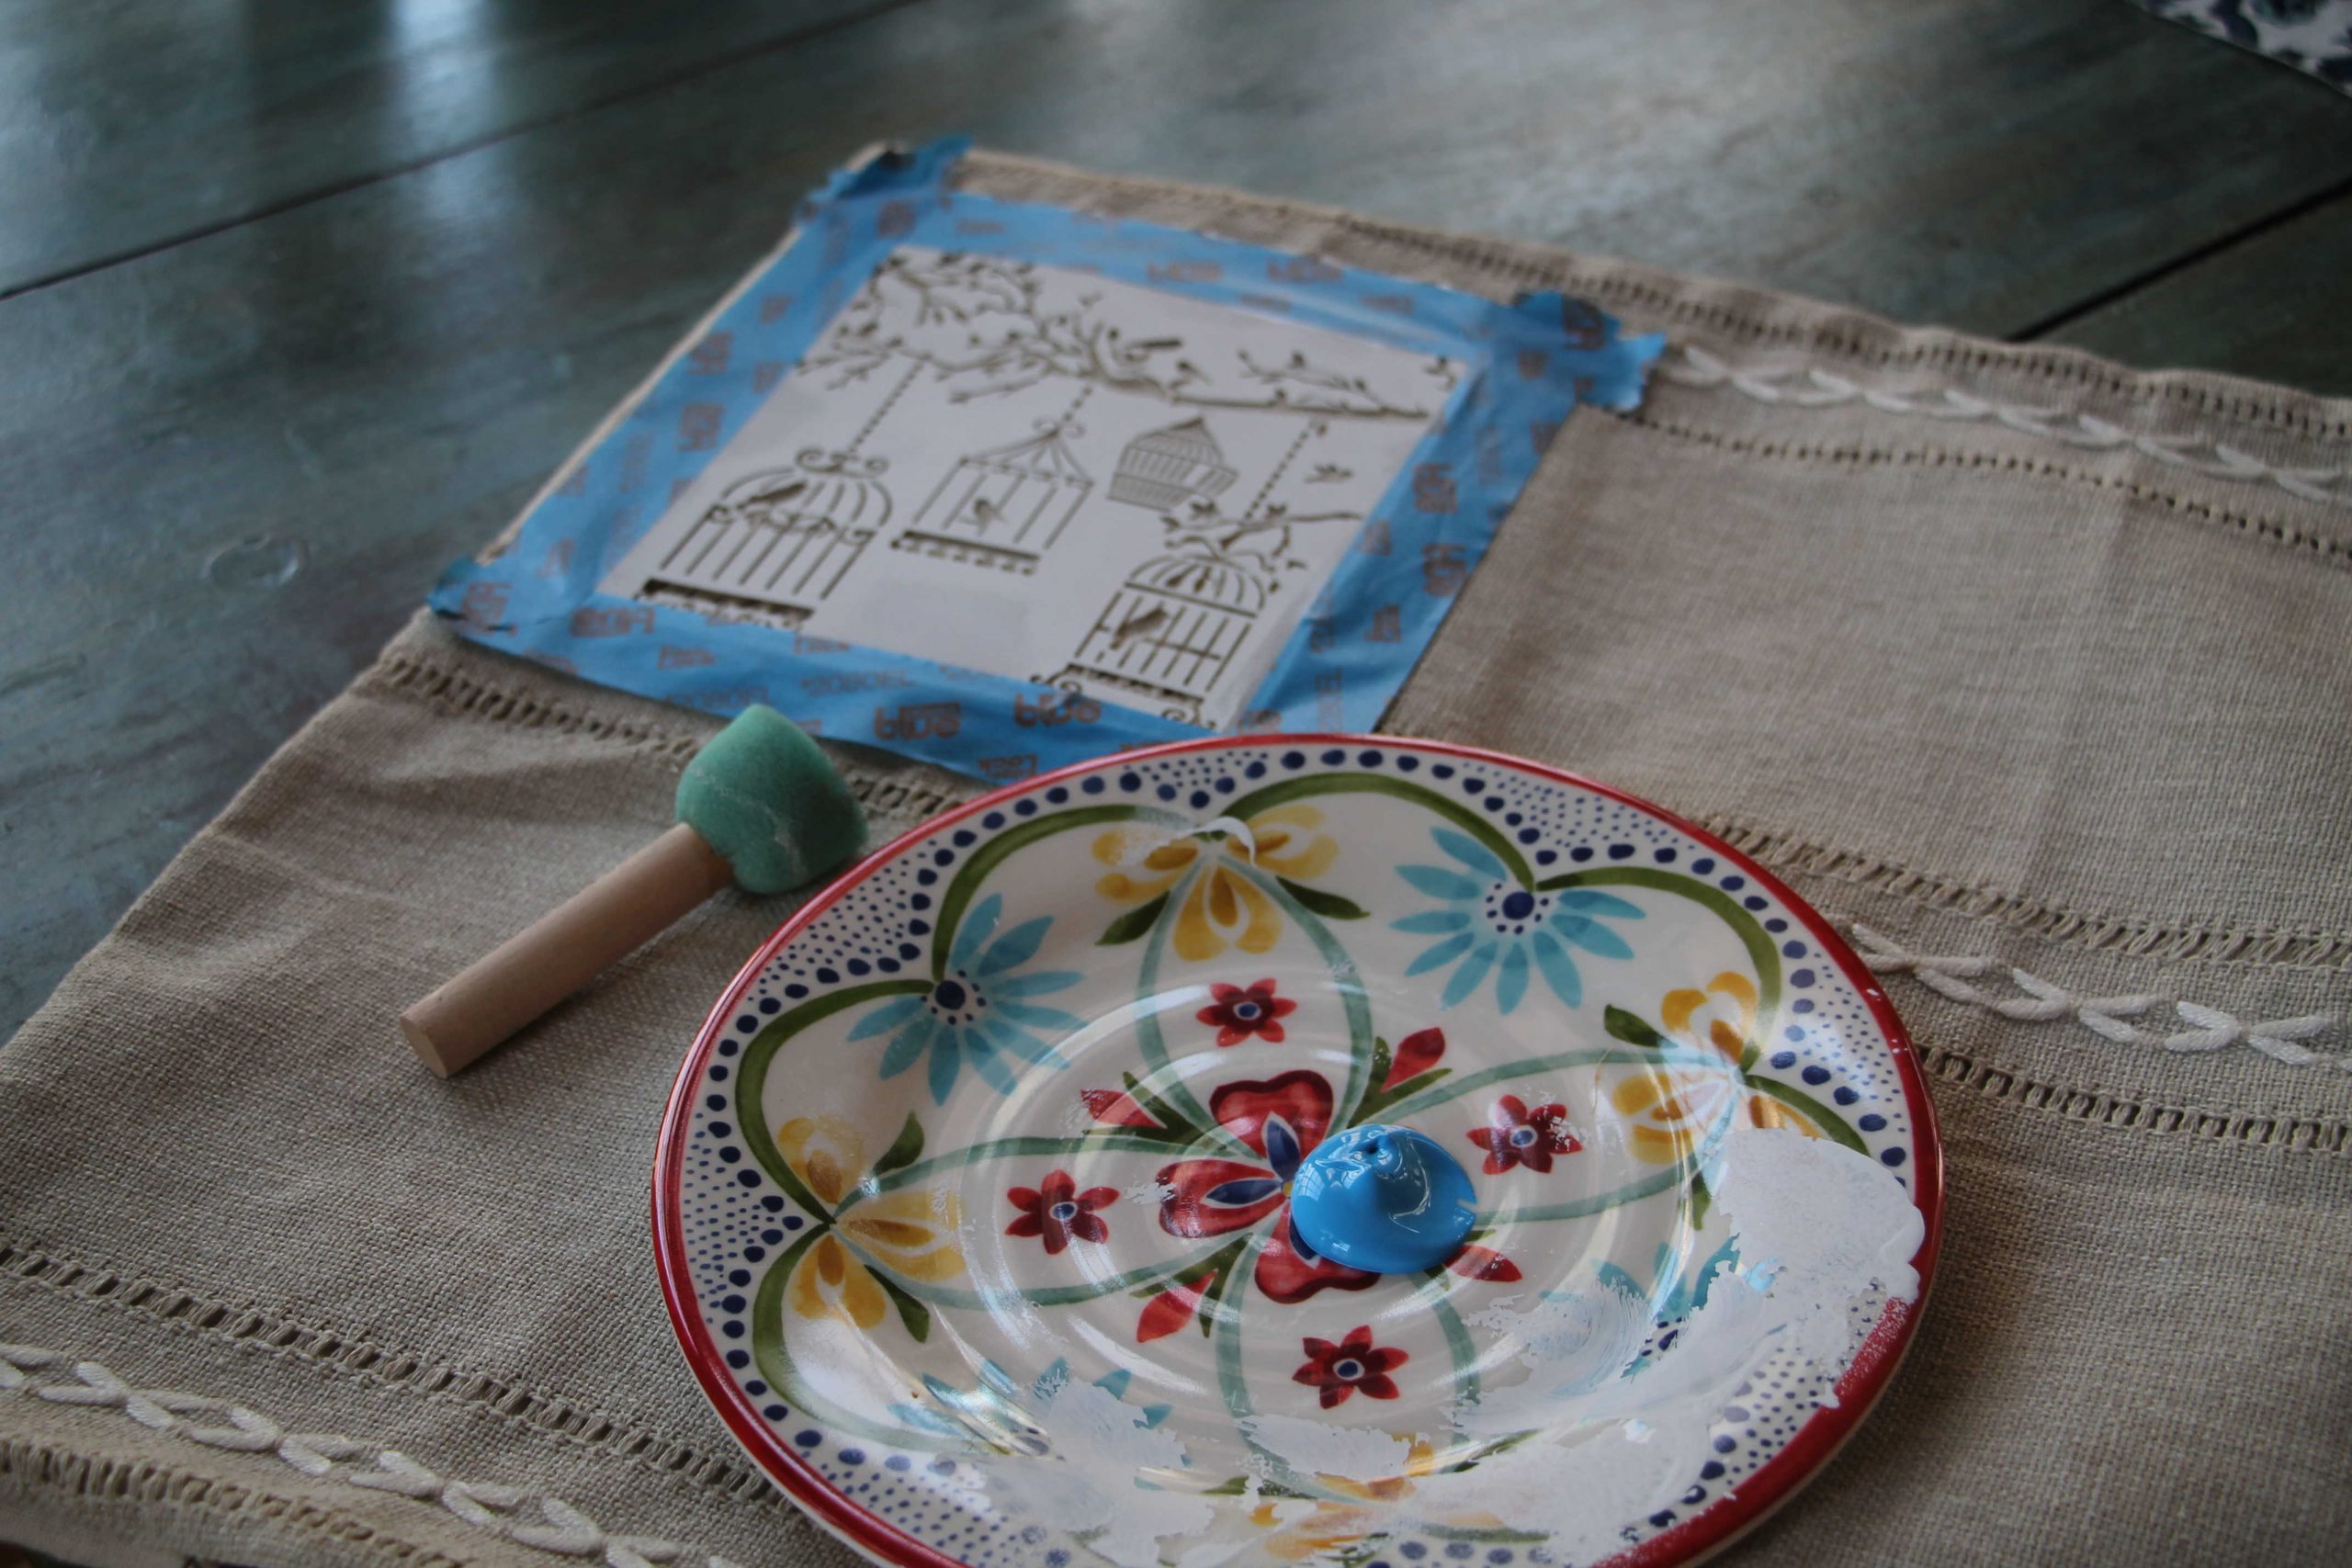
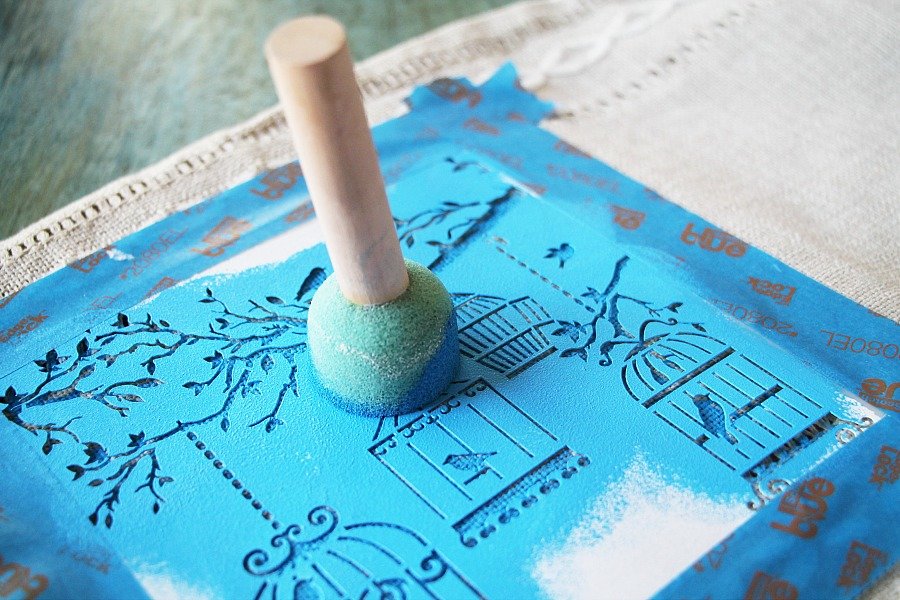
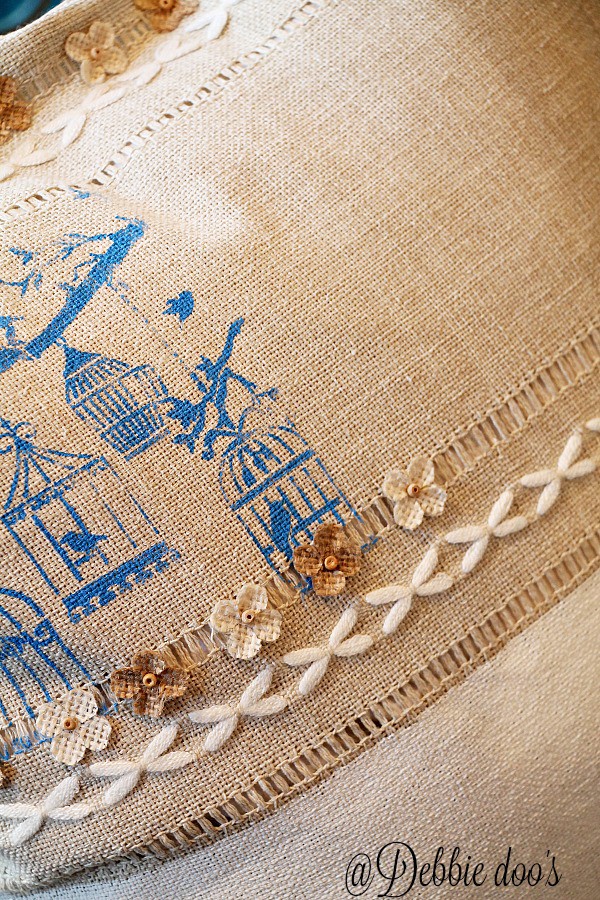
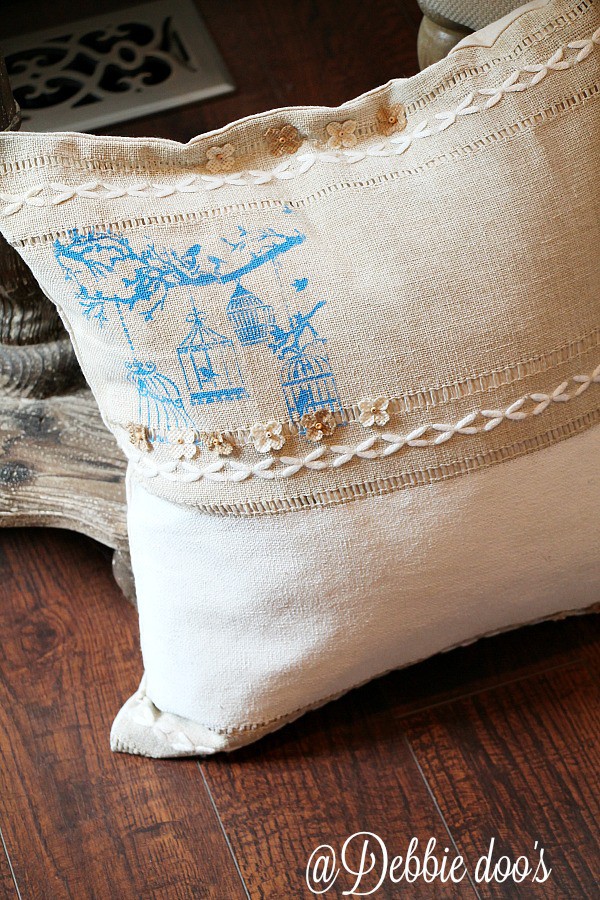
Position your stencil on the fabric. With your stencil sponge and your choice of textile paint or craft acrylic paint, begin to paint the stencil design. Be sure to use a dabbing motion to apply the paint evenly. Paint the birds, bird cages, and the tree limb onto the top right side of the pillow cover.
5. Paint the base with chalky paint
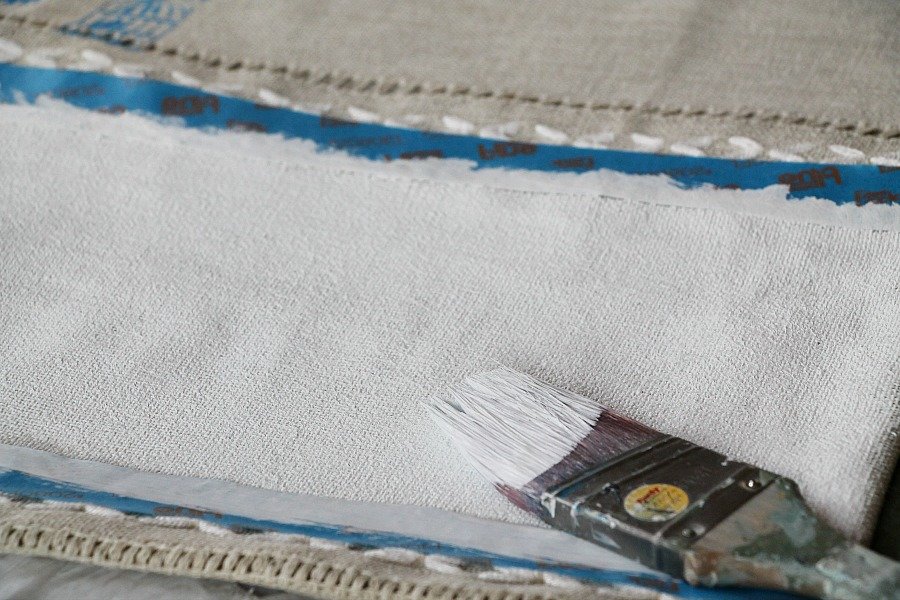
Next, move onto the bottom half of the pillow cover. Apply the chalky paint to give this section a striking white base. Use a brush or sponge to paint it on evenly, being careful not to smudge the stencil design.
6. Add the finishing touches
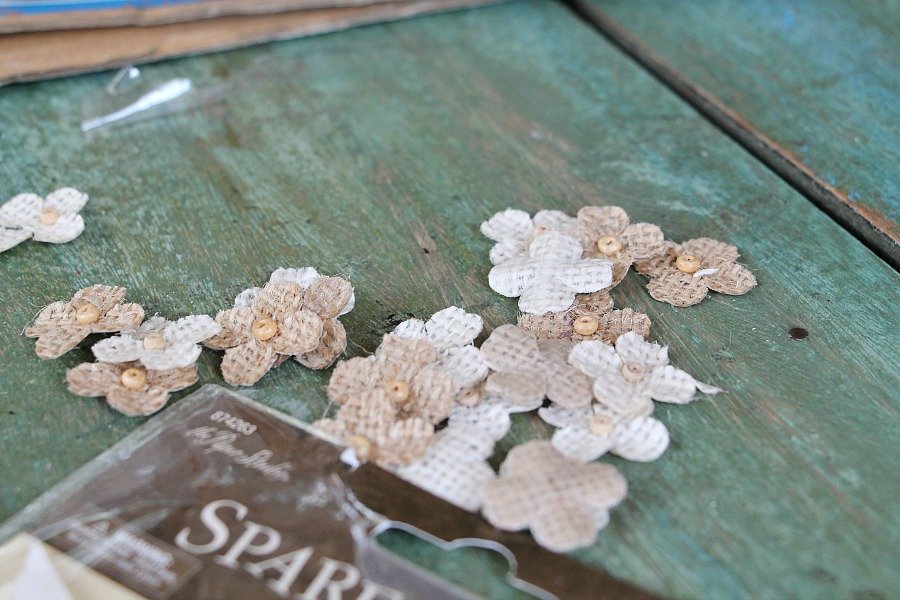
After the paint dries, it’s time to add the finishing touches, such as the mini burlap flowers. You can stick them on using fabric glue. They give a nice contrast to the painted design and add a unique texture to your pillow cover.
7. Dry and cure the painted pillow cover
Allow your pillow cover to dry completely before use. This might take a few hours or, to be safe, you might want to leave it overnight. After the paint dries completely, you may need to heat-set it based on the instructions on the paint bottle to ensure the design’s durability.
Check out more no-sew pillow projects.
LOVE IT!
Very cute!
Awesome!!
Lol, screwups are by necessity the Mother of Invention! Kudos for moving onward and great results! Happy New Year!
Cheers to that! I love recovery LOL.