

Guest project and photographs by Jacque of The DIY Village.
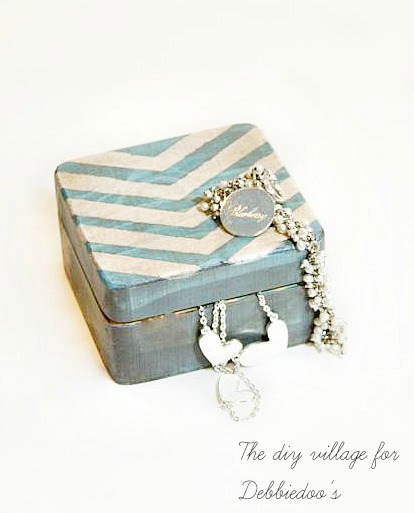
When wooden boxes turned up at my local Dollar Tree again, I brought one home for another jewelry-box makeover. This time I used a turquoise base, a light arrow pattern, and gel stain to give the paint an aged finish.
Materials
- A wooden box
- Craft paint in two colors
- Gel stain
- Polycrylic finish
- Paper towels
- A stencil
- Spray adhesive
- Paintbrushes, including a foam brush for the stain

Paint the base and stencil the lid
I painted the box turquoise and let it dry. Next, I sprayed adhesive onto the back of the stencil, waited until it was tacky, and lined it up on the lid. I stenciled the pattern in the second paint color.


Wipe back the gel stain
I let the painted pattern dry for at least an hour before applying gel stain with a foam brush. Cover the painted areas, then wipe the stain away: removing it sooner gives a lighter effect, while leaving it briefly deepens the color. I waited about 60 seconds on my box.

The stain left an antique-like finish over the turquoise and light pattern. In this project I allowed at least two hours before applying Polycrylic. Use the drying and topcoating instructions for your particular stain and finish to judge when yours is ready.

Once the protective finish is dry, the box is ready for jewelry or to give as a gift. My earlier monogrammed jewelry boxes show another way to decorate the same kind of wooden box.


Leave a Reply