

Pebbles belong in garden beds, along paths, or at the bottom of decorative vases. Try stacking them into a bowl, and the rounded stones won’t stay in place. Yet one DIY project shows how a pile of loose pebbles can become a fruit bowl without clay, cement, or pottery equipment.
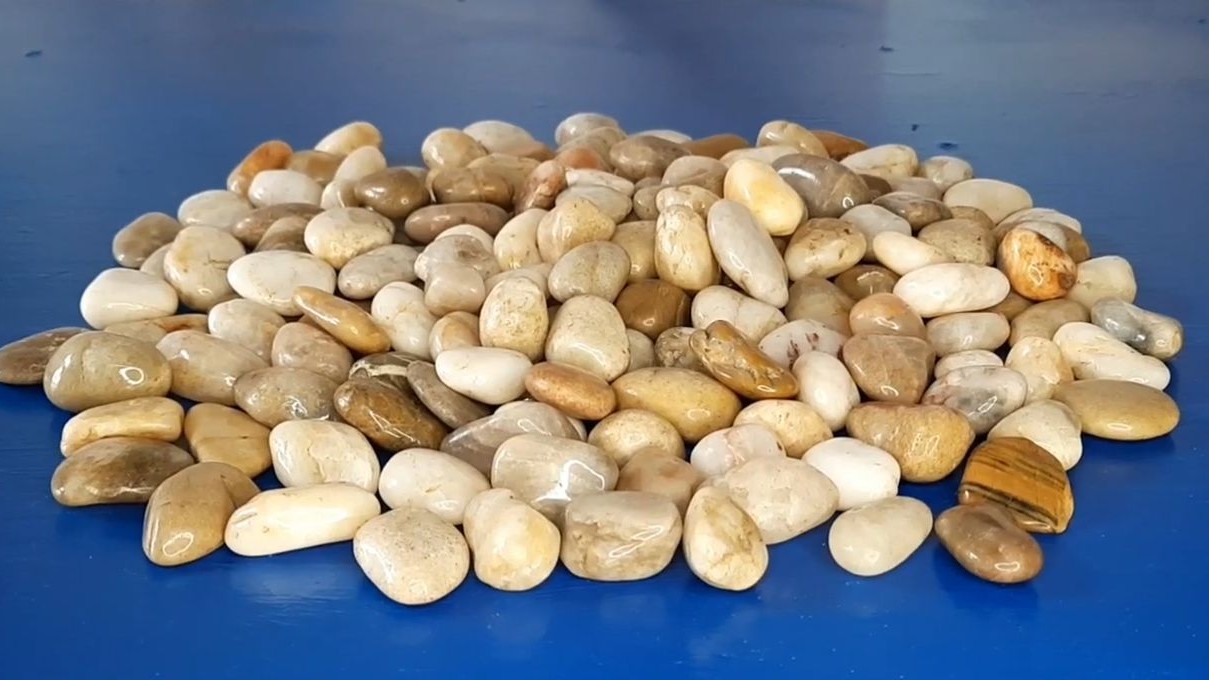
The creator behind this YouTube tutorial used smooth river pebbles, a plastic-lined bowl, and adhesive to build a curved container from individual stones. The original bowl served as a mold, not part of the finished piece.
What began as a pile of beige, cream, and brown pebbles ended as a bowl holding apples, oranges, and grapes. The stones remained visible, with their different shapes forming the sides.
Smooth River Pebbles Became the Building Material
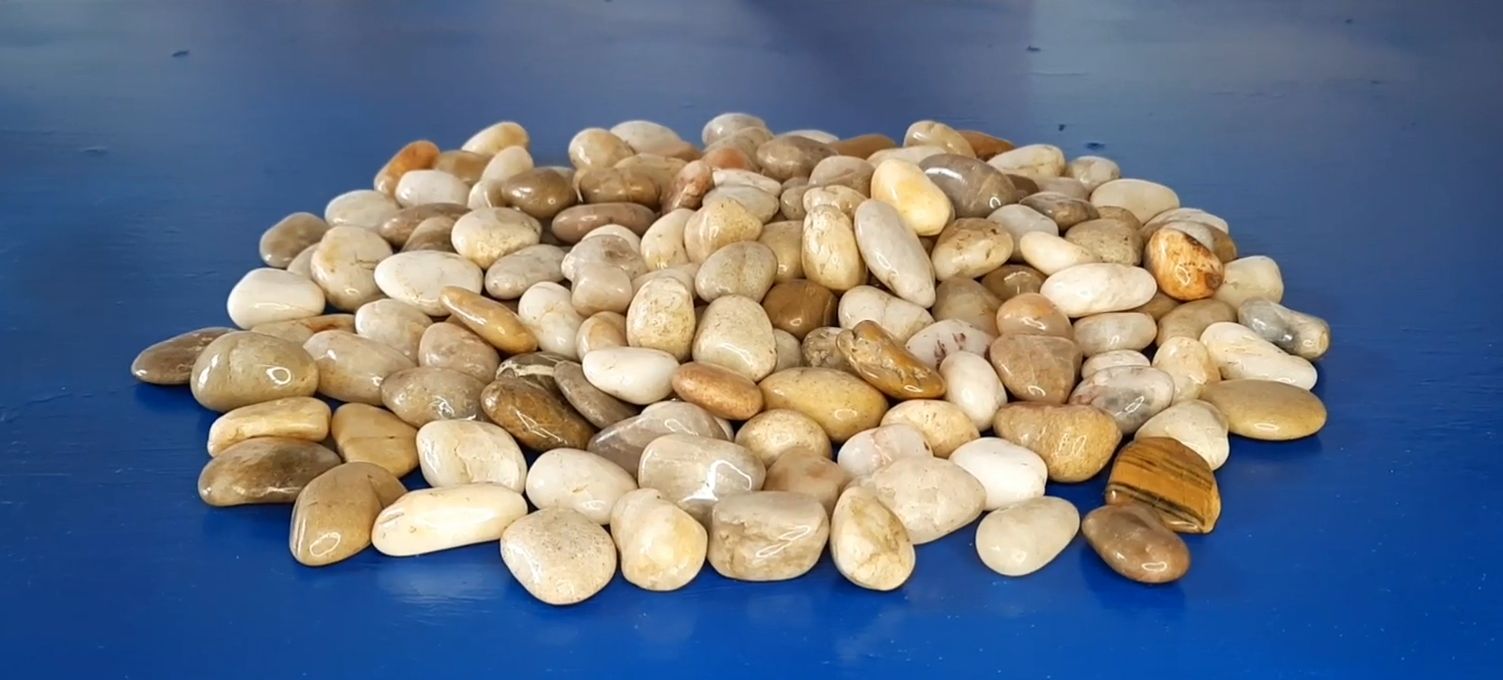
The project starts with a collection of polished river pebbles spread across a blue work surface. The stones range from small cream-colored pieces to larger tan, brown, and gray pebbles, with rounded edges and flat surfaces.
Before assembly, wash the pebbles to remove dirt and dust, then let them dry. Adhesive needs clean surfaces to form a bond.
Stones with flatter sides provide more contact points for the glue. Mixing sizes helps fill spaces between larger pieces as the bowl takes shape.
Plastic Lining Kept the Pebbles Separate From the Mold
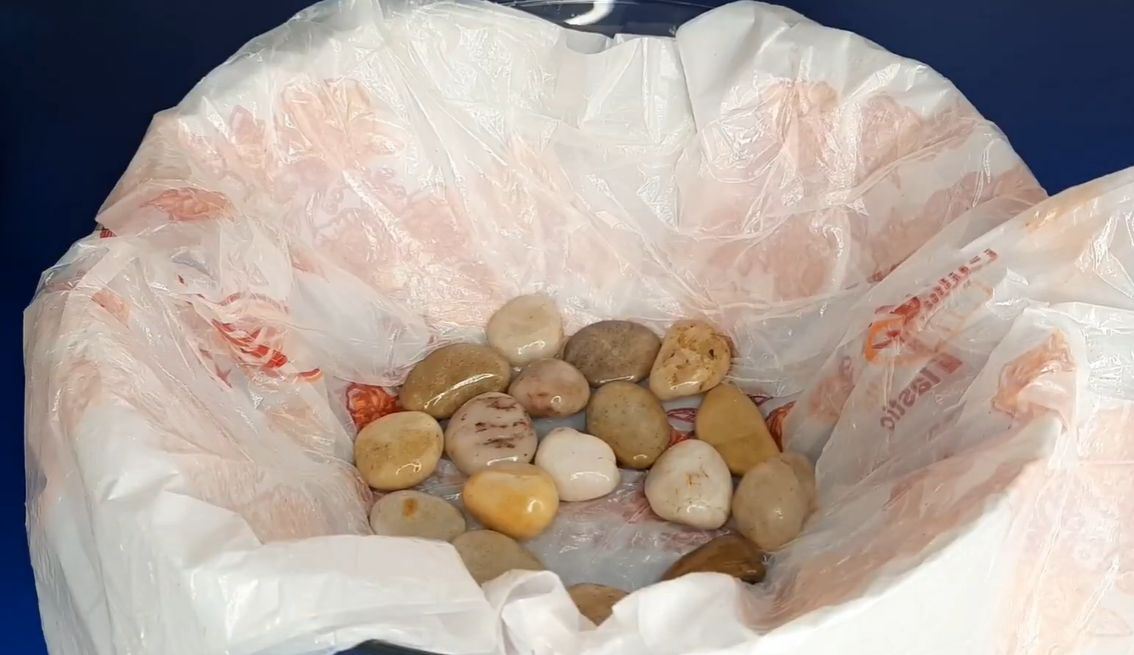
A round bowl provides the shape for the project. The creator lines its interior with a plastic bag, pressing the material against the bottom and sides before adding the first stones.
Several pebbles sit across the base, forming the bottom of the new container. Their flat surfaces face the plastic, while the curved sides remain exposed for connecting more stones.
The plastic barrier prevents the adhesive from bonding the pebbles to the bowl underneath. Once the glue cures, the stone structure can be removed from its mold.
Glue Connected the Pebbles Into a Curved Bowl
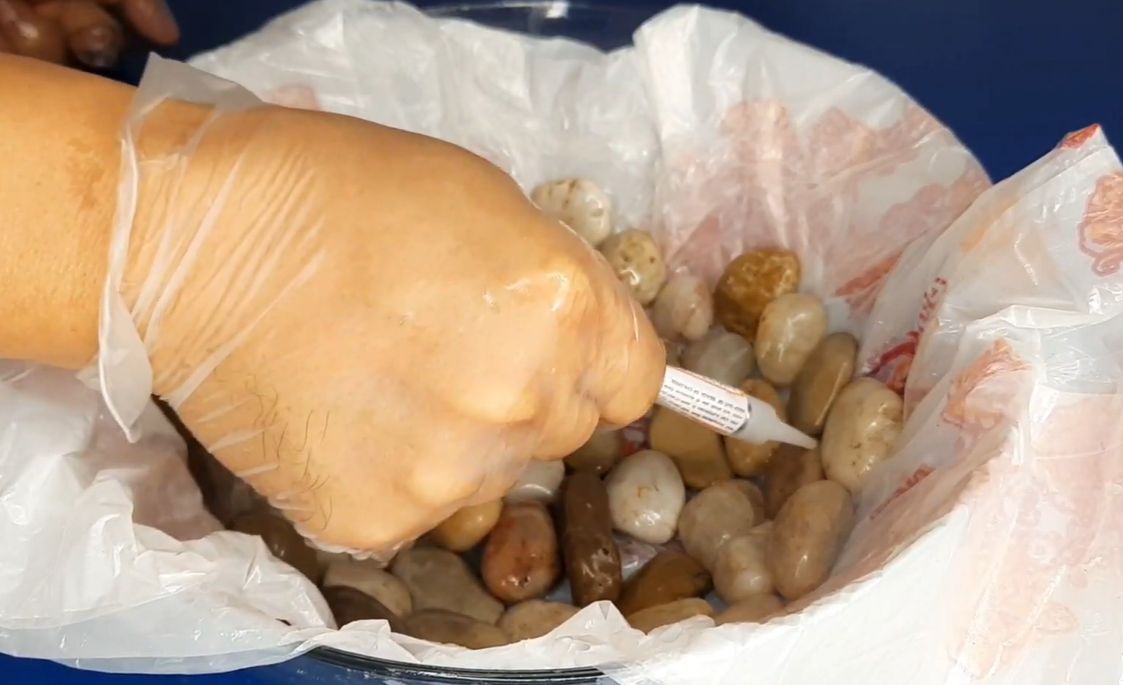
With gloves on, the creator applies adhesive between neighboring stones. The narrow applicator reaches the joints where the pebbles touch, helping secure them without covering their exposed surfaces.
Stones are added around the base and up the curved sides of the lined bowl. Each new piece connects to the existing structure through its contact points.
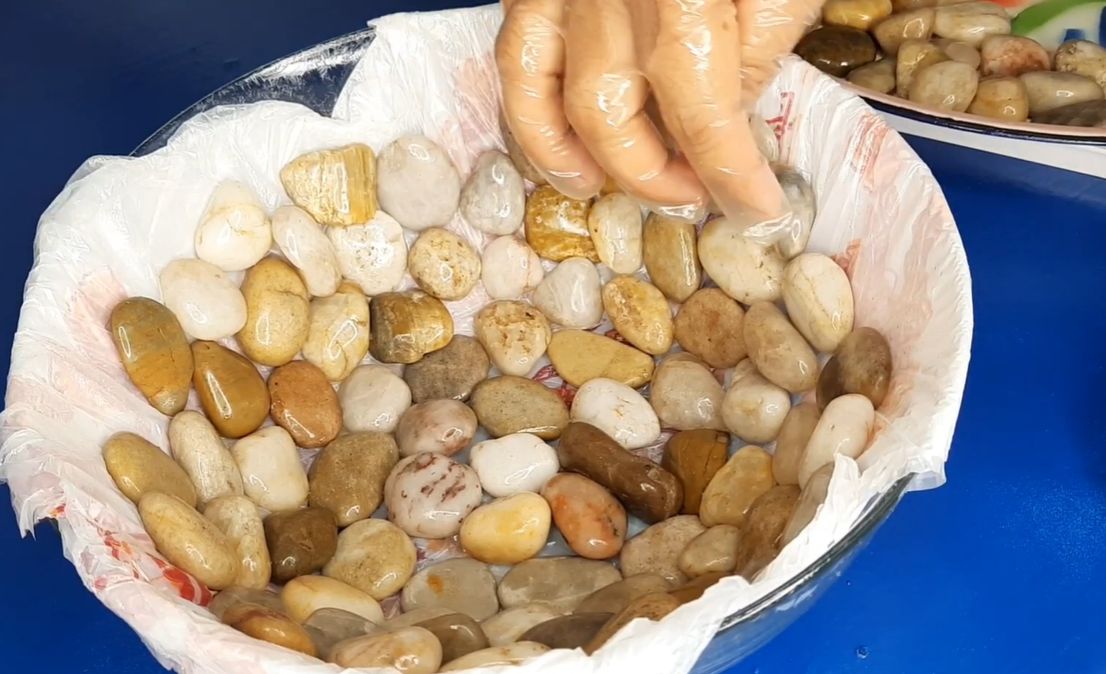
The next view shows the pebbles covering much of the mold, with a hand positioning another stone near the upper edge. Larger pieces sit among smaller ones, creating an uneven rim that follows the bowl’s curve.
Work in sections and let the adhesive develop enough strength before building higher. Follow the adhesive manufacturer’s curing instructions before removing the mold.
Watch the original pebble bowl project:
Finished Pebble Bowl Holds a Mix of Fresh Fruit
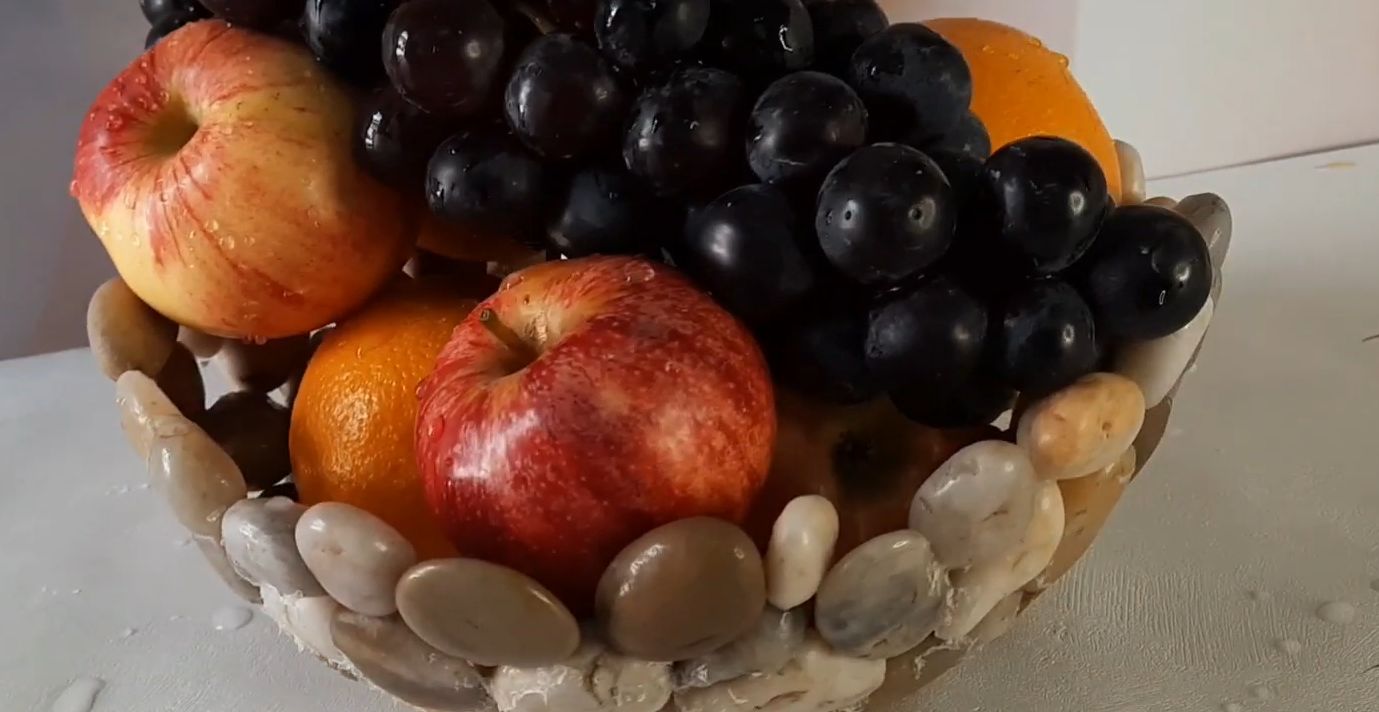
The finished bowl has no visible plastic mold. Rounded pebbles form the base and curved walls, with cream, tan, and brown stones creating a mosaic-like surface.
In the final view, red apples, oranges, and dark grapes fill the container. The fruit covers much of the interior, while the exposed stone rim shows how the individual pebbles connect.
For a similar project, remove the plastic after the adhesive has cured, check for loose stones, and smooth any sharp glue edges. The finished piece should stand on a flat surface without rocking before it holds anything.
Food safety matters: Not every stone adhesive or sealer is approved for contact with food. Use products rated for the intended food-contact application, or reserve the pebble bowl for wrapped items and other dry household objects. Don’t assume a decorative sealer makes the surface food-safe.
The same method can create a catchall bowl for keys or other small items. For a fruit display, the finished stone bowl shows how a collection of loose pebbles can take on a new purpose without becoming part of a conventional ceramic container.

Leave a Reply