
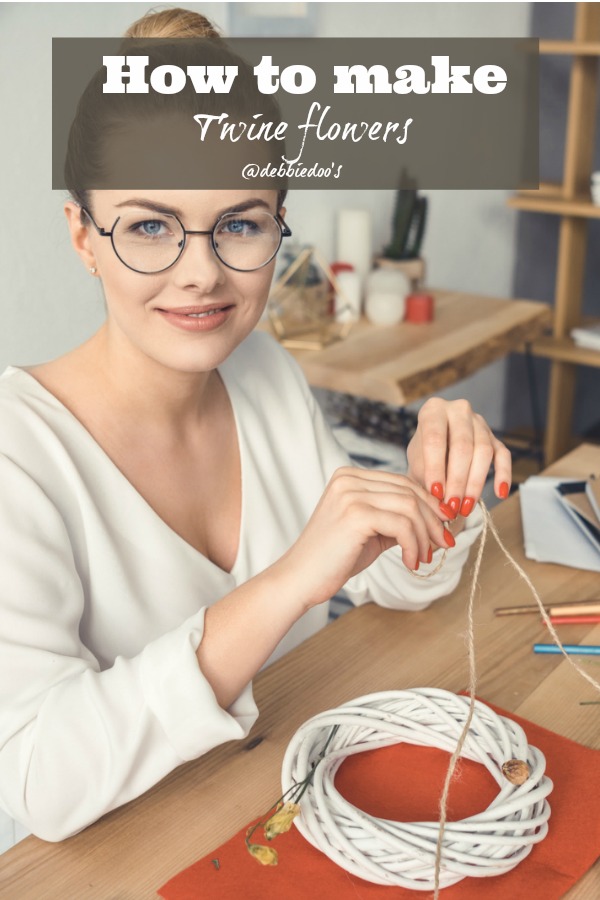
Making twine flowers is a simple, quick, and enjoyable craft you can do in under 10 minutes. It’s a fantastic way to create home decor. You can also make twine flower appliqué for cards, gift boxes, or other craft projects.
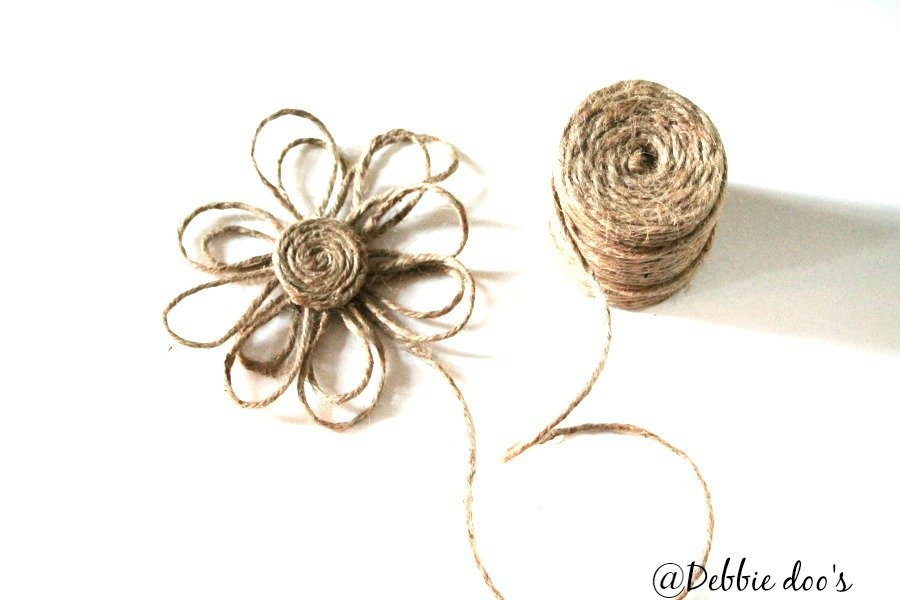
The beauty of this twine flower DIY project lies in its simplicity since you can work with a roll of twine without making cuts until the very end of the project, looping and gluing until your flower takes shape. So you will use just the right amount of twine without ending up with leftovers to throw away.
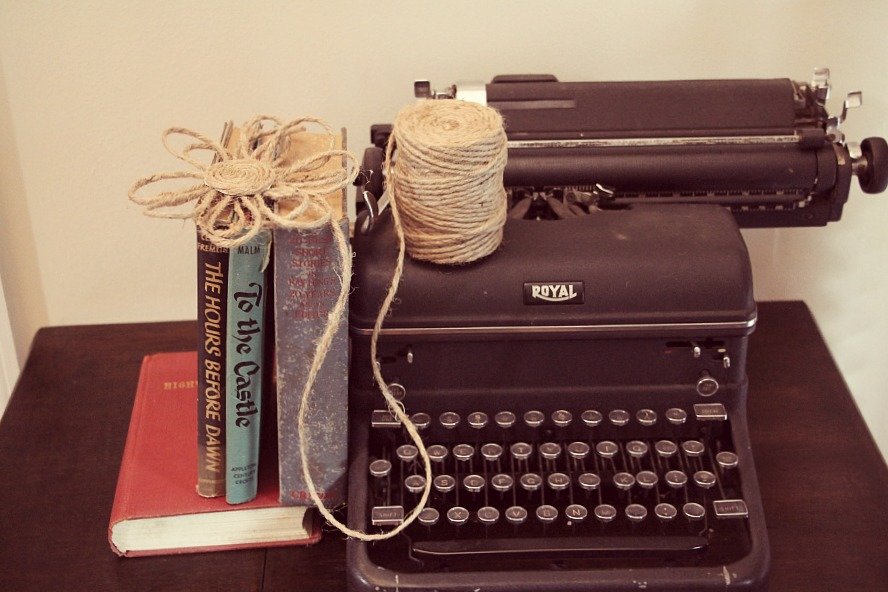
1. Gather your materials
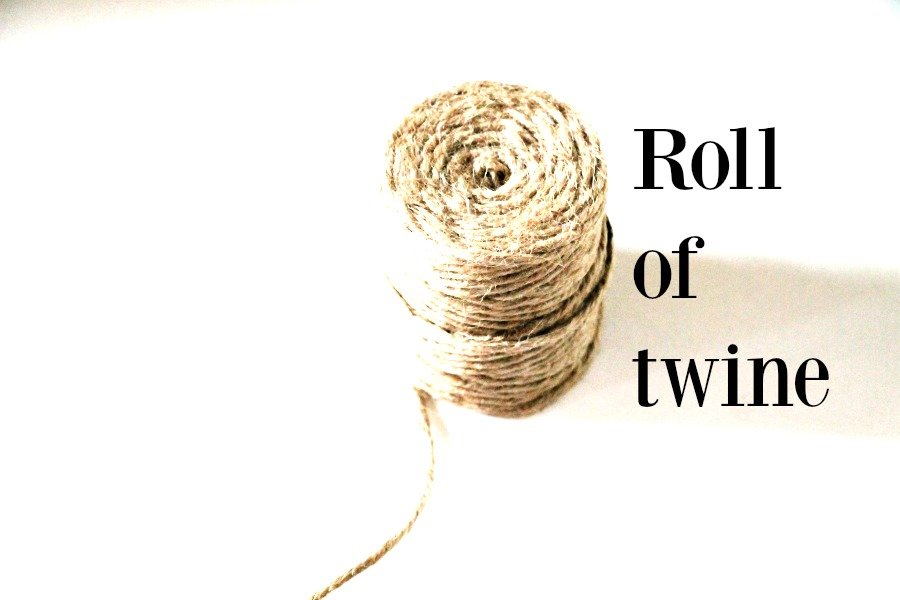
- A roll of twine
- Hot glue gun with glue
- A piece of cardboard or poster board
- Pencil
- Scissors
2. Create the flower center
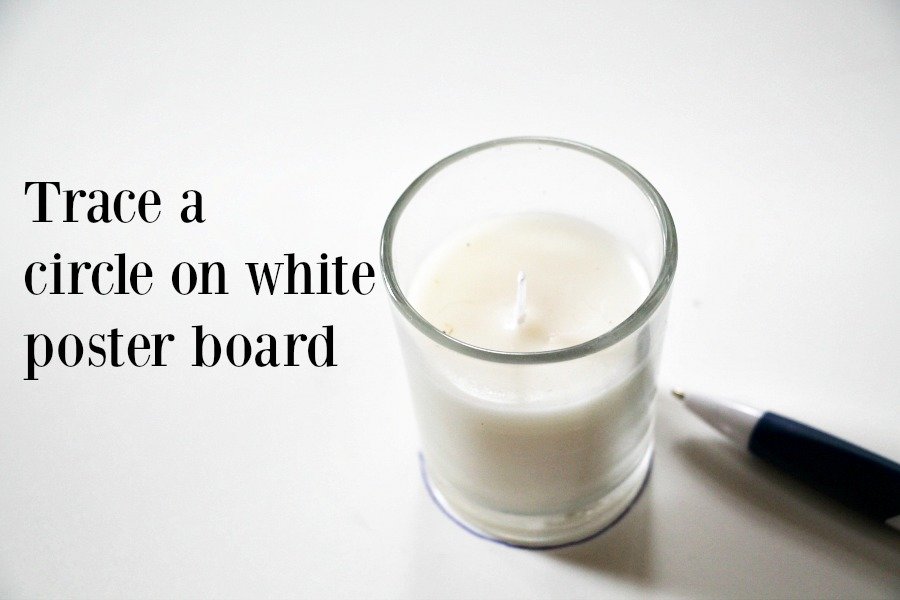
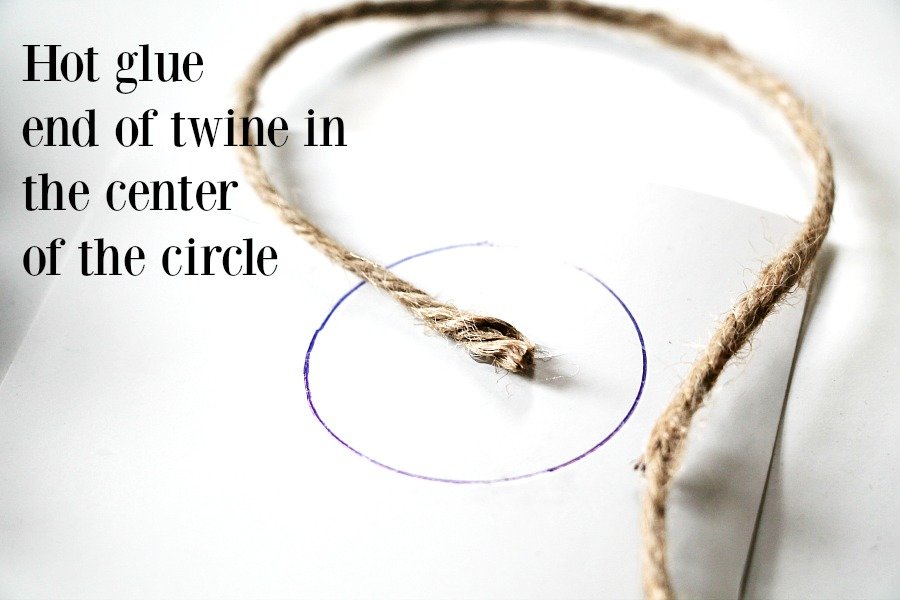
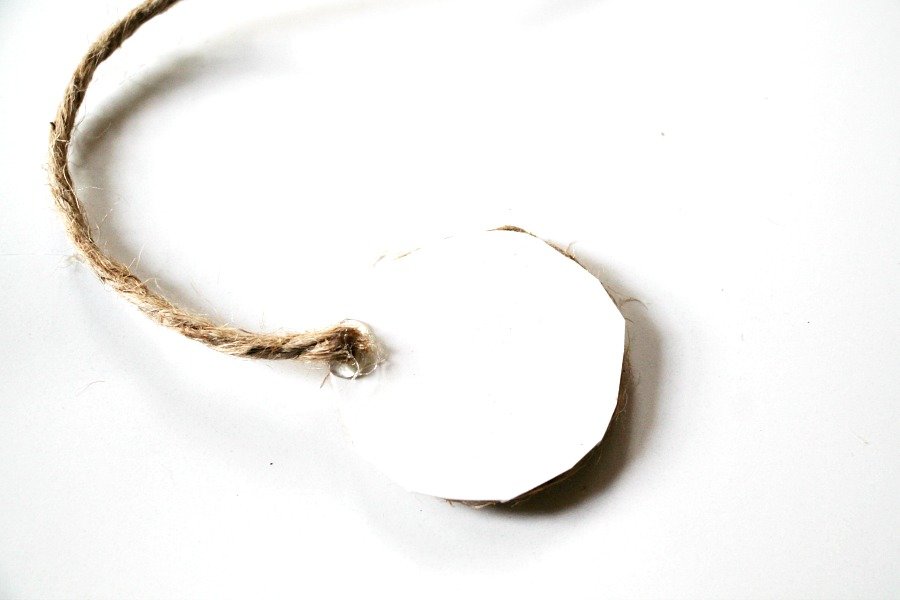
Start by tracing a circle on poster board or cardboard, which will serve as the center of your flower. Next, take the end of the twine and hot glue it to the center of the circle. After the glue dries, cut out the traced circle.
3. Craft the flower petals

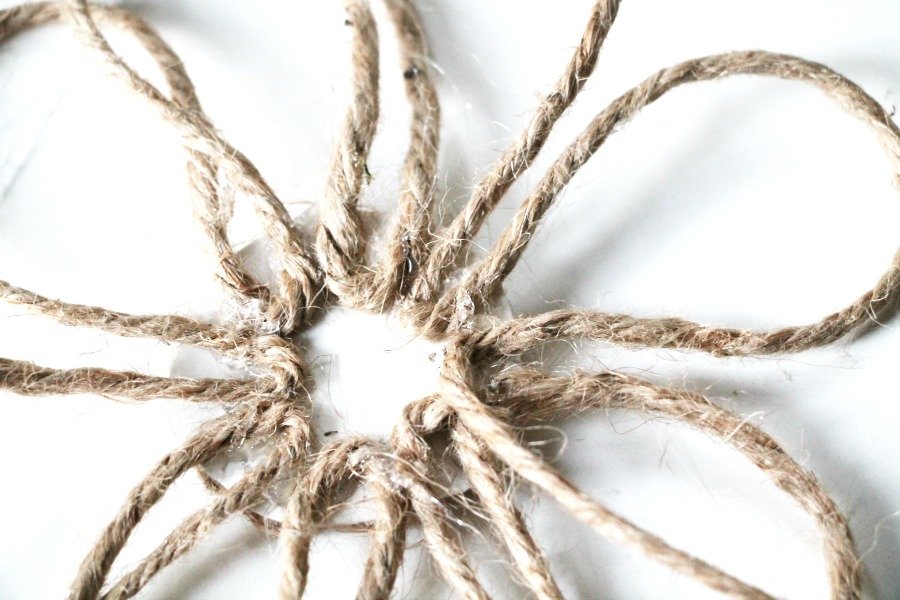
With the center ready, it’s time to create the petals. Loop the twine around the glued end at the center to form flower petals and secure this loop with a dab of hot glue. Continue doing this for each petal, creating loop after loop and securing each with hot glue. The flower will start taking shape, one petal at a time. Next, hot glue the end of the twine to the center of the circle.
4. Decorate your twine flower
Once you have a basic flower shape, you can stop here or continue with decorations. For example, double up the petals or wrap extra twine around the center to give your flower a fuller look. To do this, repeat the looping and gluing process, but this time around the existing petals or the center.
More decoration tips for your DIY twine flower
- Add color by dipping the twine in a mixture of water and acrylic paint. Be sure to allow the color to dry completely before starting the crafting project.
- Personalize your flower with embellishments like buttons, beads, small gemstones, or glitter. For instance, apply a thin layer of glue on the edges of the petals and sprinkle glitter over it.
- Try different shapes instead of just looping the twine for the petals. For example, you can make twisted petals by twisting the twine before gluing, or create a zig-zag pattern by folding the twine back and forth.
- Create layers to add more depth to your flower and make it more interesting by crafting several smaller flowers and grouping them together. You could make a bouquet or arrange them in a vase.
Video guide
Check out this video to better understand the process behind crafting a twine flower using the steps outlined in this guide:
If you have extra twine after crafting your twine flower, consider making a twine rustic spring board or boho sign.
love love love this Debbie! Thanks for sharing!!
Super easy. I will be making lots of them. Thanks
Could not tell from the video if you used 2 pieces of poster board or one – one to wrap the petals and one to make the center or did you wrap the center and flip it over to make the petals?
That is correct Linda. USED one to wrap the center and flip it over to make the petals. It’s just a plain circled center with cardboard or poster board as I mentioned. You can make a ton of them with one poster board:)
Very cute! And thank you for explaining about flipping it over for the petals. That would be cute for so many things. I think I will try it on a gift wrapped in packing wrap, tied with twine and put one of these flowers on it. Now I’m excited!
Awesome Doris! Let me know how it turns out.
Love these. Look simple enough to do to decorate jars for centerpieces for weddings or picnics.
I agree! I will be making lots more:)
These would be great for so many things! Really cute for gift wrap and mason jars and on and on! Thanks, Debbie!
So glad you all had a great trip!
Hugs,
Kris
Thanks so much Kris!
Love this, Debbie! Would be so cut on a summer birthday gift!!
**cute
That is a cute idea and would be fun with kids as long as you use the not-so-hot glue. Love it. xo Diana