
Love me a Goodwill makeover. Before I get started I want to share something a reader back awhile said to me. She actually private messaged me and said she heard that bloggers that do these thrifty budget friendly crafts don’t actually keep them. The companies pay us to do them and then we get rid of them.
Let me clarify a few things. If a company pays me to share something, I will always disclose that by saying this is a sponsored post. I don’t do that many sponsored posts as you may notice. Dollar tree does not pay me, nor does Goodwill. If they ever do in the future y’all will know.
This week you will actually see more sponsored post than you have all year. Because this is the time of year companies seek us out most. With that said, this is not a sponsored post:)
I do keep just about all the crafts and makeovers I do. Hello, if you looked in my closets you would see. Some I do give as gifts, and many things I makeover over two and three times. Don’t get me wrong, Goodwill has gotten back a few of my makeovers that I simply just didn’t have the room in the closets anymore. I do have to be able to shut the doors.
Today, I am sharing a Goodwill mirror makeover to winter art.
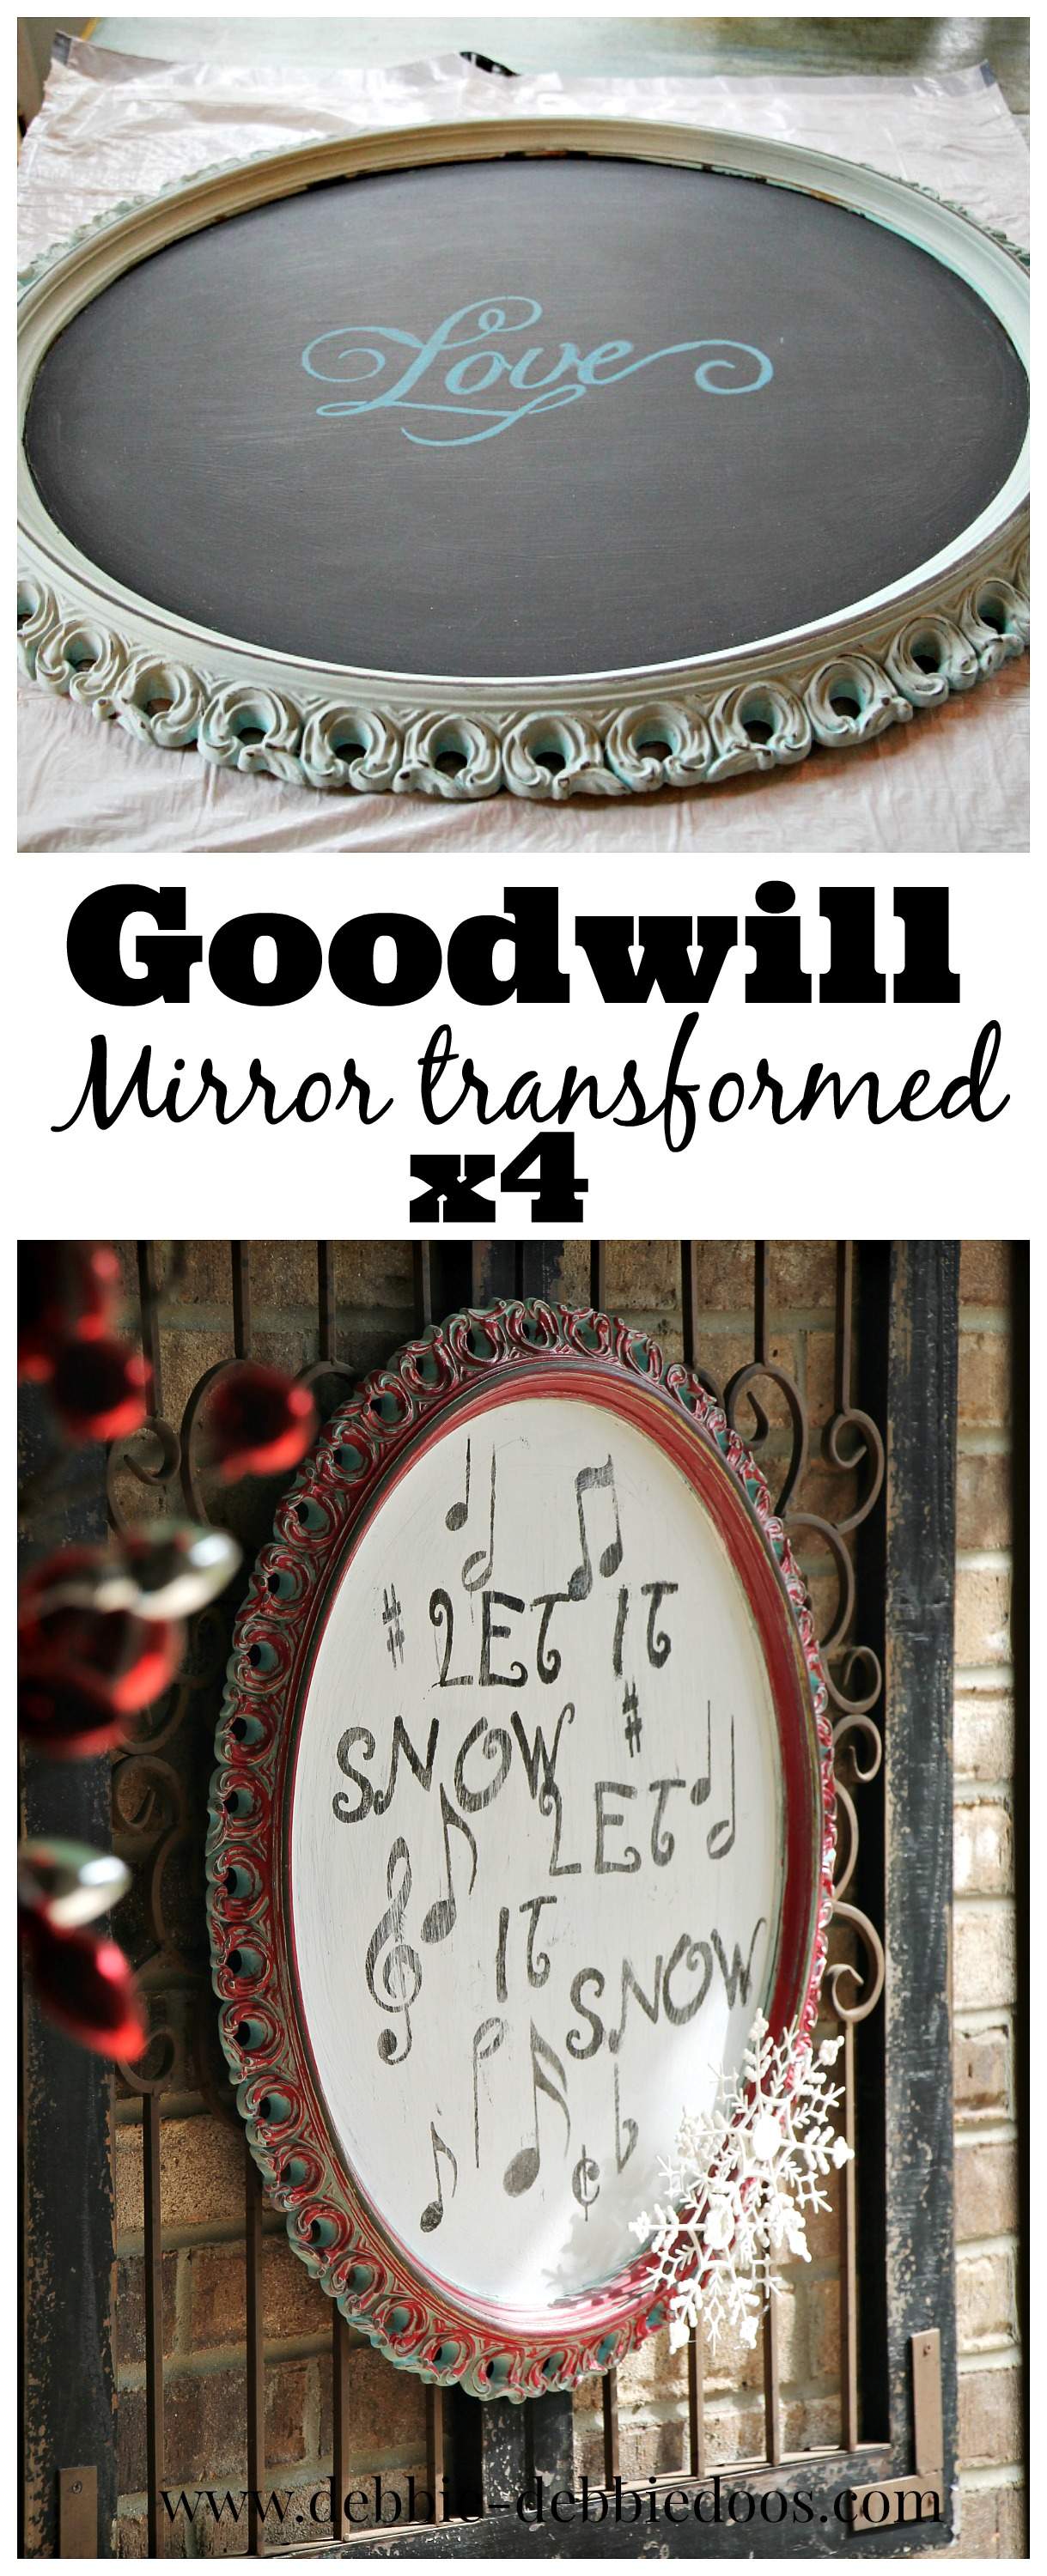
Now onto my Goodwill mirror makeover, 4th or 5th time around.
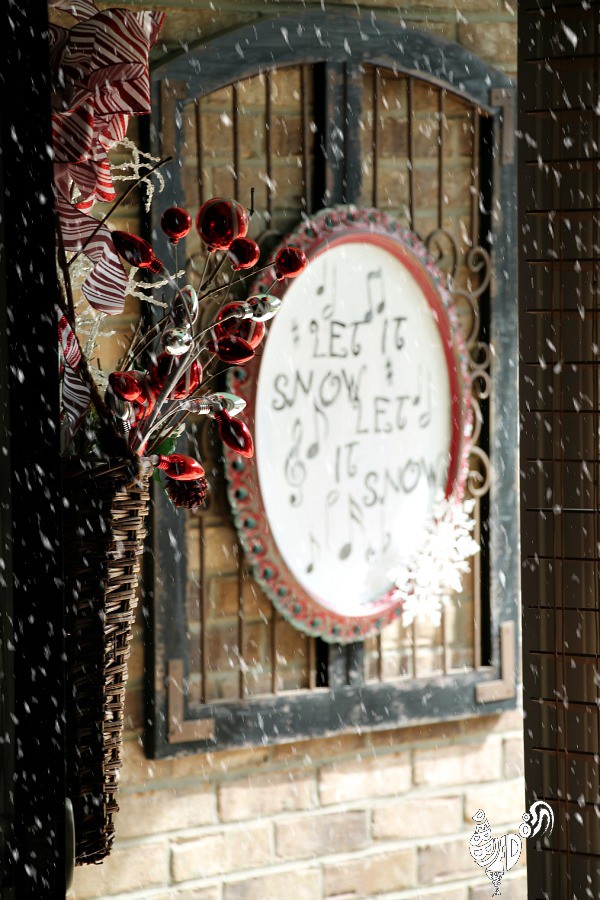
This is faux snow I added to the picture btw. Figured I would set the tone for the makeover.
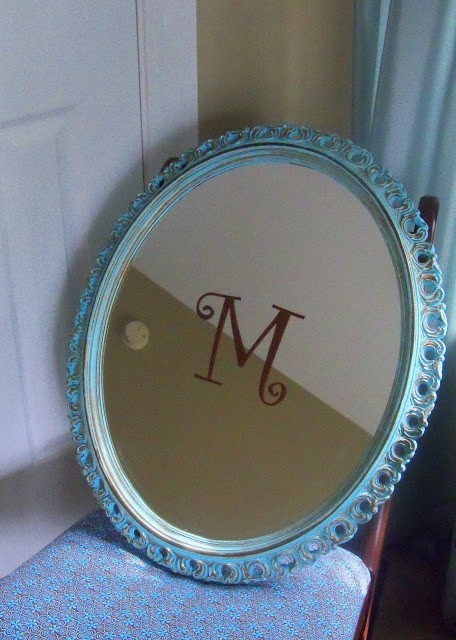
The first makeover was simple. I painted the gold frame with some Annie Sloan chalk paint and added a stick on Monogram initial.
 Second makeover
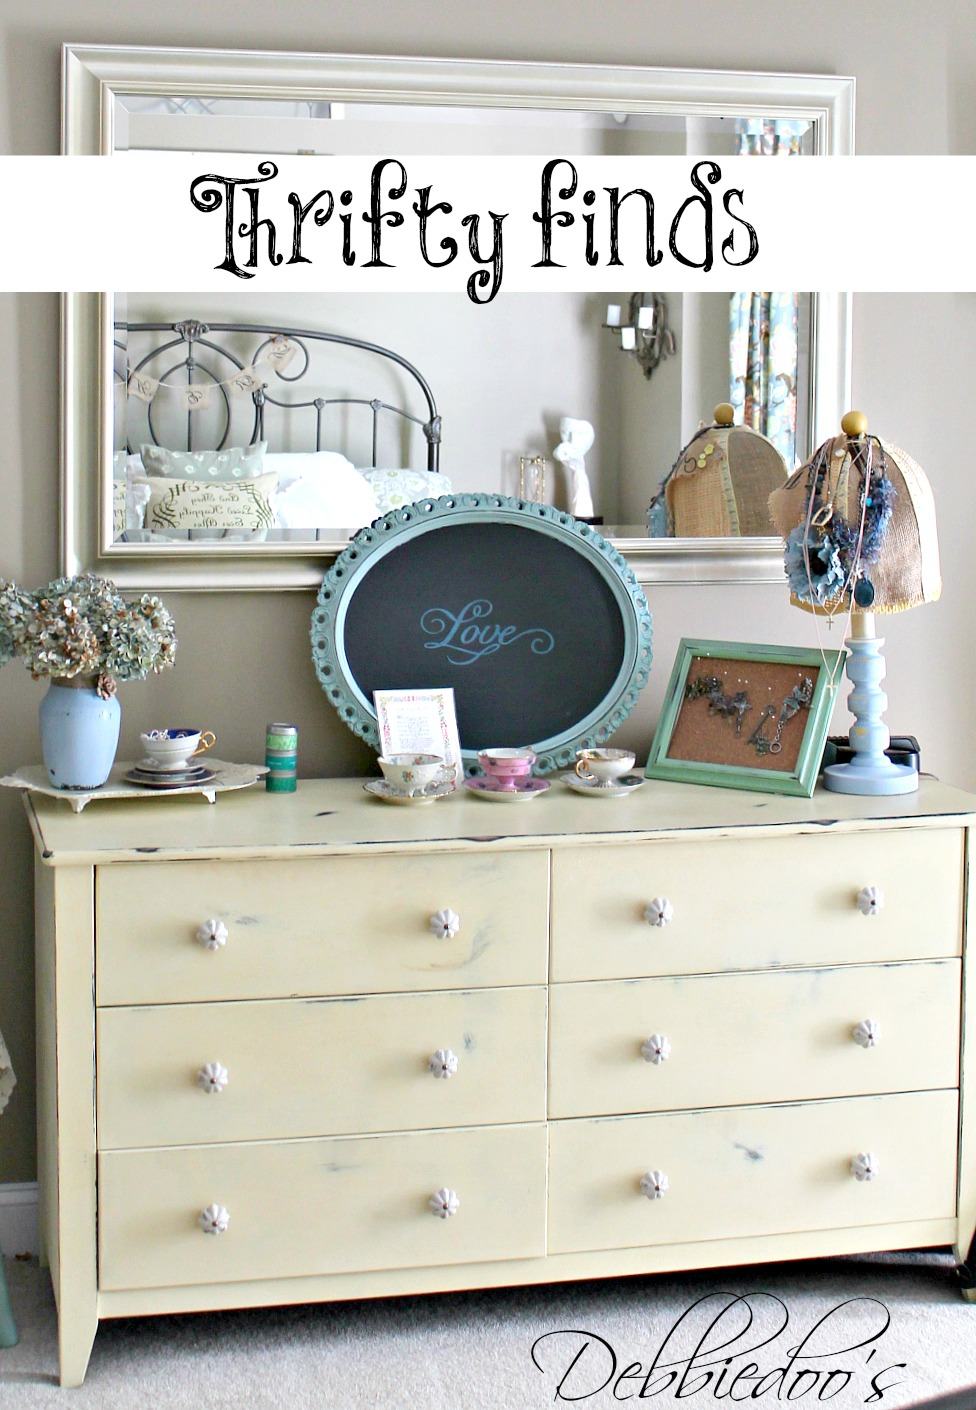
I painted the mirror with black chalk paint and stenciled Love on it. This is what it looked like up until yesterday. That is our old thrifty bedroom filled with makeovers

I had it this way for about 4 years or so.
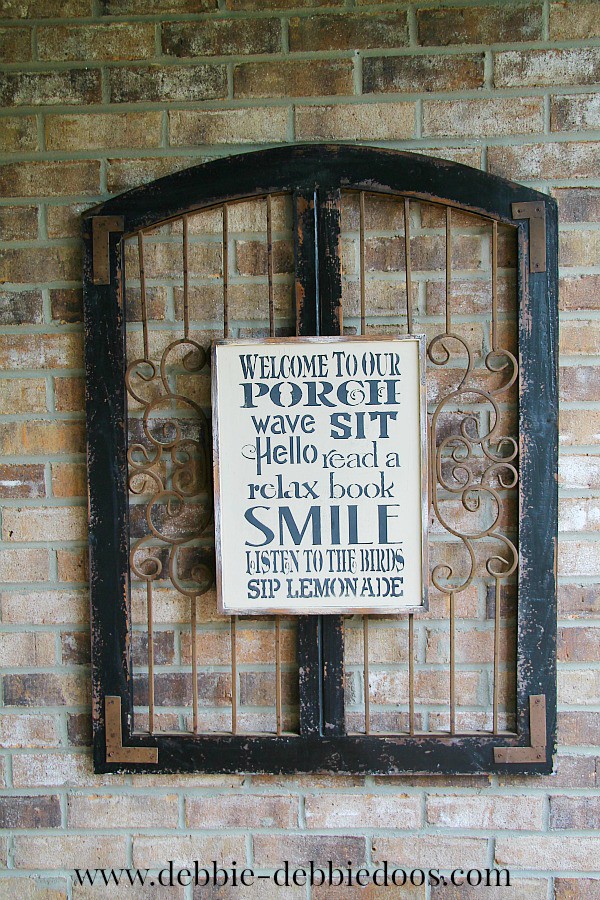
I decided I needed some friendly fun art work for our front porch.
When I made the Welcoming thrifty porch makeover sign in the summer it was a big hit. I will put that back out probably in the Spring.
I painted the inside as you see with white linen chalky paint.
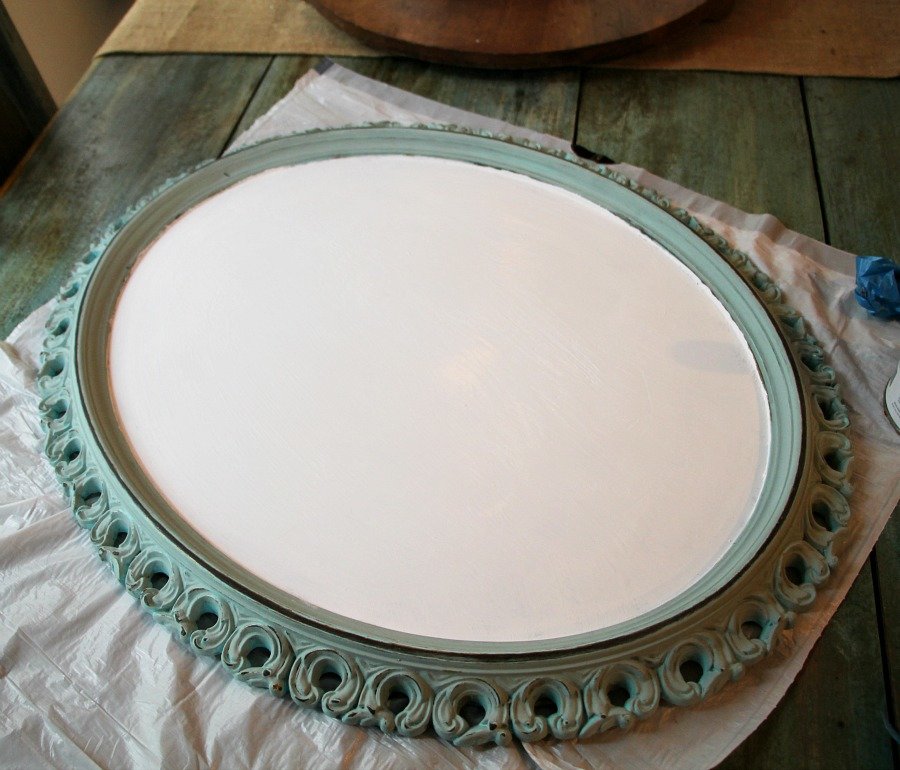
Then I took some red chalky paint and just went over the trim quickly with a sponge brush. I will be doing lots of blues and reds on the porch this year.
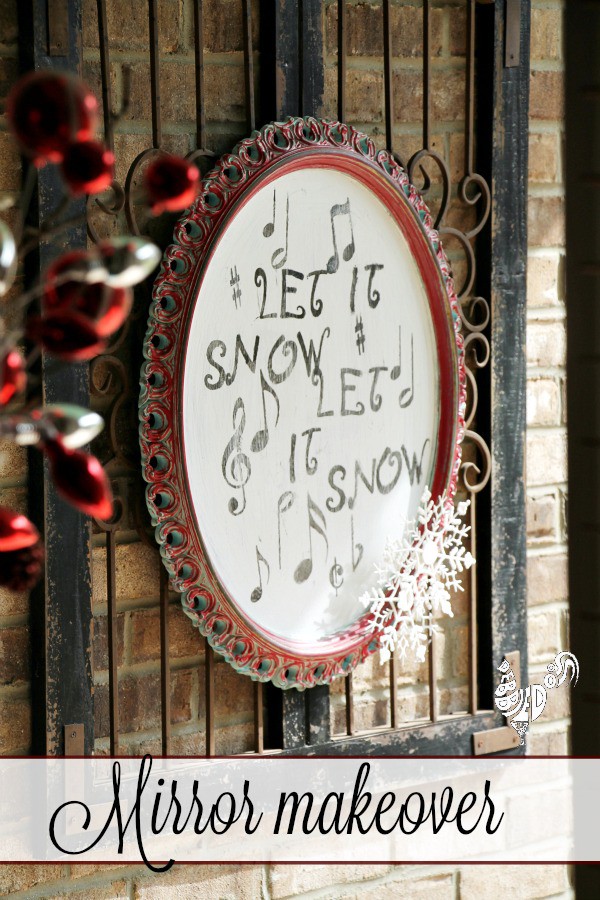
I bought a pack of music stencils and already had the lettered stencils. I used black craft paint and my little round dabber and just made it fun and whimsical like. Nothing perfecto, just fun!
I then lightly sanded the entire piece to look a little weathered and hung it up on the existing wall art.
Affiliate links for paint, supplies and stencils:
Lettered stencils
Chalky paint
Stencil sponges
Black craft paint
Let it snow, let it snow, let it snow. NOT really, I don’t like snow HA. I am from Buffalo, NY and have seen plenty in my day.
Thanks for stopping over today. If you are new to me, welcome. I hope you stick around a while.
I have lots of Christmas crafts and decor to share.
Thank you so much for visiting with me today.
If you are new here, welcome! I am also very excited to share my new stencil line with you.

[envira-gallery id=”32693″]
Thank you for your visit today!
To view my stencil gallery projects you may check out my Debcreates.com page.
I share all things, thrifty home decor, crafts and a recipe or two on occasion.
I also have an Etsy shop!

Sign up today and receive a few freebies. 12 months of seasonal printable art.

If you would like to commit to becoming a subscriber, I would love for you to join me.
Debbiedoo’s Christmas ideas

I like the last version the best! And to any of your readers who might read my comment, I wish someone would pay me to make stuff!
This is really cute, Debbie…I love that you makeover a piece you have for a new project!
Another big winner Debbie! I love how you “reinvent the wheel” with your projects. This piece is perfect, and if we get too much snow here in northern Ohio, I’ll be happy to share with you.
Hysterical. I would have said, actually…I sell them at my garage sale because I can’t fit all the stuff in my house. I also would have told her that it’s really none of her business what I do with anything, lol. I sure do wish the thrift stores paid us, but at least we promote these great ideas FOR FREE so people can save some $$$. By the way…I love the sign, and the snow!
What a great makeover! You really have gotten a lot of mileage out of one thrift found mirror.
Super cute Debbie.. I love how thrift store pieces can get multiple makeovers!
Love the new sign! I love the thought of taking something old and making it new again, several times over! Now if I can just do that with my body LOL!
Love the makeover Debbie! I think if anyone opened a closet in my home they would know I kept everything lol
Very cute Debbie and I agree you can’t keep everything forever, but it’s so nice when it can stand up to several makeovers.
Love it Debbie.I am always repurposing my repurposed projects too!
Good job on the mirror makeover….I like it a lot; like all of em!!! I’ve seen you do (re-do) things for the second time before. Why not keep those favorite pieces and keep re-making them your favorites!! We’re supposed to have snow on Friday; I’m not anxious that’s for sure. But I do love snowmen and snow decor.
SNow already Carol!? I have a snowman project coming up soon. I think it is my fave:)
Love the makeover and a wonderful Christmas transformation. You have gotten your money out of this mirror for sure. Hugs and blessings, Cindy
I love this makeover and it is one that I wll give a try. Guess I will have to go hunting to find something for the background piece first tho . Maybe a large old mirror and some dowels for the bars. Love your stuff and your makeovers made over.
Thank you Bess so much!
Each time you’ve updated this mirror the result has been fun and very clever, but I like this one the best! Many atta persons to you on always recycling and upcycling. As far as the email, everybody has an opinion, and some are just darn nosy. LOL Thanks for the inspiration!
You’re a doll! Thank you.
Debbie this is so perfect I have to say the last and final, maybe, LOL is my favorite!
Cindy
It’s a winner Debbie, love your ideas!! Happy Thanksgiving!!!
Thank you Lee! Same to you.
I just love all your posts and how-to’s. I’m curious how you hung the iron shutter piece to the brick and does it damage the brick in any way… likely, of course, right….. or maybe it doeesn’t much. I just love that Idea and have an ideal place for one such. Thanks for any instructions.
Hi Jeanie, my husband used a masonry bit to get through the brick. I am hoping there is no damage. Once he used the bit then a regular nail is all you need.
Can you tell me where you got the garden gate (metal scrollwork obeject)?
Hobby Lobby