
Now this is pretty funny coming from me
a NEWB!
Want to learn how to reupholster chairs?
My way?
Ok, so your going to laugh if you are in the biz and you see my tutorial, however,
the end result is the same
no matter how
I got here:)
First,
I found my fabric of choice.
I did NOT go with a fabric with a picture scene, like for example roosters, or something of that nature.
There is NO way I could have gotten them all the same and uniform looking.
Remember, I’m a newb!
So I found a simple Gingham check on sale for $3.49 a yard at Hobby lobby. Don’t forget your coupons!
You can even bring one up on your phone if you do.
I bought 6 yards of fabric just to be on the safe side.
I could have gotten away with 5 yards for six chairs, in fact that is even more than enough.
Again, I picked a simple non matching pattern.
{Pardon my picture quality as I started these late last night}
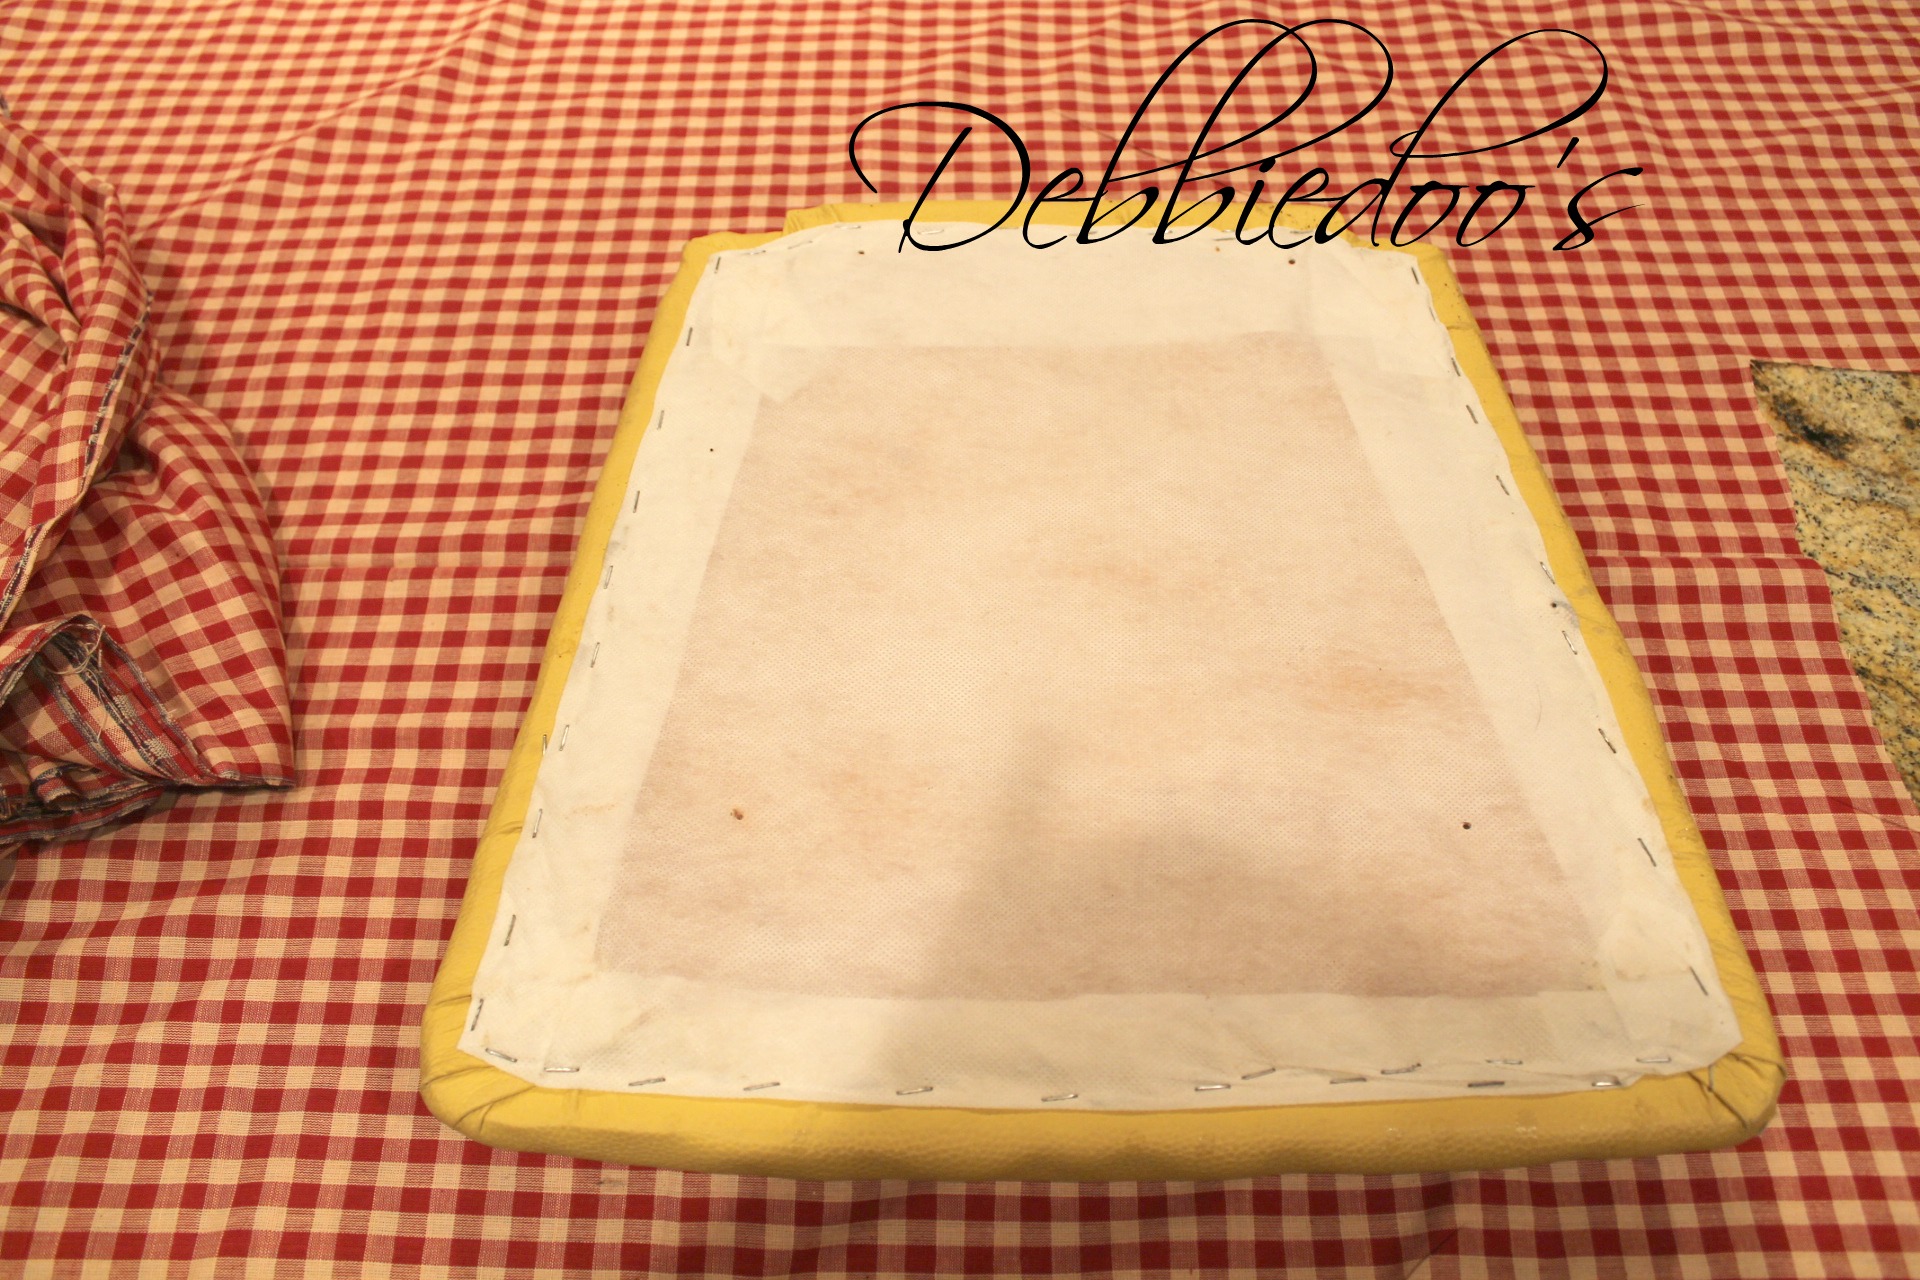
As you can see I placed my chair pad on the fabric and cut a square allowing approximately 3 ½ inches extra on each side.
Probably too much on that as well, I could have maybe done 3 inches…
I’m a newb, stop laughing at me all you experts out there.
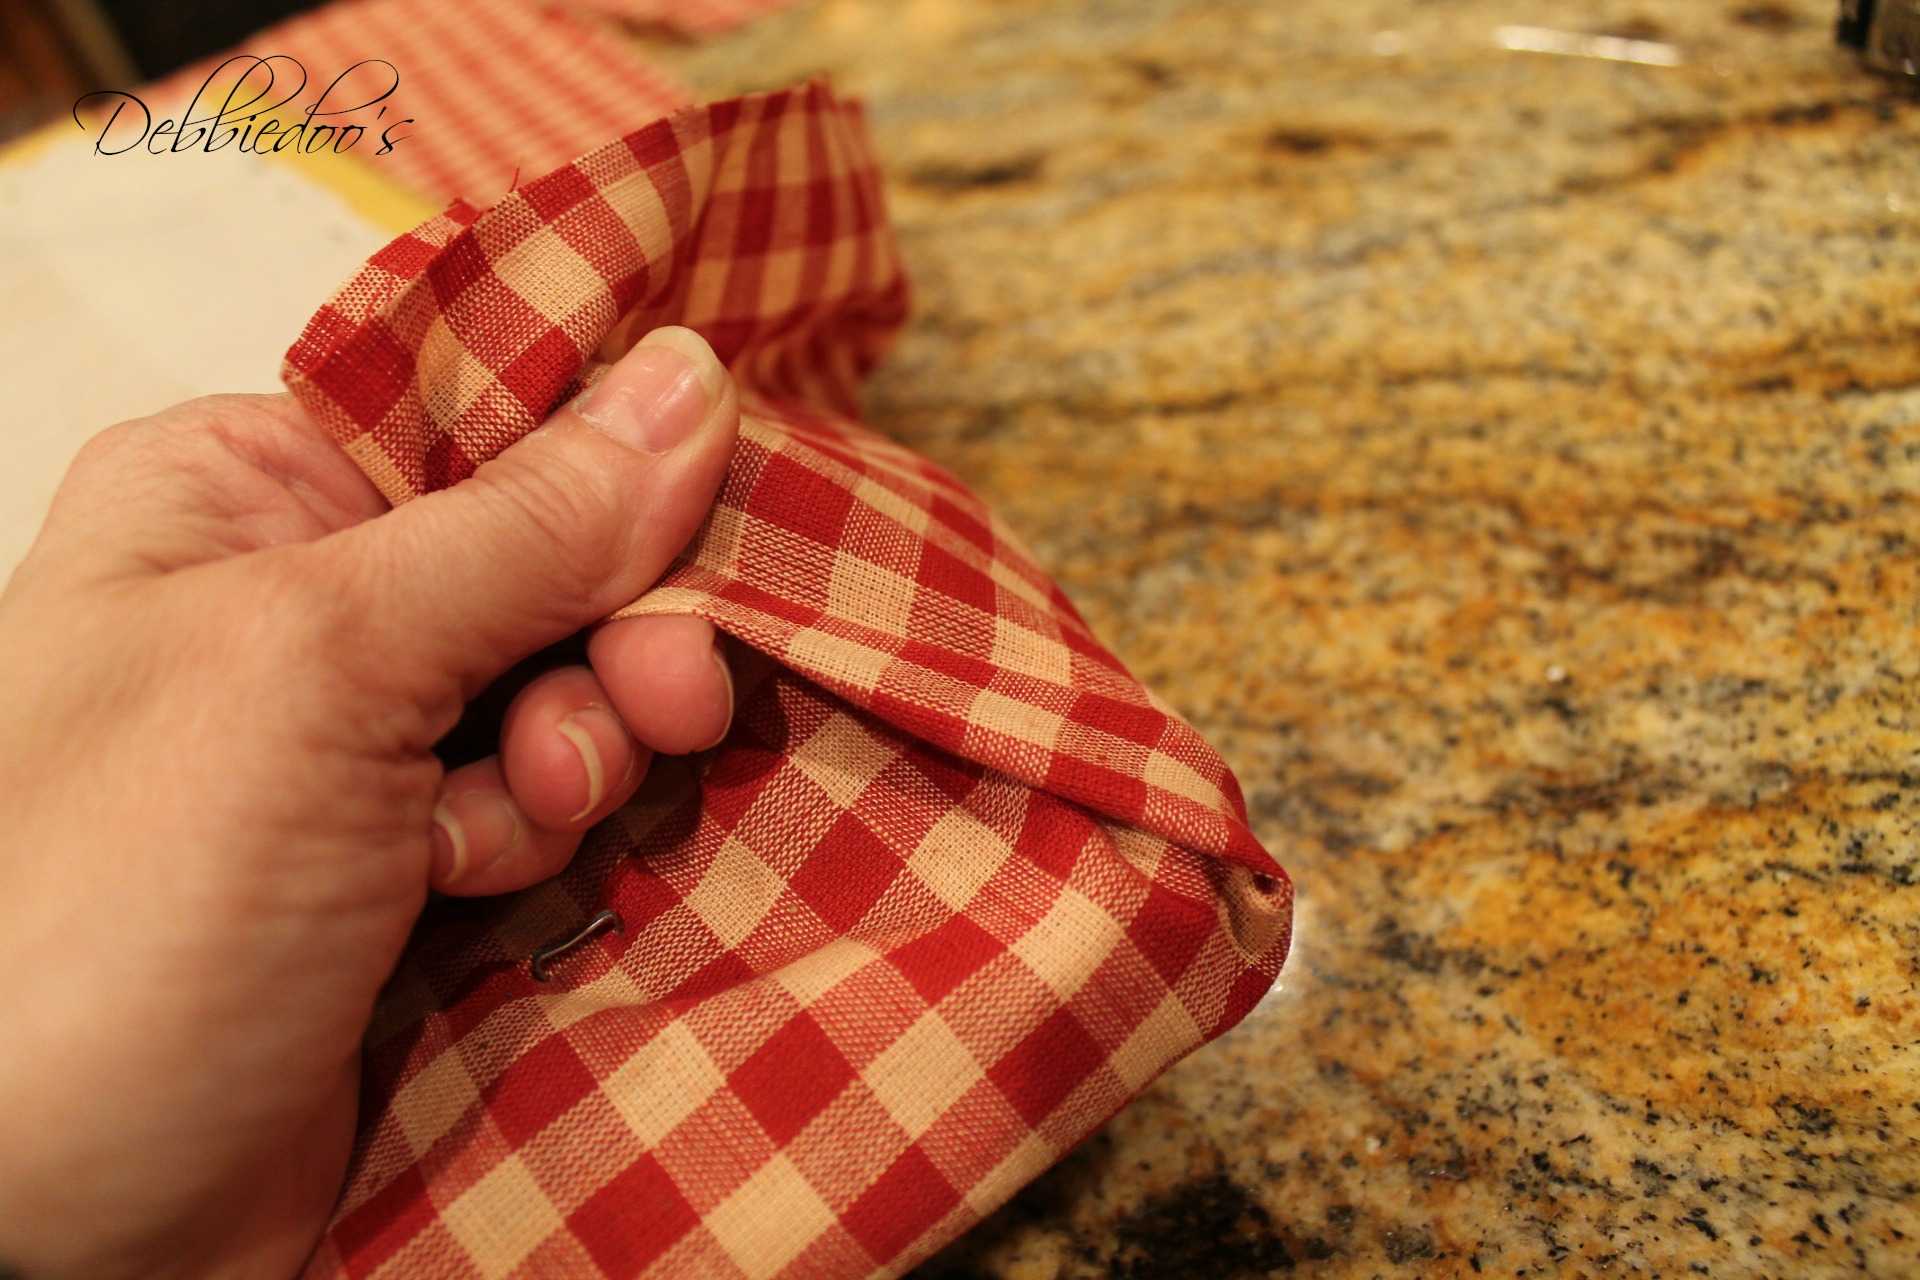
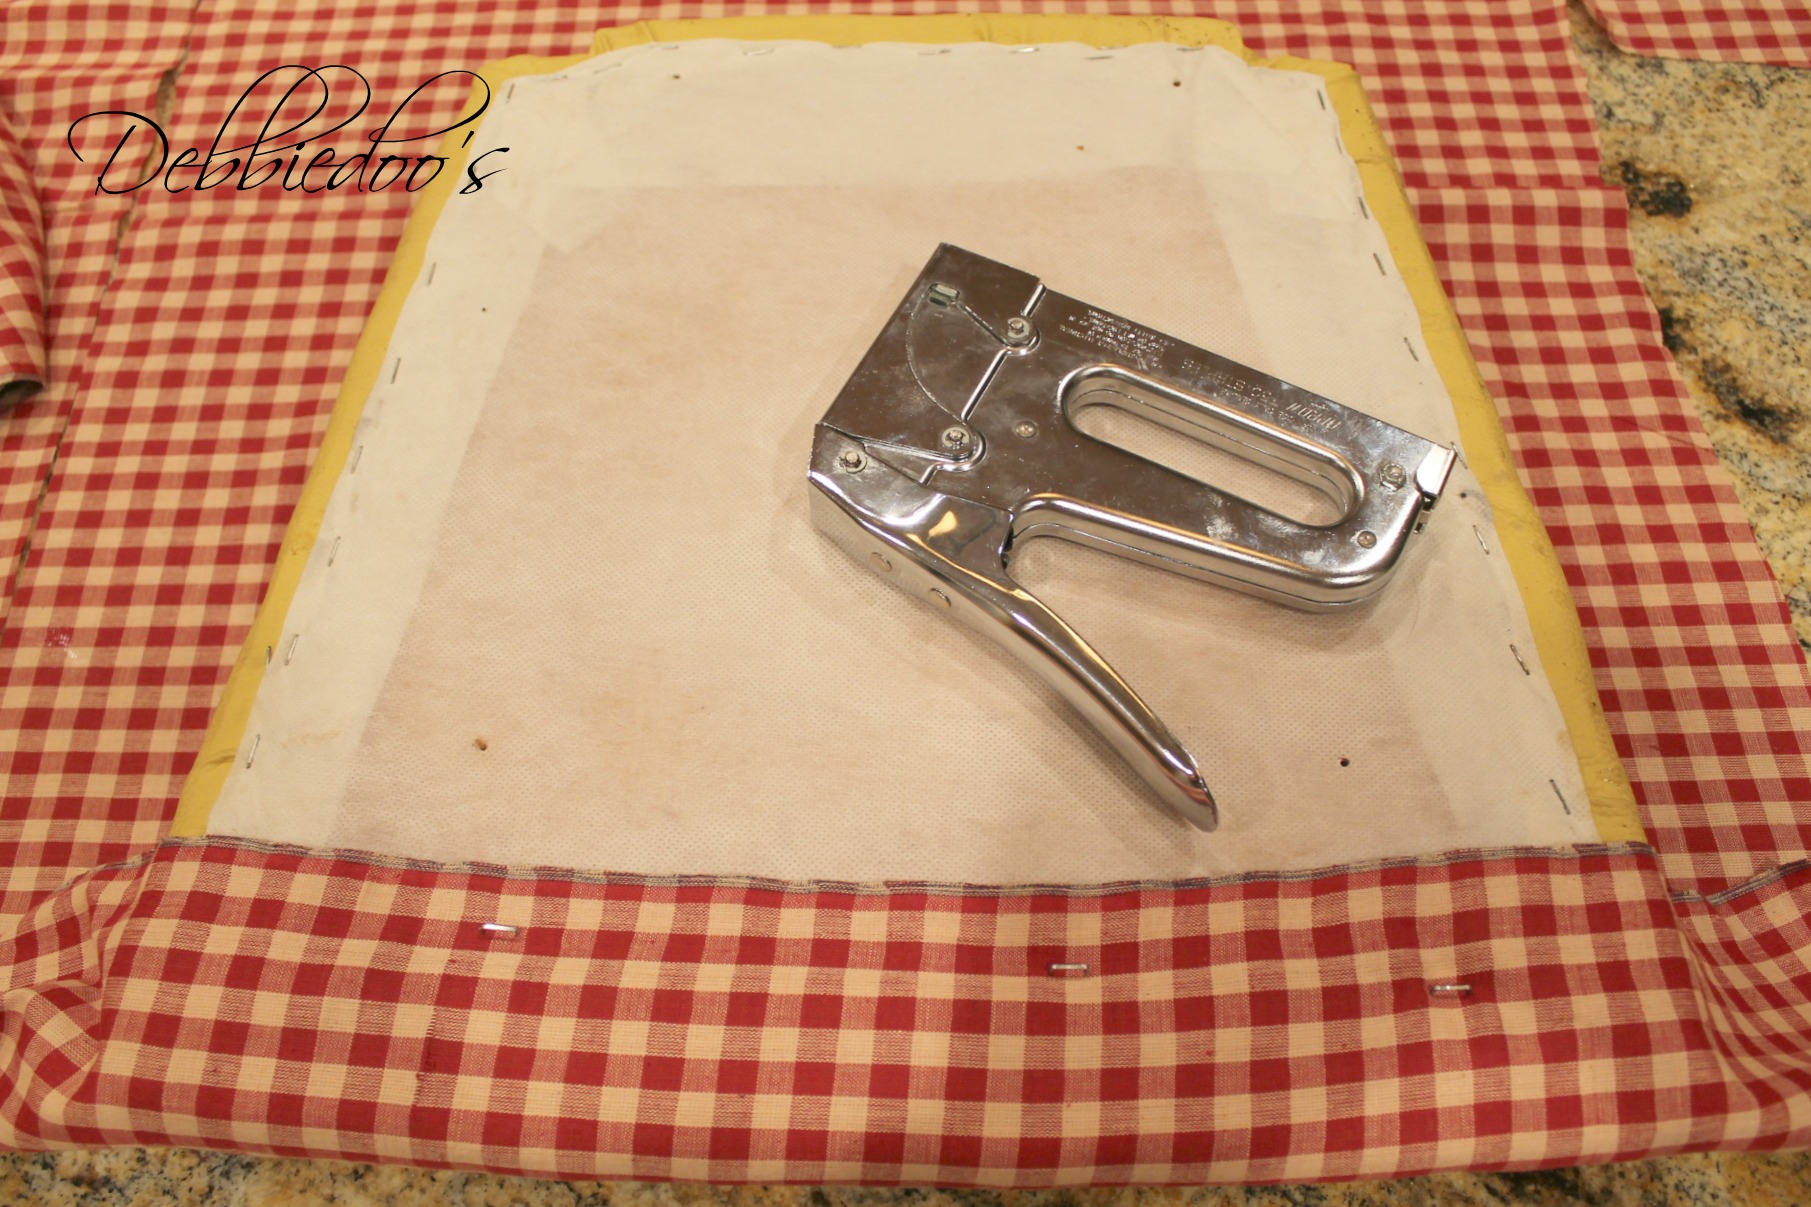
I folded, pulled and stapled as I went along.
Sorta like a gift wrapped package as you can see.
LOTS of pulling to make it tight.
My hands are killing me.
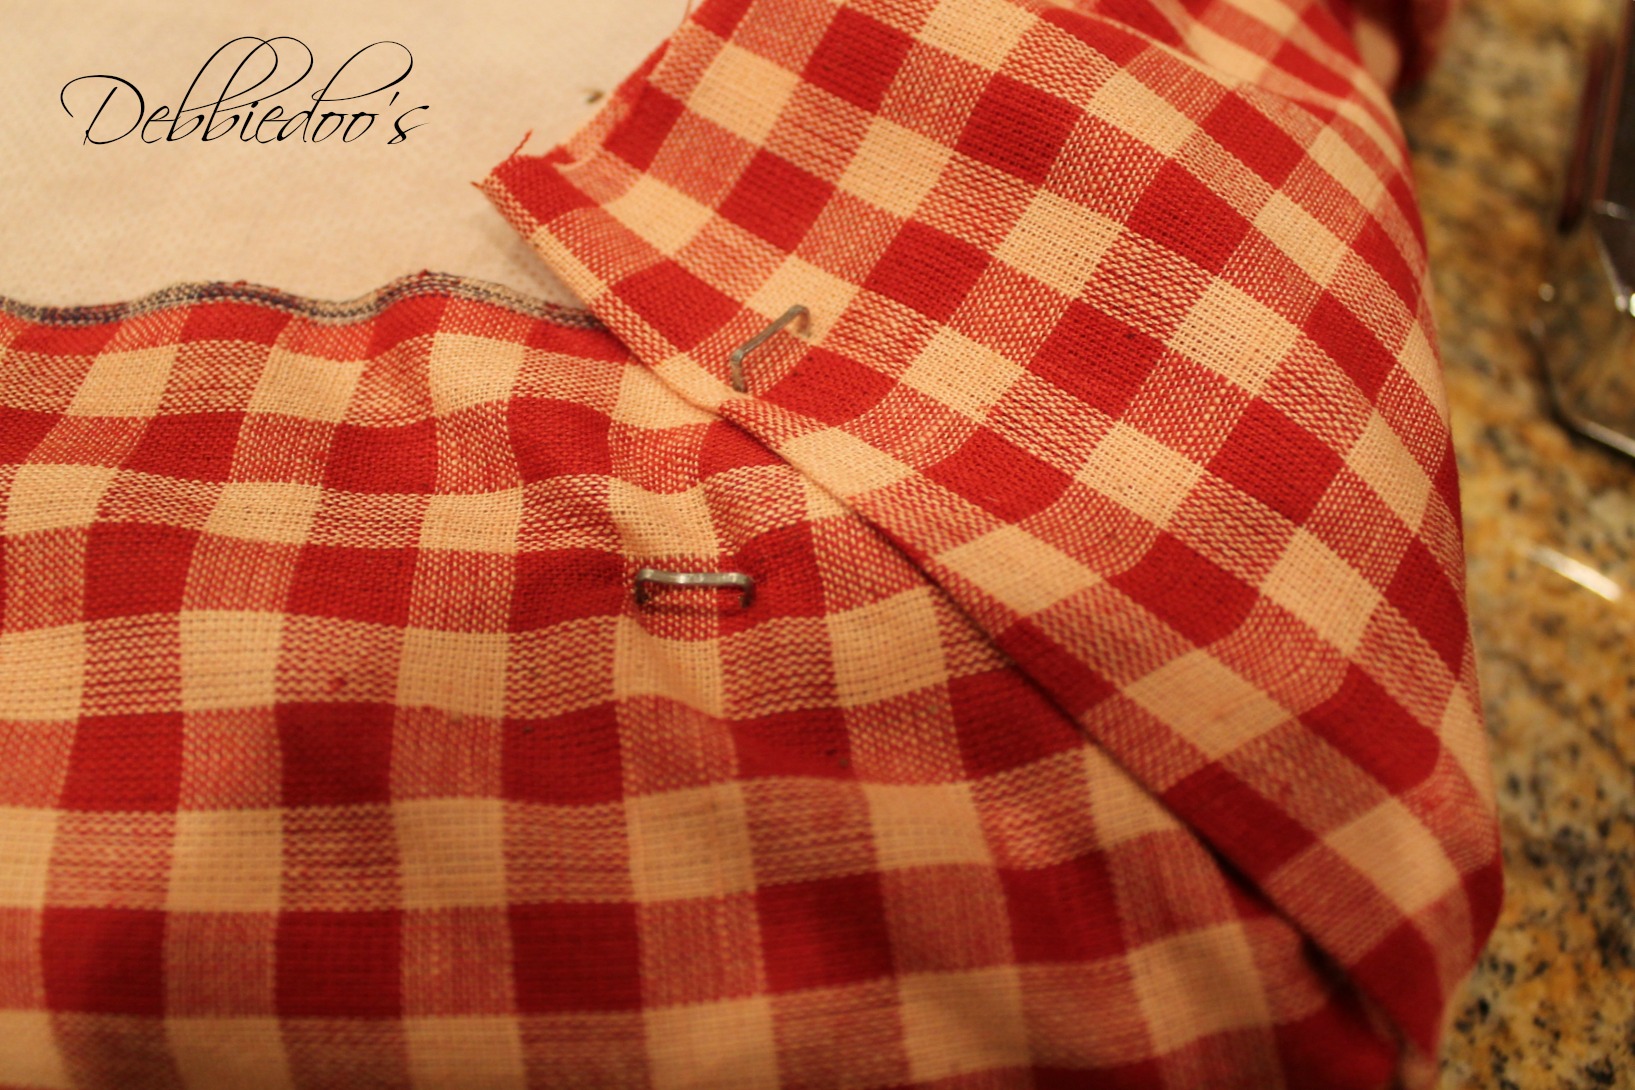
The staples did not even go in all the way.
But that was OK, everything was pulled snugly and they are on there secure.
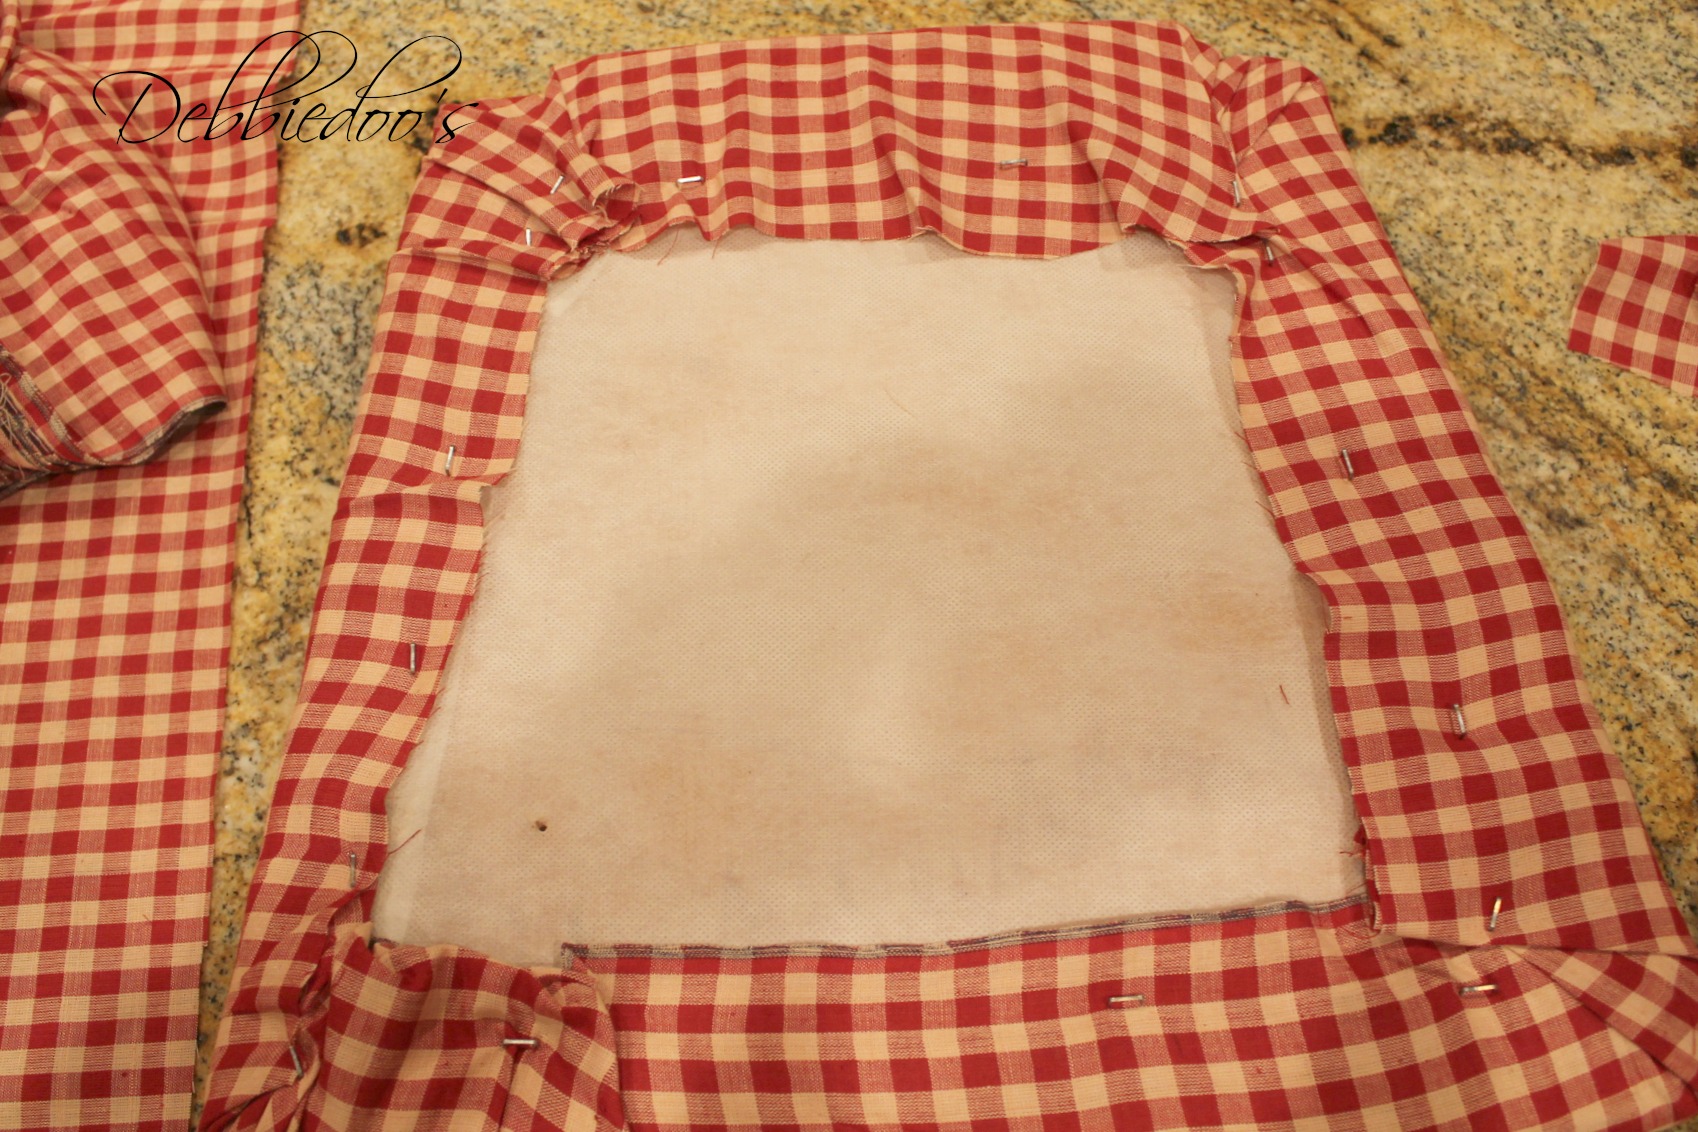
Now here is the funny part for you.
Looks like a botched up mess right?
I assure, you the other side does not….
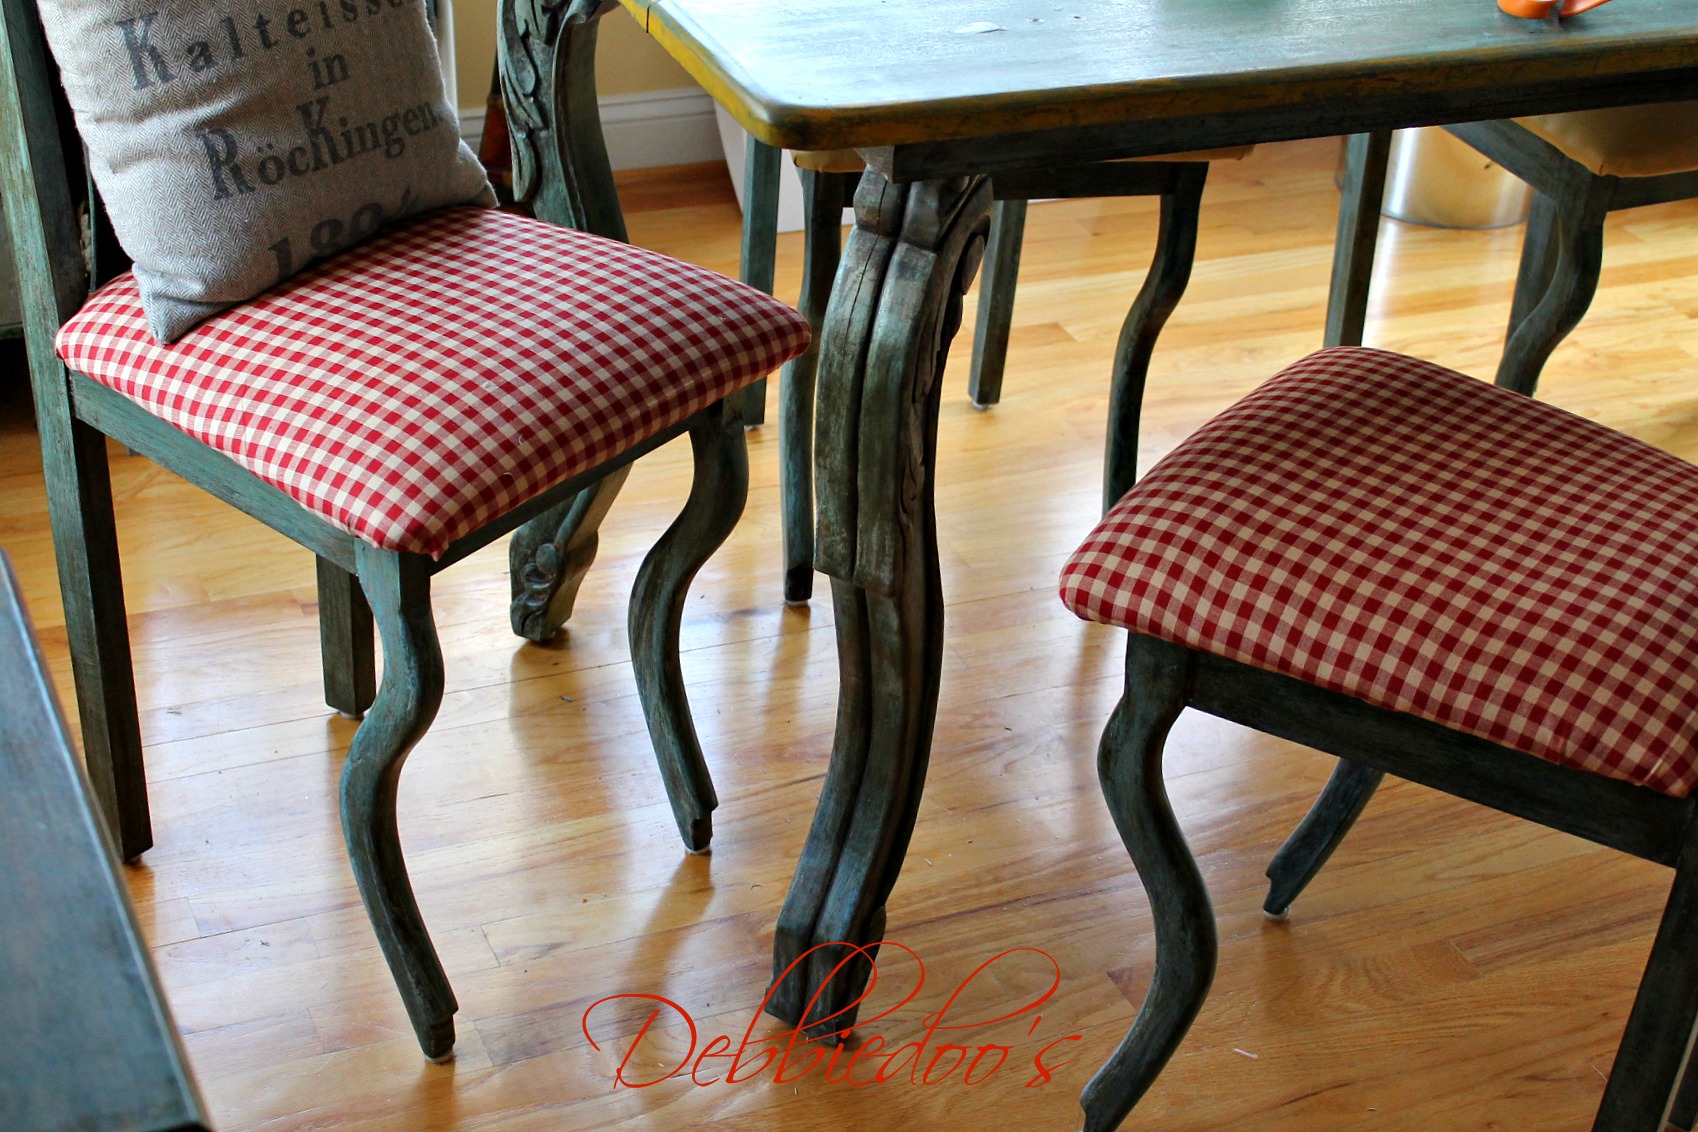
SEE! I told ya!
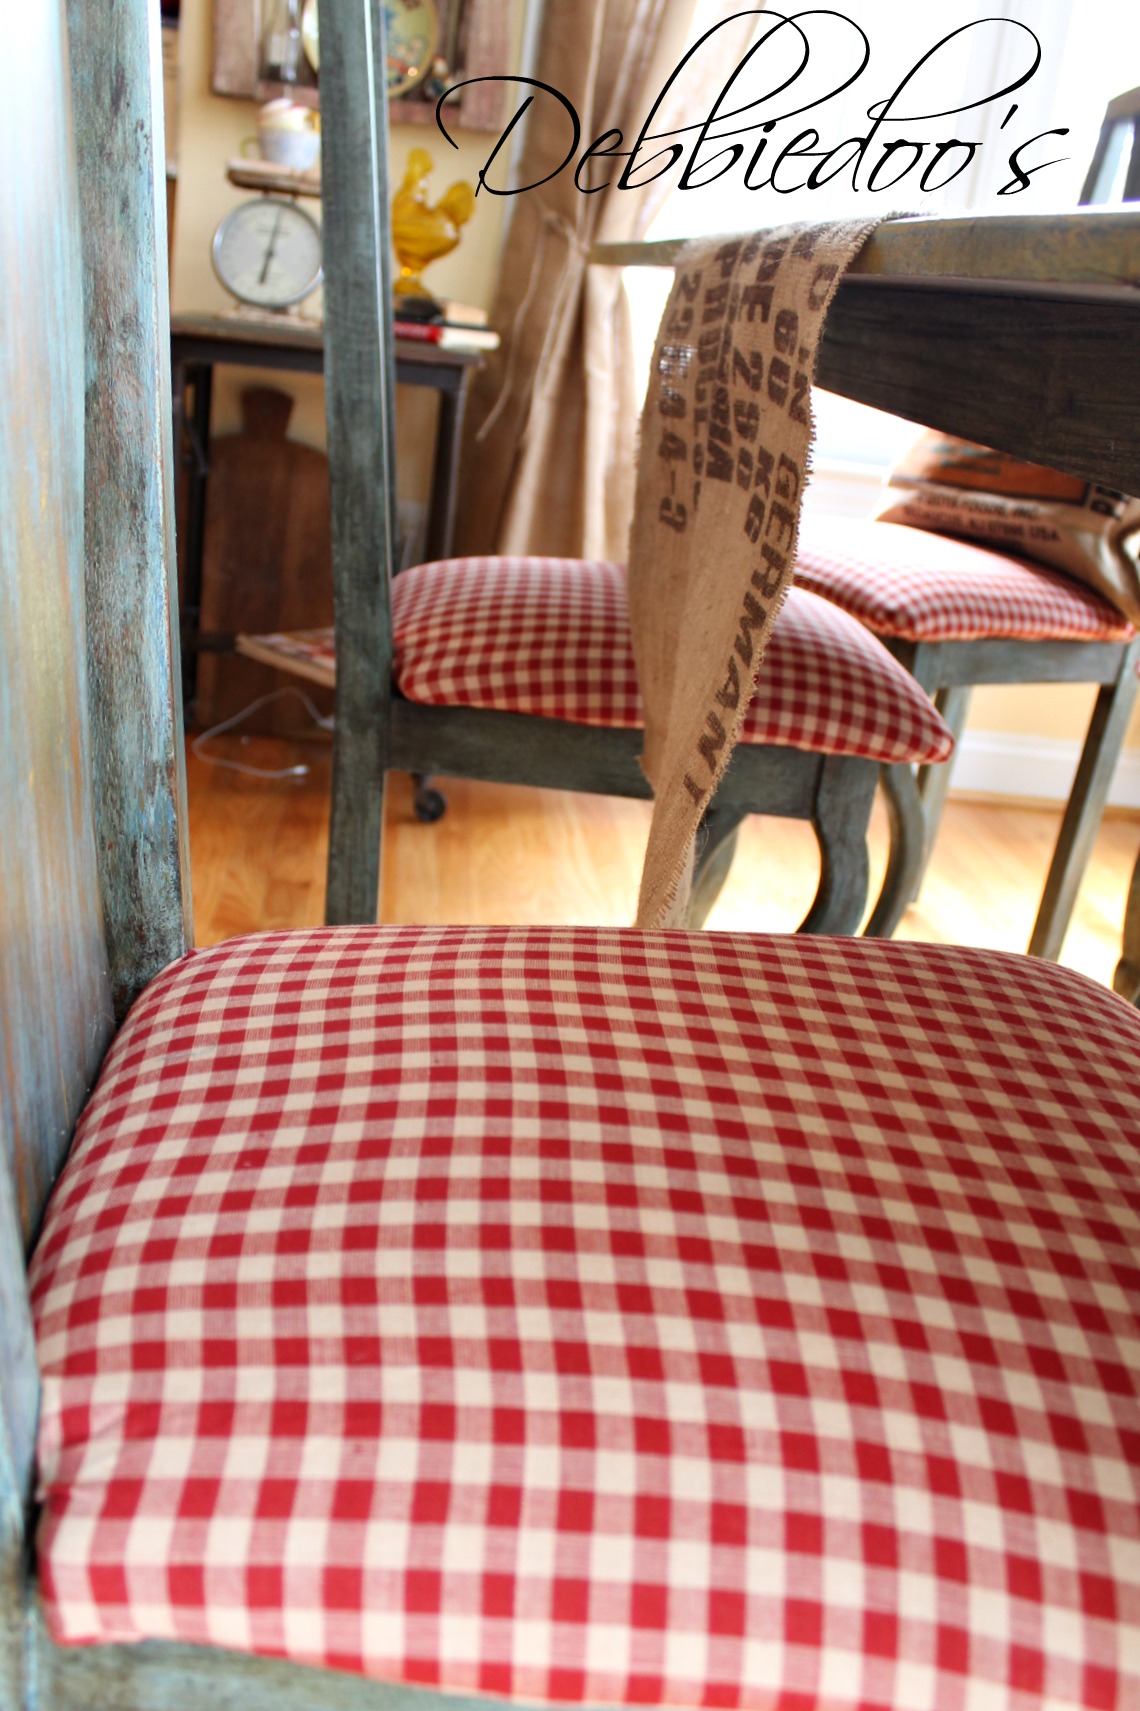
They turned out pretty good for a newb, and for less than $20.00 I have a new look!
I will show you the rest of our kitchen here shortly.
I have been cleaning, rearranging and Springifying!

Needless to say, I am exhausted. This job is not the easiest on your hands and neck…but worth the pain
I suppose.
If I can do this, you can too!
Oh, and just don’t peek underneath:)
Thanks for stopping by today!
There is plenty more to see!


I just saw this on your Facebook, Deb. Love the fabric you chose and great price, too. I love recovering chairs like this. In fact, whenever I find chairs I always look to see if the seat comes off so that I can recover them easily. Good job, Newb! : )
HA Thanks Kathy, I sure am a newb:)
You were smart to pick a fabric with a small repeat. It’s tough otherwise to get it to all line up.
You did GREAT for a newb!! Looks fabulous. Can’t wait to see the total new reveal. I thought of you today. I was at Hobby Lobby and bought a new “Roo”! LOL!!~~Angela
Hobby Lobby has so many cute ones too! I counted 19 in our kitchen today.
Actually I take that back, I just counted again, I forgot some:) I am playing a guessing game on facebook right now.
You did a great job, Debbie! The chairs look amazing … the gingham fabric was meant to be! (If only Hobby Lobby were closer!)
Those look great, Debbie. I am always amazed at how many people are scared to try this project- I think it makes such a big impact for the amount of work it takes- xo Diana
Those turned out good for a newb. All my staples didn’t go through either so I hammer them in. Cute fabric. You know I love checks.
Thanks…I was too lazy and tired to hammer them in.
I love that you just go for it!! My kinda girl. The chairs look great and now I’m really excited to see you rearranged, springified kitchen. Do I spy new floor length curtains???
They look fabulous Debbie, I am a sucker for anything gingham.
Way to go! Newbie, or not, you did a fantastic job there!!!
xo Kris
These turned out beautifully, Debbie…nothing like a quick chair re-do to totally change-up a room!
Saw this on FB and couldn’t wait to see the end result. It looks marvelous dahling! I also love to reupholster chairs, but you are right it is quite a project. Love, love,love the fabric you chose!
Oh, Debbie, I love, love your new chairs!!! You did a fabulous job! The fabric is so pretty, actually, I bought some of this fabric a while back and made napkins with it. It is a really nice material. I know it was hard work to get all the chairs done. We used to do this on our old dinning set quite often, so often that every time my husband saw me looking at fabric he would be like “Don’t even think about it!” LOL I love your new look and can;t wait to see the whole kitchen!
Debbie I love that new fabric! I’ve recovered seat cushions before but it’s been awhile. I need to do our island stools! you’ve inspired me yet again! That all looks perfect for your kitchen! Great job!
They look great, Debbie! I have done mine, and the underside looks like yours.
Right now, I’m trying to muster the courage to tear apart a wing chair and try that. My sister does it, and her stuff looks great. However, she HATES to do it and says it’s the most tedious project she does.
And I’m not that into tedious these days.
I want some instant gratification right now.
I hear ya…this was NOT instant LOL. Gosh, but I do love them and glad I did it. Thanks Debbie!
Looks terrific! I love the fabric you chose.
LOVE the fabric! You did great as a beginner….congratulate yourself.
xo
Pat
You are too fast for me! Those look so cute Debbie!! Love the red. I really adds a lot of energy to the space and looks so lively with all your other decor. It’s perfect!!
I LOVE them, Debbie! I love red gingham anyway, and it looks fabulous on your chairs.
I redid our dining room chairs a few years back, my first time ever. I was happy with them, but it’s time to do them again. After I start redoing the dining room…and find the perfect fabric. Since I’ve done them once, I feel good to try more!
I love the gingham on yours, and who cares what the backside looks like? They turned out just perfect.
Debbie 🙂
Thank you Debbie! They do look pretty darn good if I do say so my newbie self:)
Debbie – that is exactly how I reupholstered mine – staple gun and all – and I had no idea what I was doing either. That was 2001. Too bad I wasn’t blogging then – lol They are getting a makeover as soon as I pick a fabric. Way overdue! LOVE the fabric you picked for yours!! Pinning. Of course. 😉
xo,
Claire
Debbie, I’m glad you’ve shared this tutorial! I have ZERO experience in reupholstering…And a billion projects that could use this kind of makeover! And I love that it’s an inexpensive transformation!
Thanks Matt…if I can do it, surely you can too! It is a great inexpensive spruce me up!
You did a fabulous job Debbie!! Love the fabric too:-) The chairs really look great!
Yep, did mine like that too! I just did a thrift store chair for my laundry room, can’t wait to show ya Friday. I remember my Dad doing my Grandfather’s chairs like this as well. It works perfectly. I love these, and you know I already pinned them. Great job, and late at night too!!
Thank you so much for posting an easy DIY chair re-upholstering! Because of you, I have mustard up the courage & am gonna dive right in. I have found a sweet dining set on our local Kijiji, table with gorgeous curved legs, 5 cane back chairs & 1 cane back Captains chair….are you sittin’ down???….cause I should be in jail for getting such a steal! Asking price – $250 for the whole set…..I offered $175 (since that was my budget) and the seller accepted!! We’re picking it up this afternoon…..and it’s going to an empty room in my basement..where she will undergo a milk paint overhaul & fresh new upholstery!!!
Now…thanks to you, sweetness…..I am going to have a new to me kitchen set of my dreams!!!
I do, have a question about the fabric……since I’m covering 6 chairs…..I’m thinking 6 yards should allow me lots?
I’m so happy I discovered your blog!!
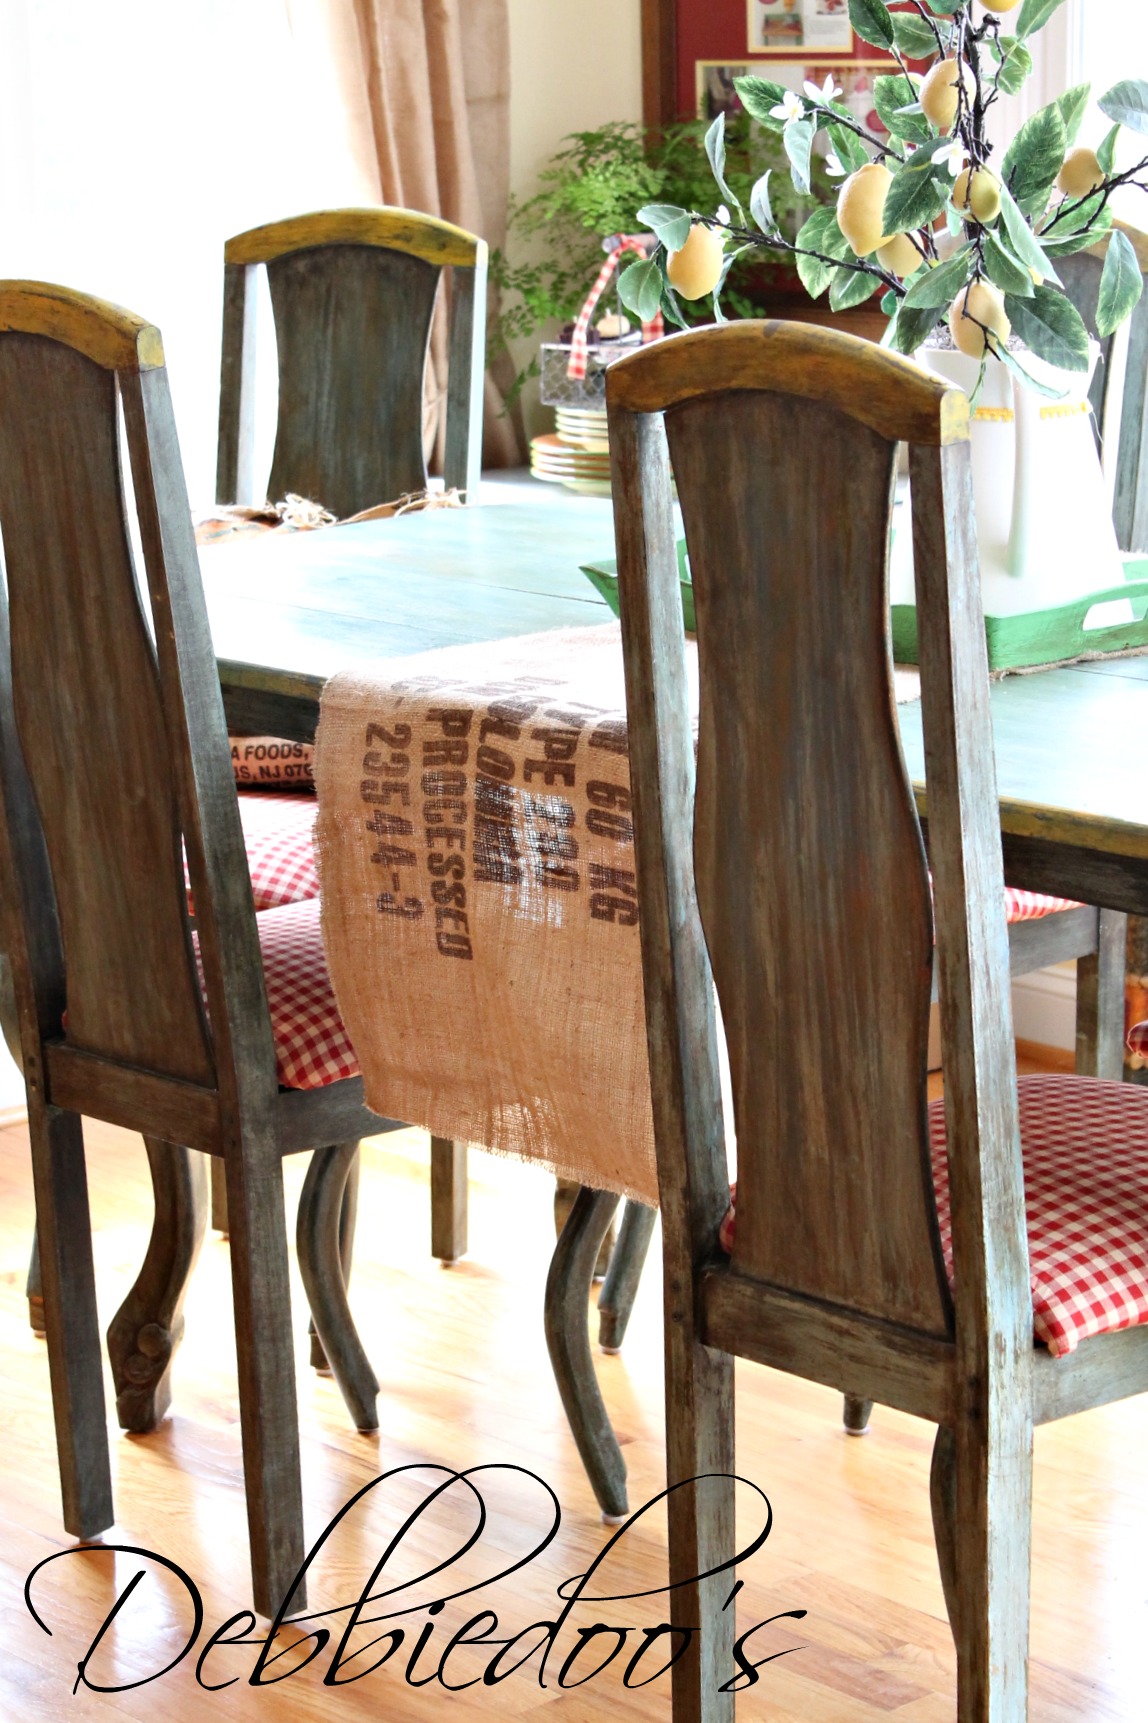
I am in LOVE with that runner!! Did you purchase or DIY?
That is a burlap coffee bag I cut:)
I did this a few years ago. But found that the padding wasn’t enough for the chairs. Did you have to replace them and if so what did you use?
You did a great job! They look wonderful, and I love the look and colors of the whole area – thank you so much for sharing. You have inspired me to do the same to my dining room chairs, they are sadly in need!