
Hey there everyone!
I know many of us are getting tired of old man winter.
Me being one of them!
Today I am sharing a diy stenciled kitchen art wort with Gesso and Rit dye.
I have to say when I did that experiment on glass
with painting with Gesso and Rit dye on a vase, I was really impressed with Gesso.
Then I moved onto doing a vase pumpkin, and that really sold me on the stuff!
In fact, you should just check out my Rit dye gallery of ideas.
Not the norm tie die projects. In fact, I never even tried tie die yet.
Although, I had nothing to ever compare it too and considering I really never used it,
I will just say my first experiences was very good.
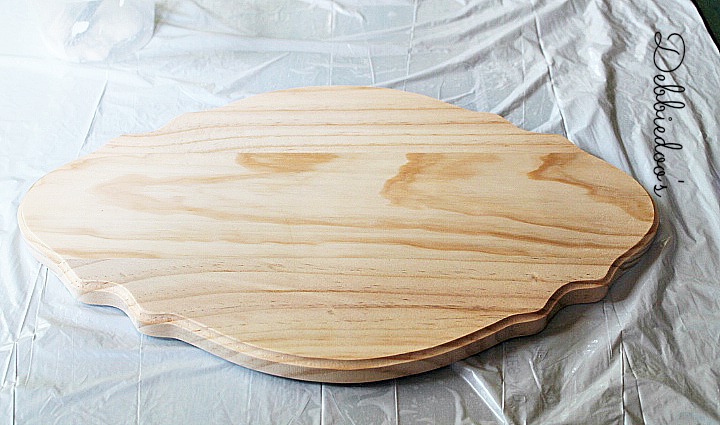
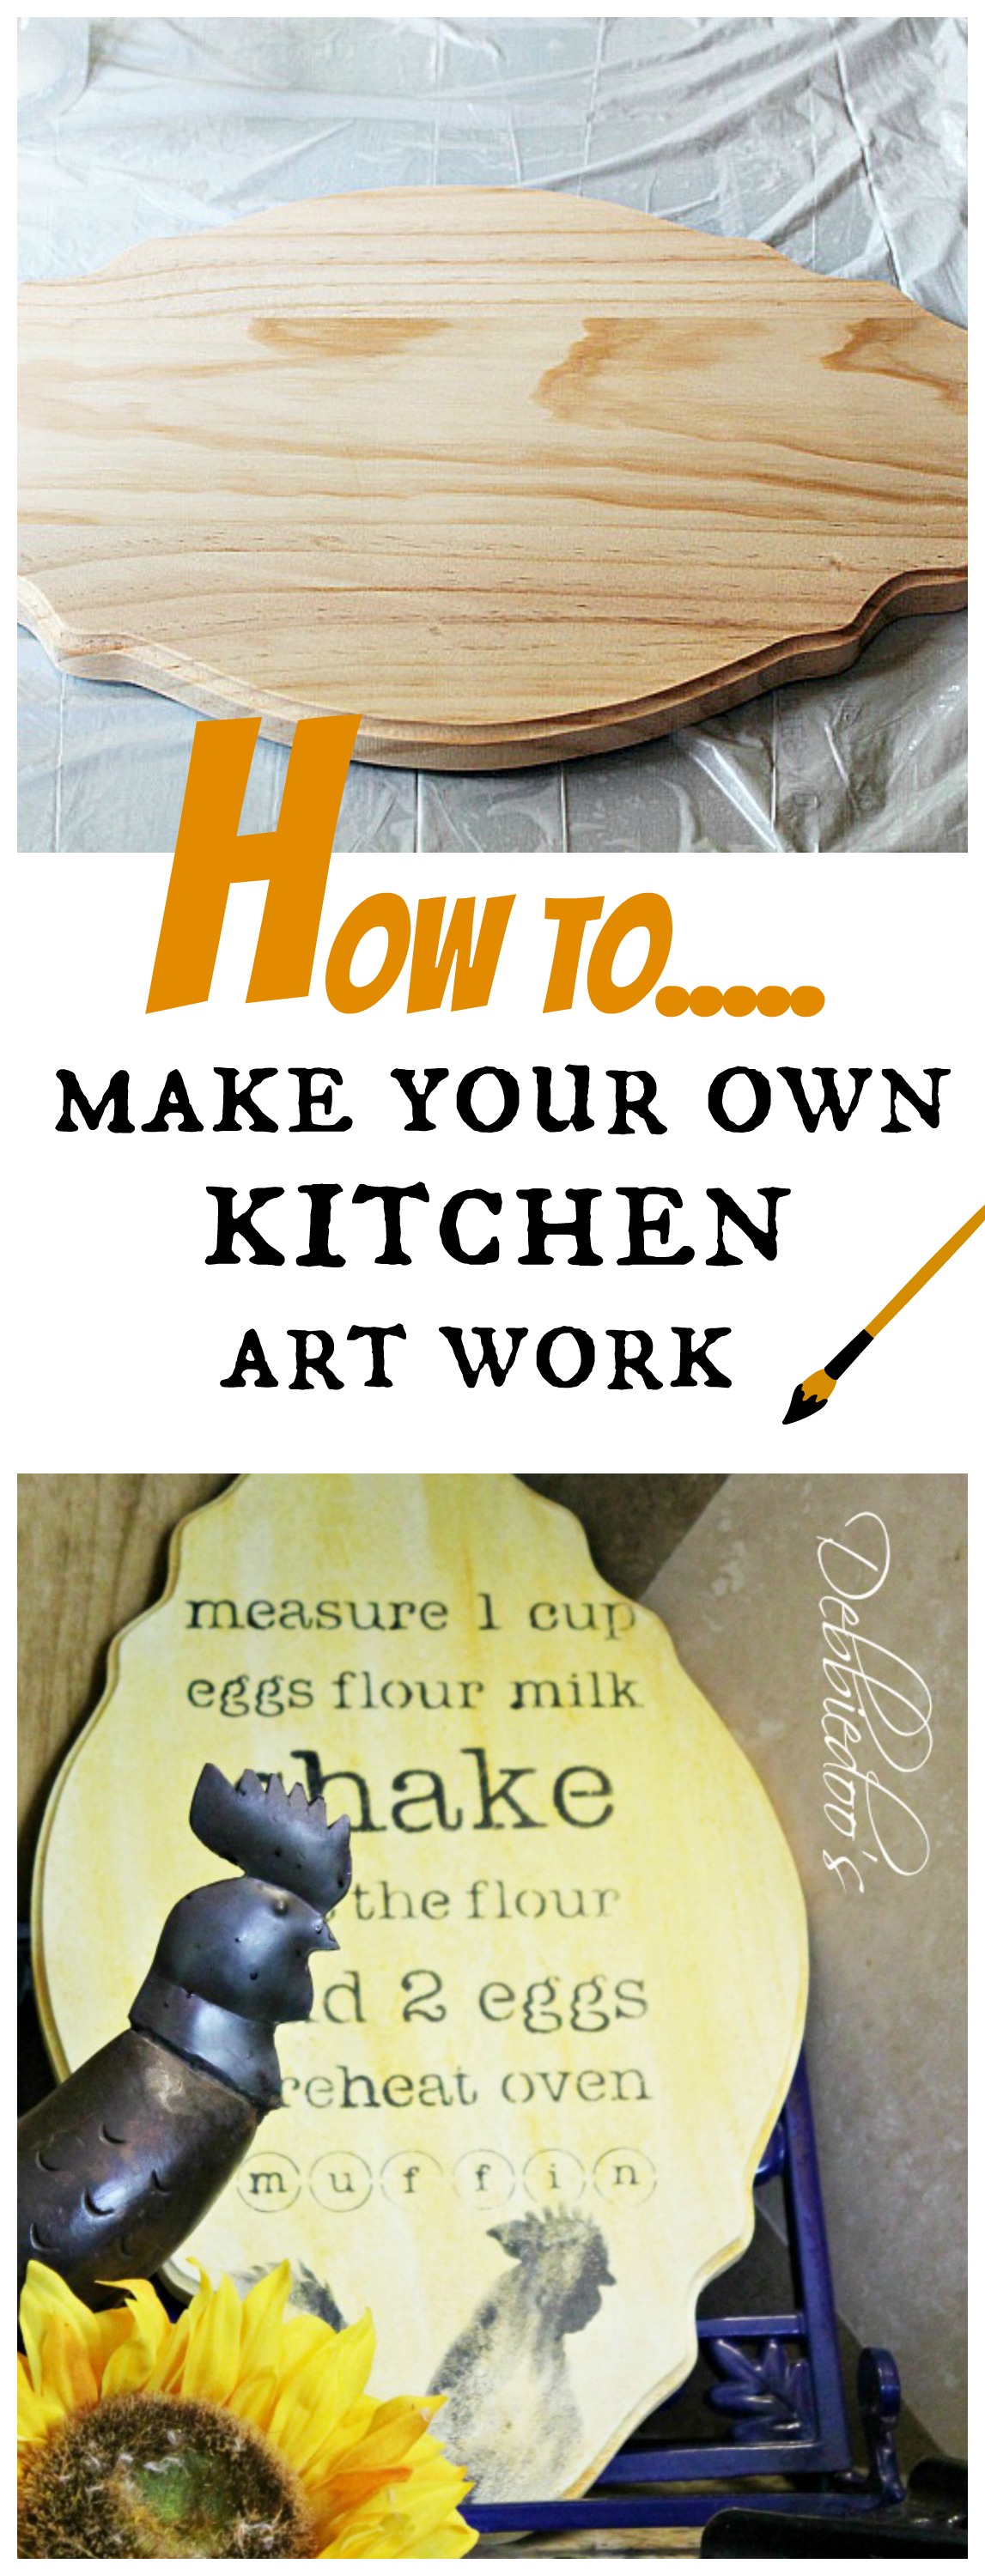
I saw this pretty plain wooden plaque at Walmart
Plaid makes these.
Pretty much a blank canvas to create whatever your heart desires.
First I painted the plaque with Gesso.
After all, that is what artists use to prep their canvas.
Added a little texture with the brush.
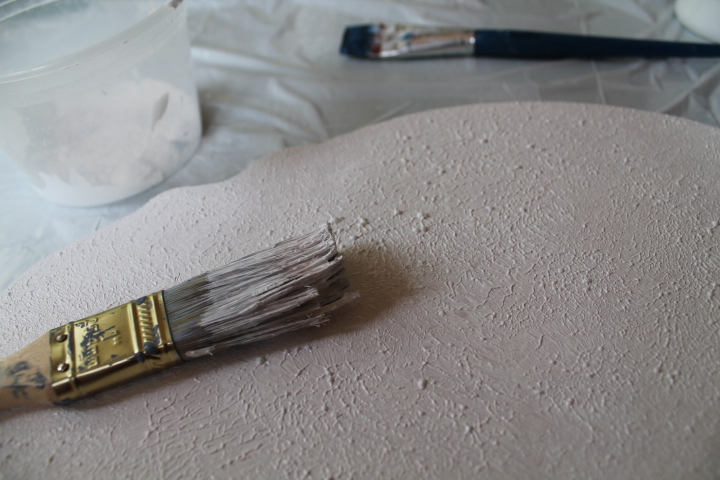
Let completely dry.

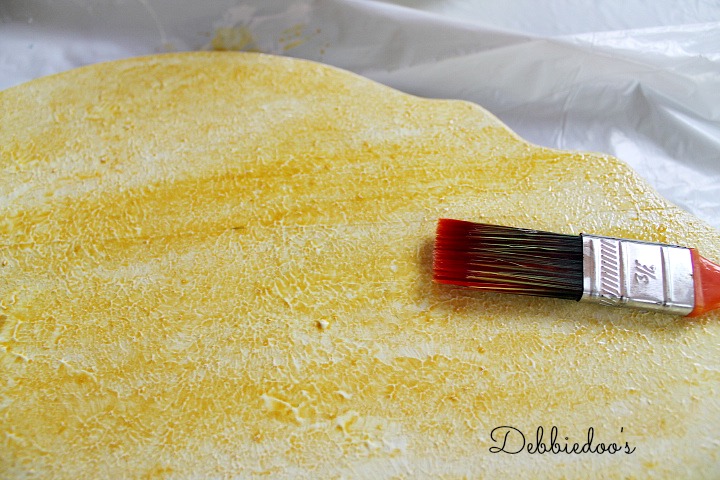
Then brushed on the Golden yellow rit dye color.
Normally when painting on wood with Rit dye you are suppose to heat it up.
Rit dye loves hot water.
In this case, however, I just lightly coated over the gesso, no heating or mixing with water.
I chose this color because it will go well in our kitchen.
Plus I liked the tea stain look on the wood.
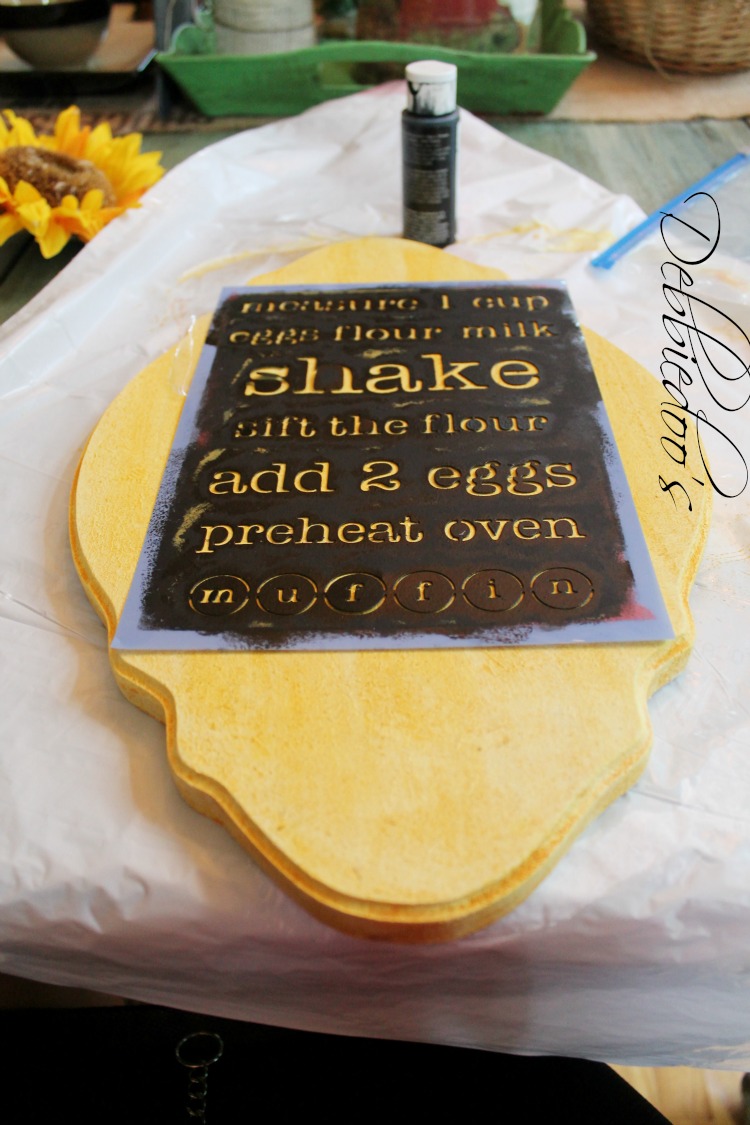
Just when you thought the recipe stencil
was retired,
dead
tossed in the garbage.
NOPE, still around.
Came from hobby lobby btw.
In fact, I think it is so well used, that it has built an endurance and strength like no
other stencil.

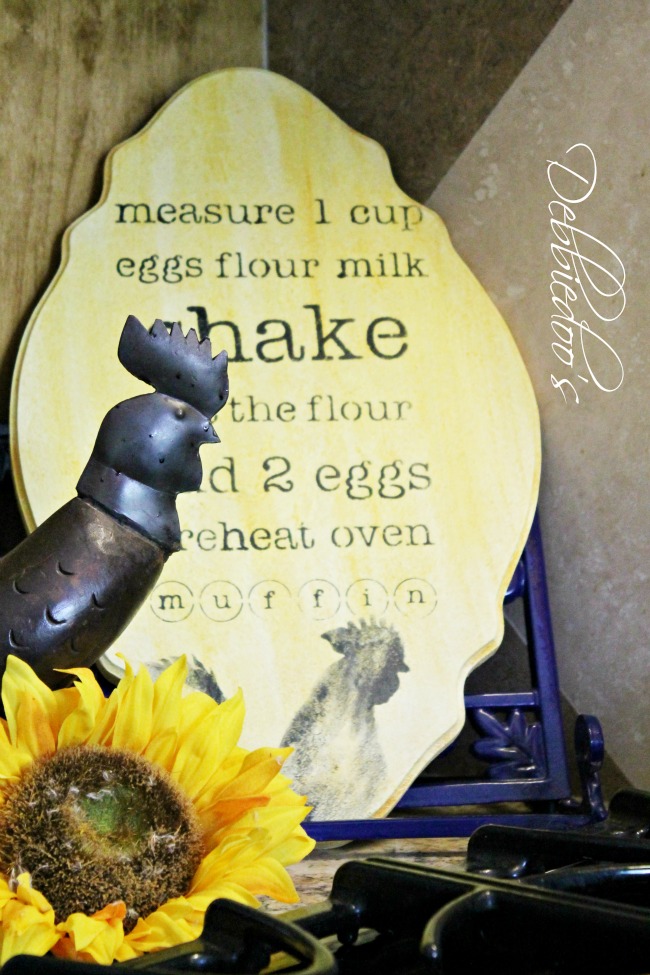
I added my rooster to the bottom.
Look how it appears to make a shadow of the other rooster.
Totally NOT planned that way.

And there you have DIY kitchen art work for less than $5.00.
Thanks for stopping by today.
You can follow me anytime, any place.
Check out my Rit dye gallery while you are here

Thank you so much for visiting with me today.
If you are new here, welcome! I am also very excited to share my new stencil line with you.

[envira-gallery id=”32693″]
Thank you for your visit today!
To view my stencil gallery projects you may check out my Debcreates.com page.
I share all things, thrifty home decor, crafts and a recipe or two on occasion.
I also have an Etsy shop!

Sign up today and receive a few freebies. 12 months of seasonal printable art.

If you would like to commit to becoming a subscriber, I would love for you to join me.
Well isn’t that just bright and happy! It’s the perfect compliment to your kitchen.
(and yes, that is one hard working stencil girl!)
Very cute! I have never seen that stencil…..am I the only one? ha, ha Happy Valentine’s Day!
Lisa I have shared it so many times on my blog, my family started making fun of me. At one point I think I had 5 different crafts scattered about in the kitchen with the same recipe, which btw makes no sense, don’t try it at home LOL, you will mess up your muffins.
Adorable kitchen art! LOVE the recipe, Debbie!
Very cute Debbie!…Great stencil…glad you kept it!!! Happy Valentine’s Day!!
Super cute and thanks for sharing the tutorial. I think I will be making something similar 🙂 Have a wonderful day!
Good enjoy! Fun, cheap and easy:)
Very cute. I really want to try this sometime. I love your kitchen. Happy Valentine’s Day!
So cute! I love the way the “shadow” seems to appear from the other roo. Great job and perfect for your kitchen!
xo
Pat
So cute!! You are an artist!!! =)
Love that Debbie!!! You did a wonderful job and I love the rooster at the bottom, it is adorable!
Debbie I love this so much. You are just so clever, PINNED!!!
oh my it looks so cute love how the rooster shadows as a scrooled down and seen that stencle i sshouted oh no i thought that was retired .Well any how it looks adrobs 🙂
Another great project for me. Thank you Debbie and I love roosters always like to see you add them to your projects. Happy Valentine’s Day
Debbie,
You never stop amazing me with your projects. This one is super cute. Love it. Have a great Valentine’s Day.
Kris
Very cute Debbie!
Happy Valentine’s Day!
Super Cute Debbie! Love how that rooster looks on your plaque!
Very cute and looks great in your kitchen! Hope your Valentine’s Day was a good one!~~Angela
VERY cute and creative! You are the queen of Rit dye. I would have never thought to use the dye almost like paint. Thanks for that idea!
I love this! And dye is a great idea! New follower 🙂
You are just so creative … you have found so many ways to use that stencil. I believe you got your monies worth … and the rooster too. I have the recipe stencil, still unused, not that you have not inspired me, but no time and I need a rooster stencil. Thanks for always inspiring us with your creative ideas.
Blessings,
Audrey Z. @ Timeless Treasures
Very cheerful recipe! There is a chocolate shop in my town, where the founder/owner used to live above the shop. You can take a tour now. He made bread so often, that the recipe is written right into the tiles of the kitchen counter! Your plaque reminds me of that. 🙂
I was JUST thinking about that stencil the other day. I love it and all of the projects you’ve made with it. The plaque is adorable and looks great in the kitchen!
Debbie, what a great idea and it turned out darling. Love your photos. xo, Liz
That turned out super cute Debbie! Loving that sweet little blue ladder too!
Now that is adorable and the perfect compliment to your kitchen. Which I love BTW!!! I love the same colors. I may just have to try this Gesso stuff!!!!
This is a very cute idea for the kitchen! I noticed that you kind of leaned it against the wall, but any tips on what to use to hang it?
I actually used a cookbook holder. But you can use those simple claw wall picture hanging kits. They sell those all over. It is wood so it would easily get nailed to the back of the piece and you could hang it anywhere you like.
I love it!! It is soooo cool!! I bought some Rit Dye and already have Gesso, so I’m going to have to try this, finally.
Thanks Debbie! 🙂
LOVE THIS and I am going to MAKE IT!!!! You have gone and made me crafty, Debbie! I hope I can find a stencil like it!