
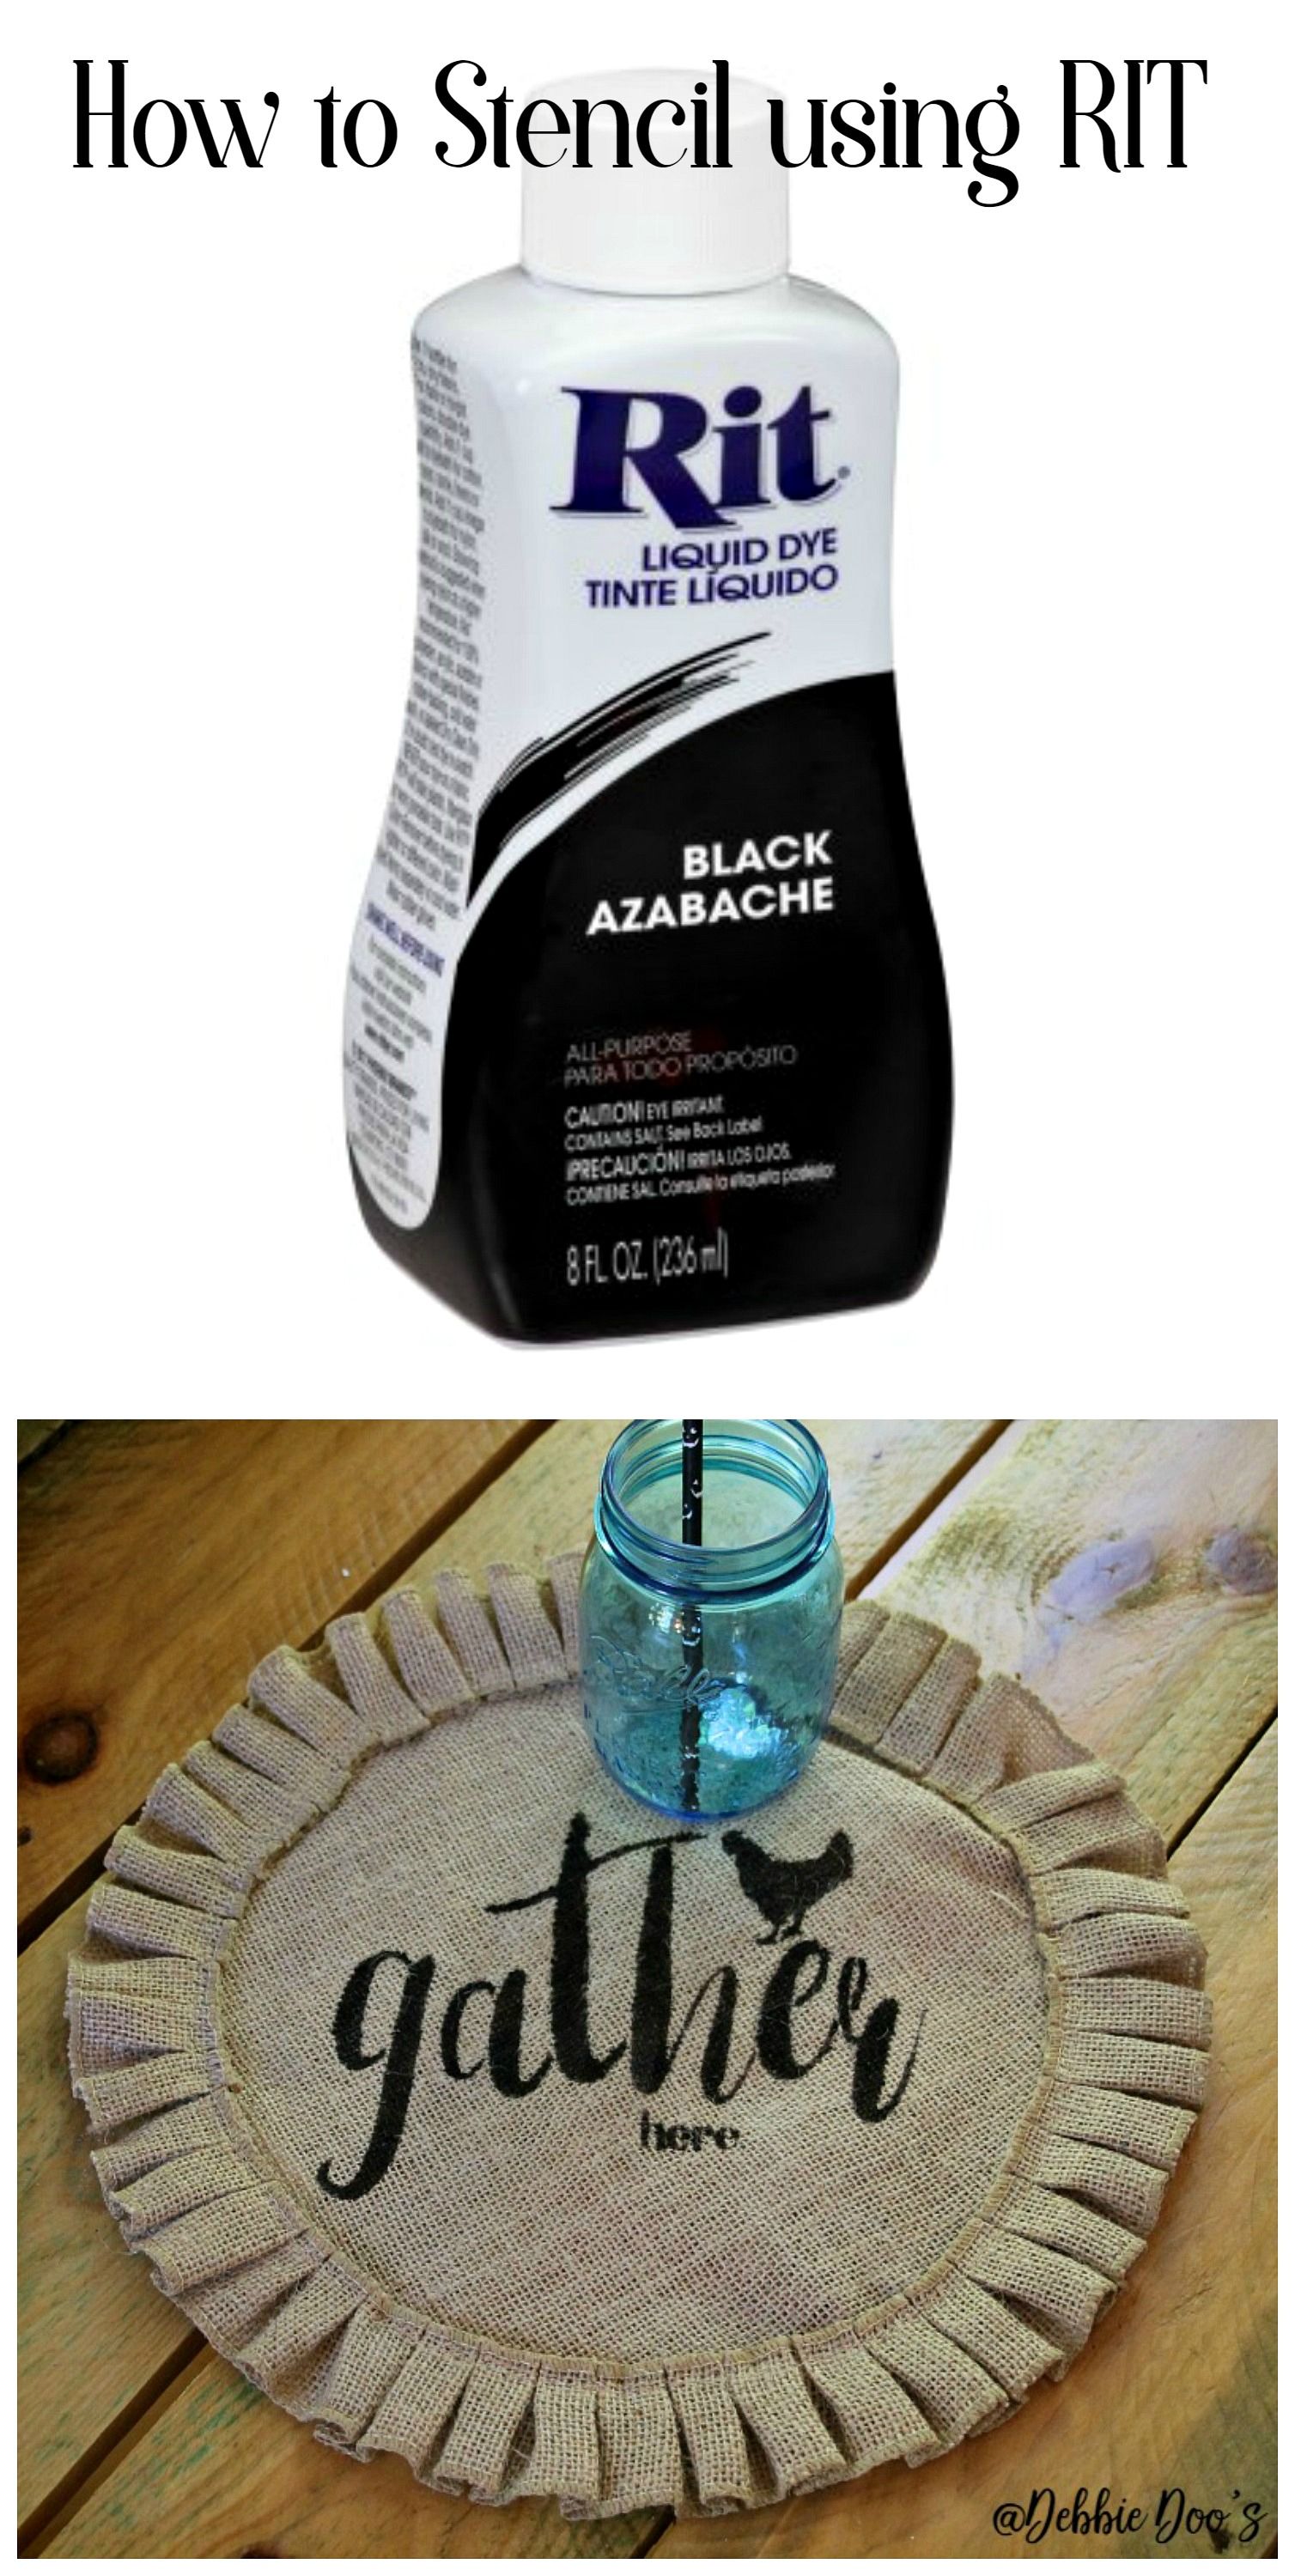
How To Stencil Using Rit Dye
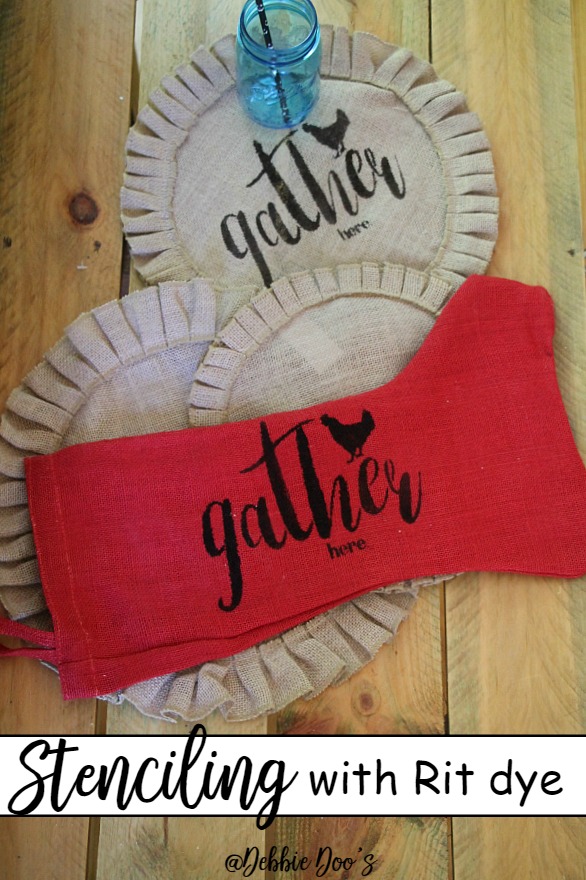
Hey-hey there! The day I had my Rit Dye out when I painted on the wood plaque, I figured I may as well see what else I could tackle. The dye is not something I like to mess with often…I fear for myself and my surroundings when I use it. Did you know I was sort of clumsy? I am. I am known to trip over my own two feet, run into walls, slip and slide all over…all being sober by the way. I probably would be less clumsy with a few in me. I have never stenciled using Rit dye. It was about time I tried that. LOVE, LOVE, LOVE. I did a stocking and a burlap placemat.
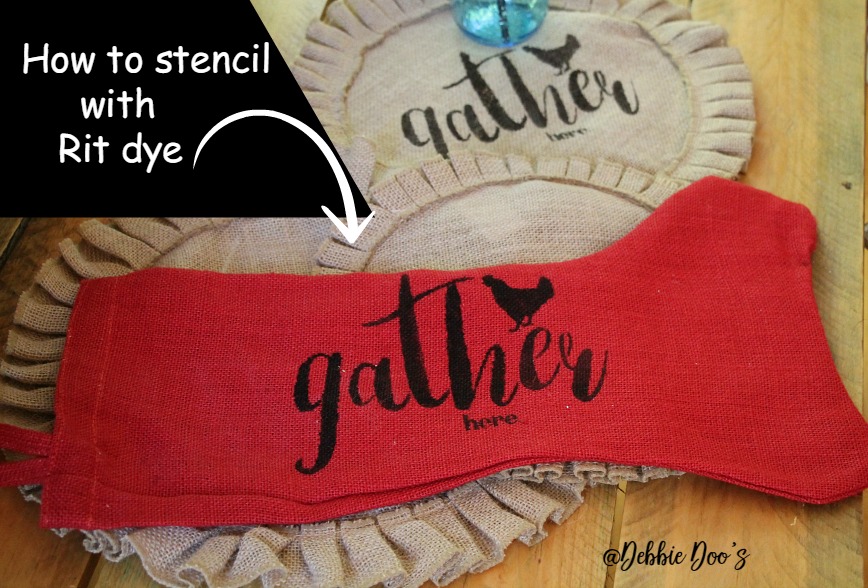
What I like about this look is that it looks like it is printed in the stocking. You don’t see any texture of the paint. I did not find this to be difficult at all. This really is a LESS is MORE project though. You want to be conservative on the amount of dye you are dipping your brush in. No worries, I give you a live edited version below. It’s pretty quick.
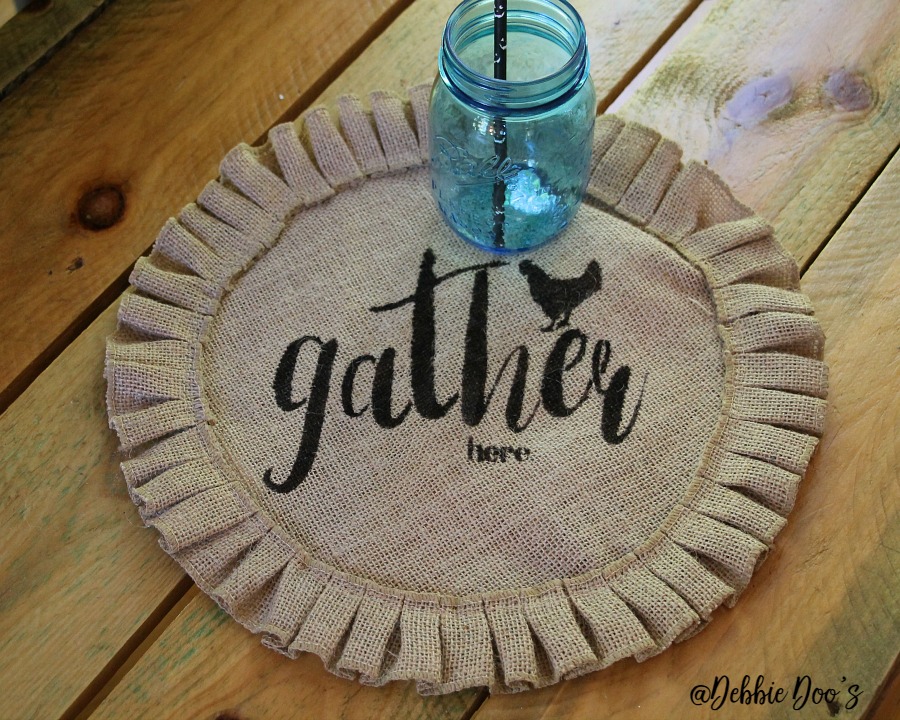
I found the burlap placemats at Michaels. They came in a three-pack. I think they are doilies actually because they are not all the same size. Regardless, they look cute scattered about. This one is on our coffee table.
Thank you so much for visiting with me today.
Here is a short how-to stencil with rit dye video for you:) Enjoy.
Pin it, try it:)
Thank you for your visit today!
Want to see more Rit dye projects?
 I share all things, thrifty home decor, crafts, and a recipe or two on occasion.
If you would like to commit to becoming a subscriber, I would love for you to join me.
WOW!!! Absolutely Amazing!!!
Who would have thought of that? Well, you did! What a cute idea! That should work in a pillow cover too. Maybe I’ll try that. Are you going to be putting out any new stencils, Debbie? I’m excited!
Yes Doris, I have a new one coming soon:) Thank you.
Thanks for a great tut on using ritt. I do like that you repeat the important good results tips. Doing that helps to drive it in. I can’t speak for all, but for me it is important to hear it a couple times to avoid any mishaps on my own effort. I do have a general question on the ritt, obviously a bottle will last a long time when used in crafting. So once opened, how long is a bottle good before it does not produce good results anymore?
I have had my bottles for well over two years and they are still good as new. Obviously, you close the bottle tight and store it in a cabinet indoors.
What a super idea and so clever. I love this.
Love it!! I wonder if you could use rit dye to stencil your rug project??
I thought about it Becky! I am going to for sure try it!
Love, love your site!!
Love this idea! Question, how are you cleaning your stencil (both sides)?
Thank you!
Sudsy warm water. I just learned a new trick as well. You can use alcohol and a cotton ball and wipe them clean as well. If they are really caked on with paint, you can let the stencil soak on a cookie sheet in the alcohol and all the paint comes off. Good as new!
Hi Debbie,
I love the tutorial! I’m going to try it on a pillow cover. I’m wondering if you have t worry about the dye bleeding at the edges? I’ll be using a cotton twill. Also, what adhesive do you suggest…this is the 1st time stenciling.
Thanks,
Martie
Any spray adhesive will do. I use craft bond by elmers. Just remember a little goes a long way and don’t over saturate. You should not have any problems. Good luck!
Looks easy i will see, thanks Debby.
Hi Debbie, Just watched the Rit Dye stenciling…..Wow you are on top of things. Your mind must never stop and you make it look so easy……If I was younger I would have one of everything that you do……I used to do a lot of crafting, but I lost interest…..Love your posts and your projects…
Thanks Judith! I wish you would take it up again. It does not matter how old you are:) It’s good for you. XO
This looks so cute! I love those placemats! Great idea to use Rit Dye!
Thanks for the great tutorial! I watched the whole thing and have never stenciled with RIT before. Will definitely be trying that!
Good Raquel! I hope you do. Let me know how it turns out.
Such a great idea! And I actually have some on hand, so that’s always nice too. Thank you for sharing.
you do not mention whether this is heat set or what is done so that the dye doesn’t wash out. How is it set?
It’s dye, it does not need to be heat set. Just wash in cold water if need be on any fabric. I won’t wash these as they are just for decorations.
I just wanted to share a tip I saw online – use a puppy pad as your work surface. Anything you spill will be quickly absorbed – can even wipe your brushes clean on it if you like. If it survives the first project in good shape, can re-use until it’s no longer usable!
I tried this technique on a pillow. While the stencil turned out perfect, I noticed a huge problem. Every person who came in contact with the pillow ended up with dye all over them—their clothes, hands, faces. I was so embarrassed! I decided to wash the pillow inside out on a cold cycle. When I removed the pillow, all the paint was GONE! I used a pre-washed paint cloth for my pillow fabric. What happened?
Hi Jill, I am not sure. I use my pillows as decorative, but with that said never had a die bleed through.
I used this technique on cotton tea towels and the dye bled when
a guest dried their hands ?. The idea works great and looks great.
but there must be a way to set the dye. Any ideas?
Joli
Hi Joli, next time I would suggest washing the towel on cold before setting them out. Most all these projects I do are for decoration.
This is a great help,I was all over the internet looking for how to/or could i use this stuff straight. Going to dye a cloth top this way,thanks,and great video.
Cool stuff. Think you could do this with cotton t-shirts?
Sure you can. But I would go very lightly and use very little with light application.