
Hey guys!
Shari here again this month.
Sharing mod podged painted salty pumpkins.
let me explain….
I’m once again visiting from Turnstyle Vogue. How have you all been?
Are you in the midst of autumn splendor?
I have a little autumn makeover for you today using something that is easy to come by:
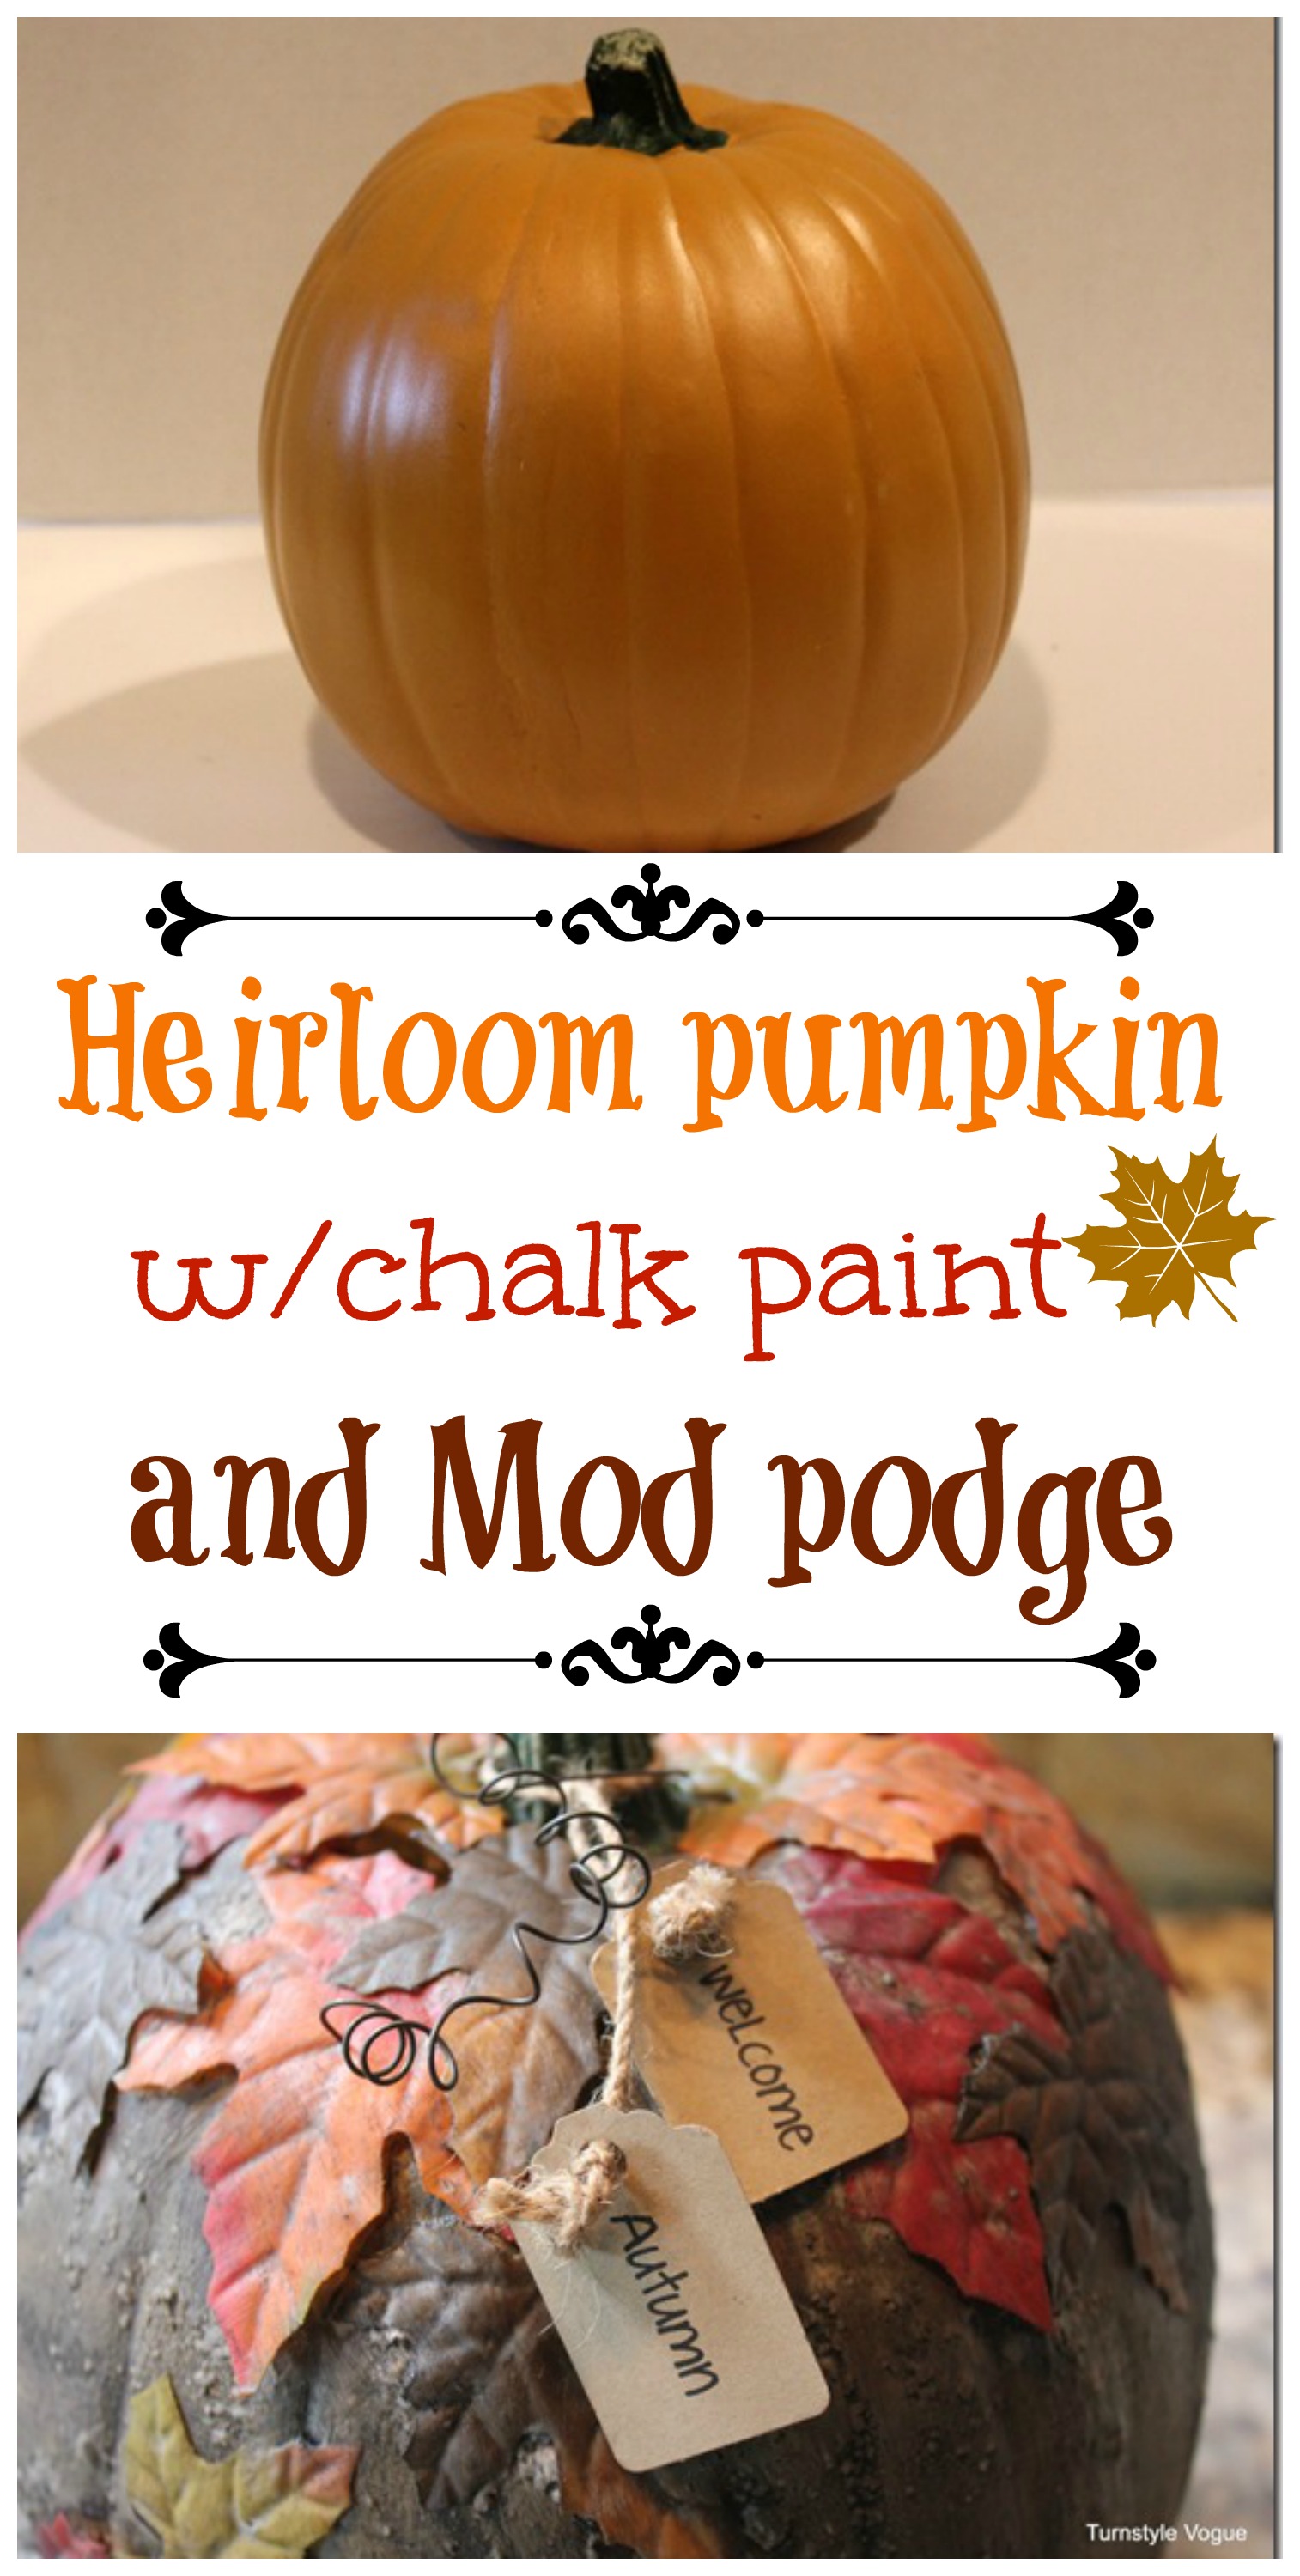
The basic faux orange pumpkin.
These days, faux pumpkins are looking a little more realistic.
Anyhoo…
I wanted to do something that would make it a little more organic looking. A little on the dark side so to speak – but with some autumn accents.
I used CeCe Caldwell’s Hershey Brown as my base coat using a striae effect. To get this look make sure you paint in one direction from top to bottom. A round brush works better than a flat brush to get the lines, but either will work.
You can use any paint, any color, of your choosing. I happen to choose CeCe’s for this because I like how it dries to a matte, chalky finish.
For the second application, I used CeCe Caldwell’s Cinco Bayou Moss mixed with kosher salt to get a texture going – and to resemble the color of an heirloom pumpkin.
You can see as it dries, it starts to lightly resemble a goosebump pumpkin – only not as extreme as what you would find coming out of a pumpkin patch.
To add a little detail, I attach some silk leaves that I had with Mod Podge.
I didn’t adhere them flat on to the pumpkin. I though leaving some of the edges up would give it a more realistic 3D effect as if the leaves have just fallen on it.
Even using the Mod Podge in matte finish, the leaves were a little too shiny for me so I toned it down with some antiquing wax.
The wax keeps the look honest since we know leaves aren’t shiny and clean as they lay on the ground.
And then a couple of little tags – just for kicks.
This close-up shows you the look created by the kosher salt. To help keep it from flaking off after the paint dries you can coat the entire pumpkin with one coat of Mod Podge.
The color may not be for everybody’s taste, but if neutral and organic is more your thing, then it is a good color combination.
You can always skip adding the leaves to make it even more realistic. If I were to do it again, I’d probably do a grouping of different sizes, without the leaves.
Have a great day and as always…
Be inspired,

That turned out really cute. Love the color and texture of the pumpkin…..SOOOO much better than the bright orange- xo Diana
LOVE the colour and texture of this – great makeover!!!
It looks fabulous – such a lovely colour & texture
I never ever ever would of thought to do that. But I’m thinking it now!
Shari this is amazing! I would never thing to use Kosher salt!! I am sharing!
Shari I am loving this big time!! Your are amazing.
Cynthia
Brilliant! (sorry, I tell you that a lot)
I’ve a cracked faux pumpkin that this will totally fix up.
OMG>>>I LOVE IT!!
Looks fantastic, I Love it!!!
Lisa
Fantastic! I love the finished look. The salt part adds so much dimension.
what a fun twist on painted pumpkins!! love the goosebump variety!
What a cool thing to do with those faux pumpkins! Love it!
For a bit there I was beginning to wonder what it was going to look like but it turned out really cute. I love the leaves on it but then I haven’t seen the other way you mentioned. Great post and tutorial. Think the kosher salt really gives it a more realistic look. Happy days ahead.